
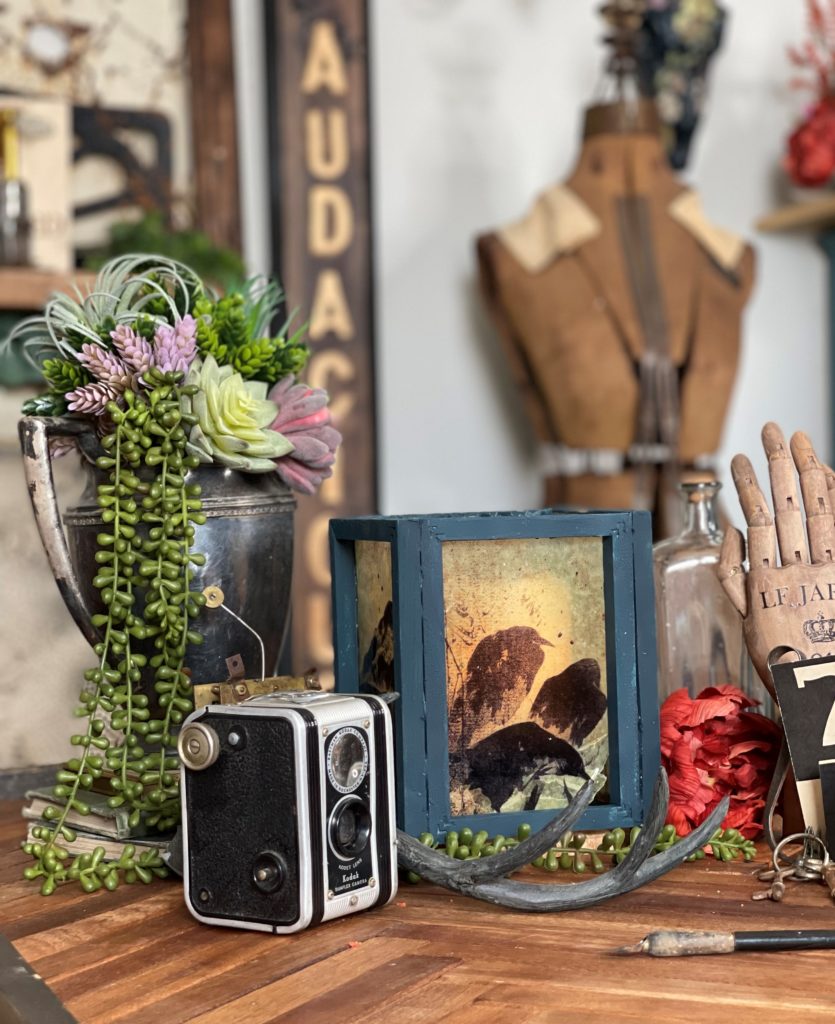
The holidays give are full of gathering with those we love, and celebrating the year’s bounty. Making our spaces special help provide environments that are comfortable and festive. One of the things I love the most about decorating for the holidays is the tablescapes and centerpieces. With Halloween just around the corner, I thought I would create something special. You can create this simple lantern with Dollar Tree canvases and a few craft supplies.
Subscribe To My YouTube ChannelBasic Lantern Supplies
-
Four Dollar Tree Art Canvases. I used 4” x 7” but you can use any size
-
Dollar Tree wood cubes (36 to a pack)
-
Wise Owl Chalk Synthesis Paint in Poseidon
-
Glue gun and glue
-
E6000
-
Florals of your choice (option instead of resin paper panes)
Resin-Paper Supplies
-
Royclycled Halloween Project Blocks Decoupage Paper
-
Silicone measuring cup
-
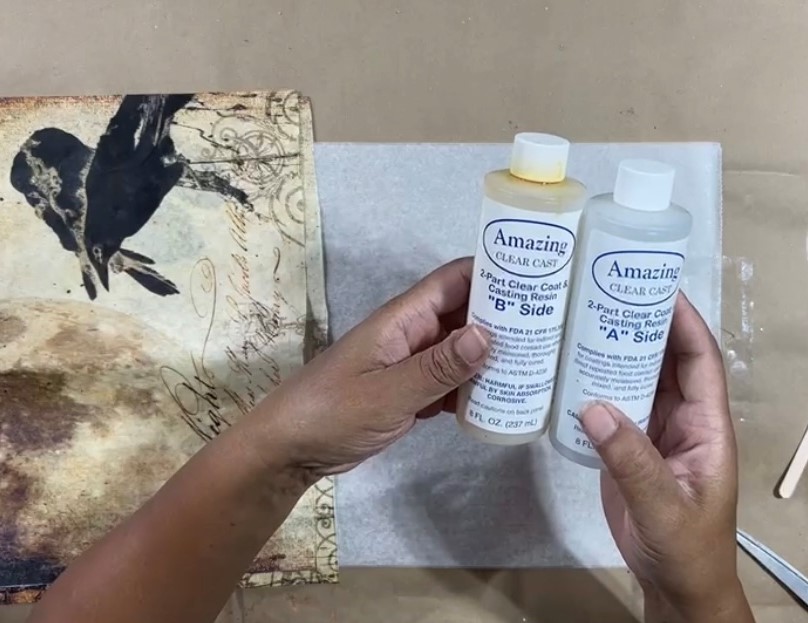
Amazing Clear Cast Resin
-
Disposable brush
-
Wax paper or silicone mat to work on
-
Binder clip to hand the paper to dry
Creating Your Lantern Frames
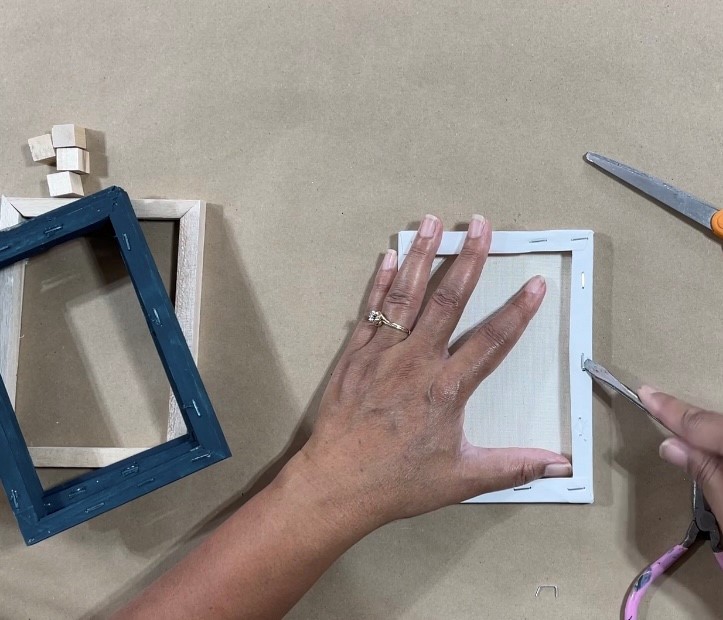
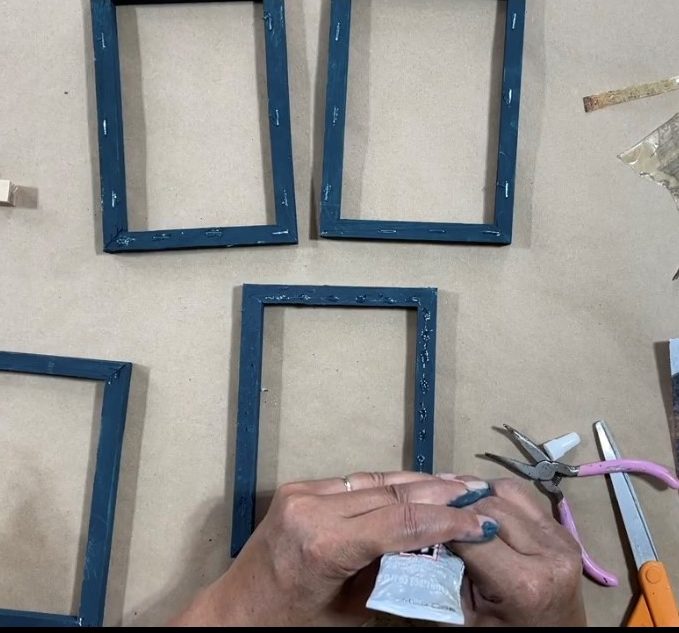
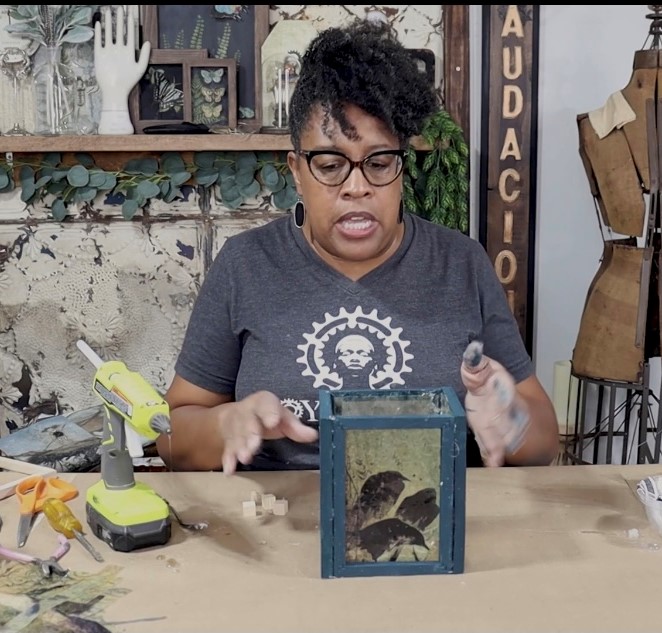
Start your project by taking your four canvases, and removing the staples. You can use a screwdriver, or a staple remover to accomplish this. Once your staples are removed, you can remove the canvas from the frame. I saved my canvas panels for a future craft project. Repeat this process until all four of your canvases are stripped. When you are done, you are left with four wood panels that will make up the sides of your lantern. If you want a rustic lantern, there is no need to sand. If you are planning a more refined version, lightly sand your frames using 220 grit sandpaper to remove splinters and smooth the surface of the frames.
Painting Your Lantern Frames
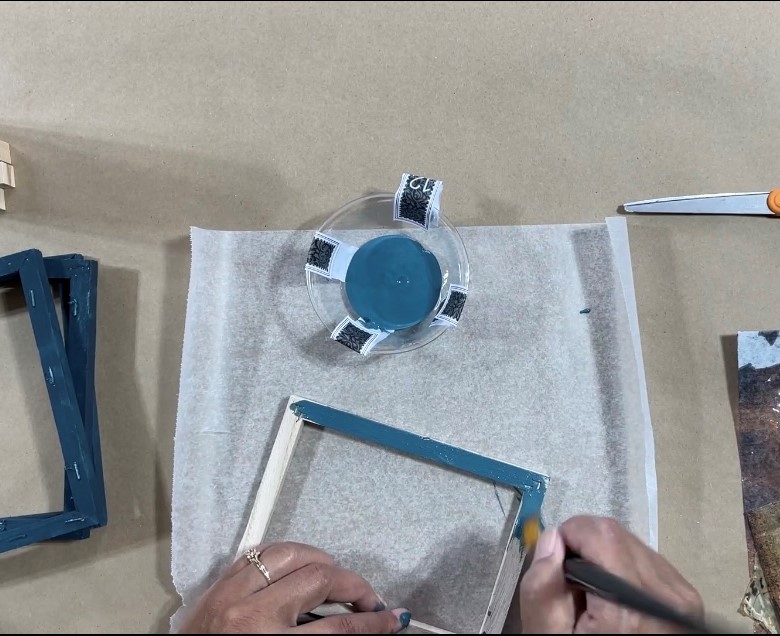
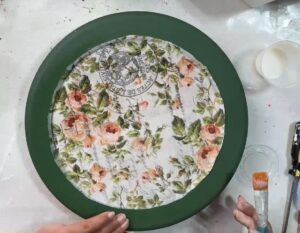
Now that your frames have been stripped, it’s time to think about your final project. You can paint your frames, stain them, or even whitewash them. The wood is unfinished, so you have options. I chose to paint my frames using Wise Owls Chalk Synthesis paint in Poseidon.
Setting Up To Create Your Resin-Paper
Once your frames are dry, you are ready to move forward. If you are going to install resin paper panes, you will need to prepare your paper. I used Roycycled Halloween Project Blocks Decoupage Paper for my lantern. Perfect for my spooky tablescape. It is easy to modify your paper for your lantern. Lay down some wax paper or a silicon mat in order to prevent your paper from sticking to your work surface. Trim your paper into manageable sections (about 10” x 13”).
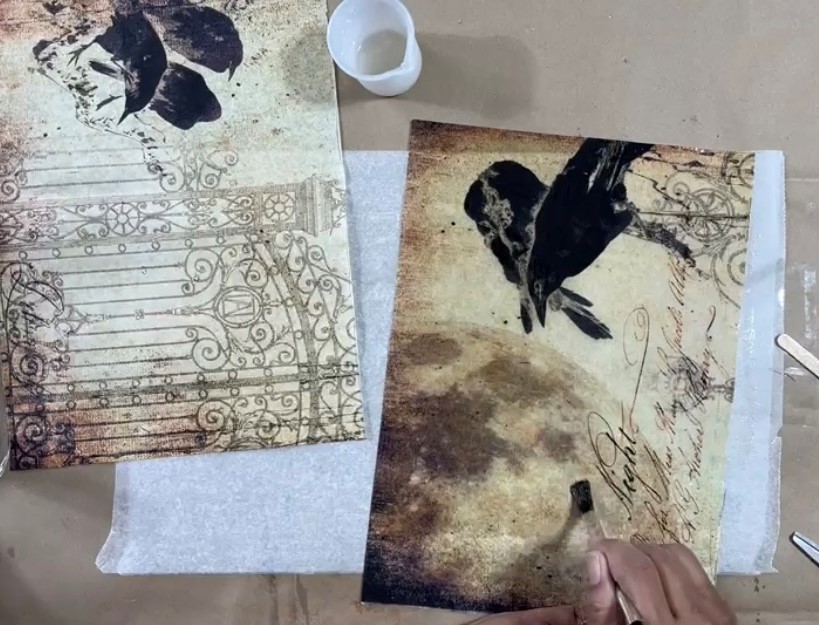
Making Your Resin Paper
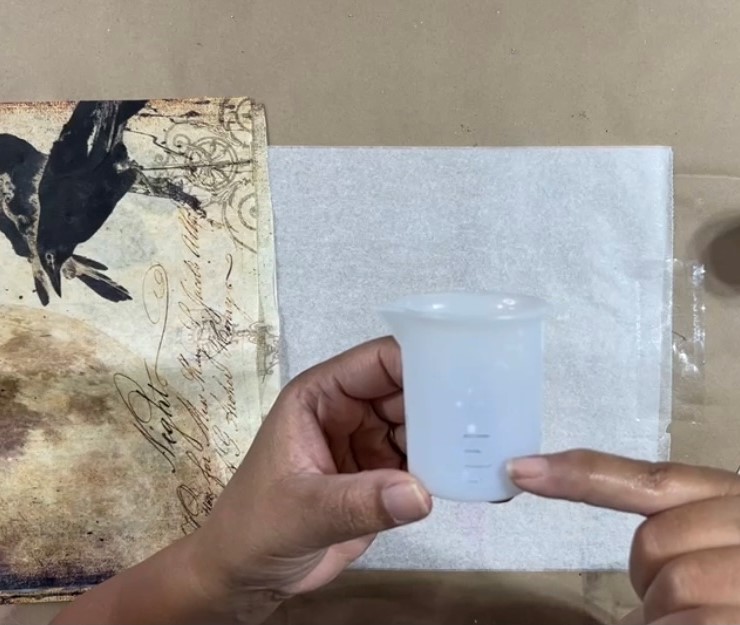
To prepare your resin, you’ll need your silicone measuring cup, a popsicle stick, and your resin kit. Take a marker and mark your measurements n your cup so you can see them clearly. Be sure you are in a well-ventilated area, and wear a mask if you are sensitive to odor. You’re going to mix a total of 40 ML of epoxy resin. You are going to pour both parts of your resin into one cup. Pour part A of your resin up to 20ML, and pour part B up to 40 ML. Stir your resin for 1-2 minutes. You will have 24 minutes to work with your resin before it starts to set. On your paper, leave about an inch of your paper “unpainted”. This will make it easier to handle your paper, and give you a section to clip when you hang your paper up to dry. Apply resin over the rest of your paper using your disposable paintbrush. Apply resin to one sheet at a time. Paint a thin even layer over each sheet. Once each sheet is covered, take your sheets outside or to a well-ventilated area and hang them to dry. Let your paper cure for at least 6-8 hours before you handle your paper. Make sure that your paper does not touch itself when you are taking it down. Unhang your resin paper and lay it flat for 6-8 hours. Lay the paper flat on wax paper or a silicone mat so it dries flat. It takes 24 hours for the paper to completely cure.
 Find Your Roycycled Decoupage Paper Retailer Here
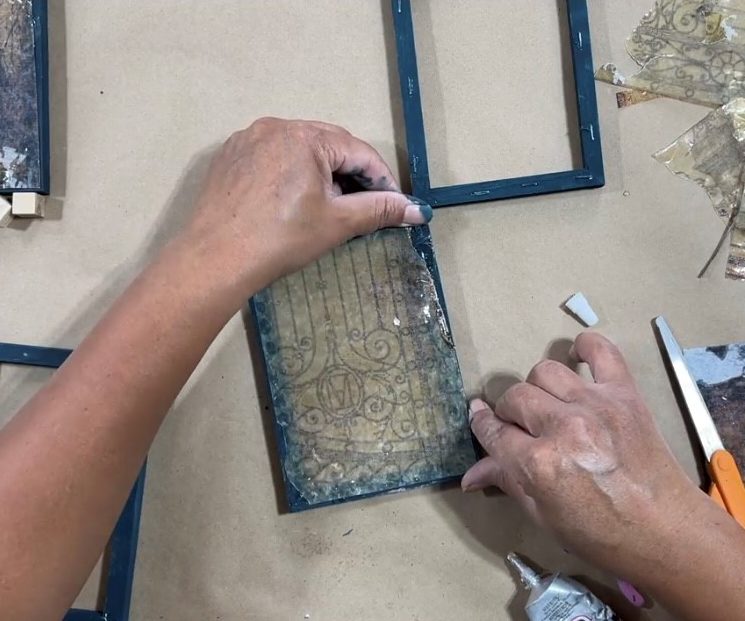
Attaching Your Resin-Paper Panes
Once your paper is completely cured, you can apply it to your frames. Decide how you want your paper to show through your panes, and trim the paper to fit inside of each of the frames. Use your E6000 to glue your “panes” onto the frames. While your glue is still wet, pull your paper taunt over your frames so your paper lays flat. Leave your frames to dry.
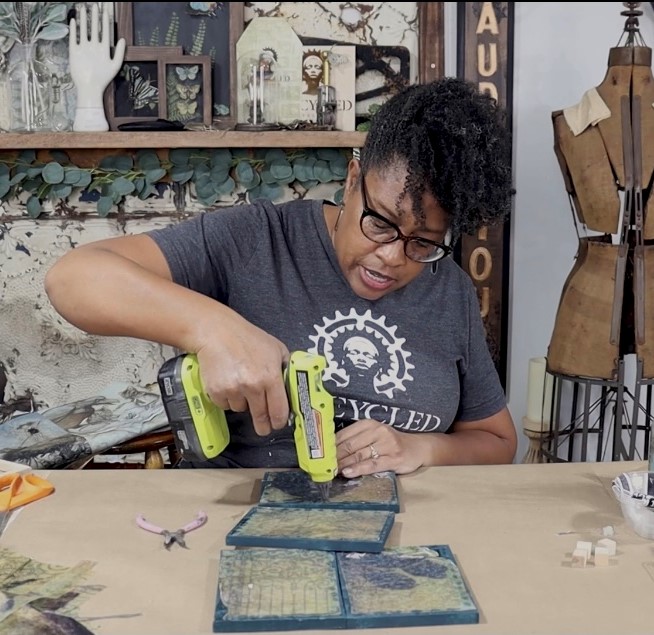
Assembling Your Lantern
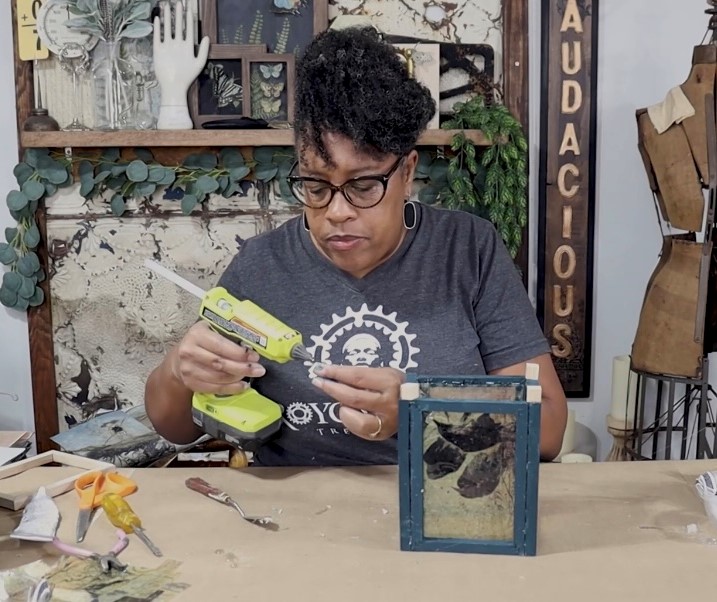
Once your paper and frames are dry, it’s time to glue your frames together to construct your lantern. Be sure your frames are all facing the same direction, and your “panes” are on the inside of your frames. Using your glue gun, construct your frames together to form your lantern. Once constructed, glue your wood cubes to the bottom of your lantern to create feet. Touch up your paint, and your lantern is done!
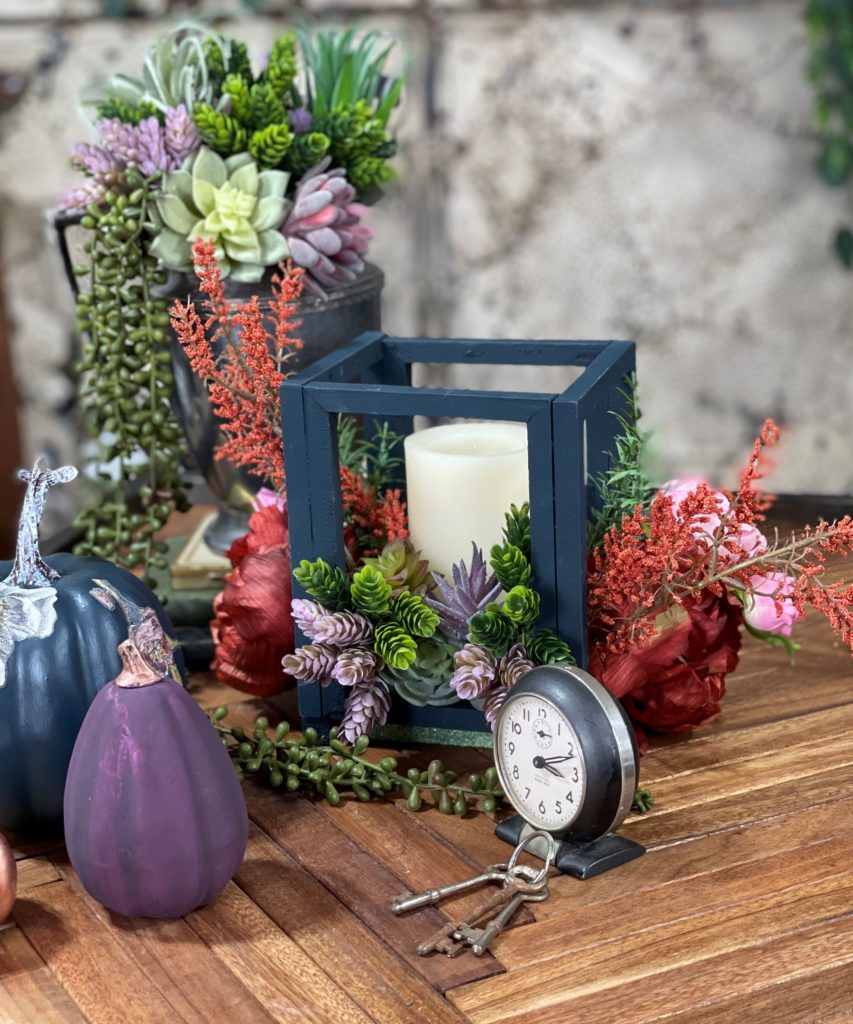
If you would rather not use resin paper, you can use your lantern as a base for a beautiful floral arrangement.