Last year here on Roycycled, we talked about how to make wall pockets out of soup cans. We turned out some great DIY home decor from that project, but I’ve heard from you all that not everyone has the easiest time smashing soup cans made of aluminum. So today let’s do something similar with a much easier material to handle: cardboard.
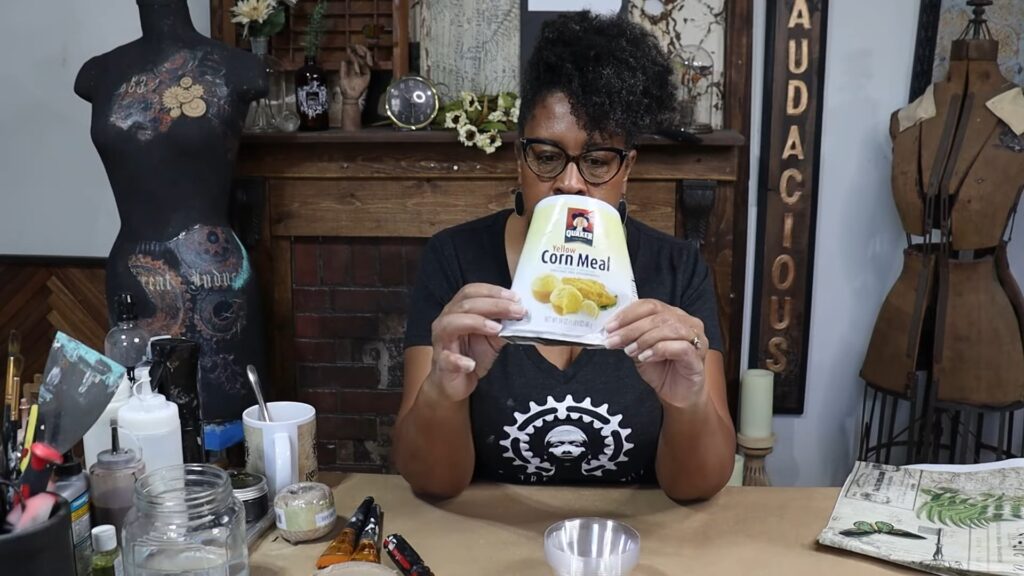
Subscribe To My YouTube ChannelToday I’ll be using a Quaker Yellow Corn Meal container, but if you don’t have a container like this on hand, I’ve seen similar crafts repurposing paper towel rolls and toilet paper rolls as well. Whatever you choose to use, we’ll be upcycling it into a beautiful hanging decoupage pocket planter with a bit of steampunk edge. Here’s how to do it.
Supplies
-
Cardboard can
-
Stapler
-
Antique Villa Wise Owl Chalk Synthesis Paint
-
Paint brush
-
Roycycled Industrial Masterboard Decoupage Paper
-
Scissors
-
Wise Owl’s Clear One Hour Enamel, matte finish
-
Spatula tool
-
Sanding block
-
WoodUBend Steampunk Gears
-
Black Wise Owl Chalk Synthesis Paint
-
Saltwash Paint Additive
-
Iron Orchid Designs Black Decor Ink
-
Iron Orchid Designs Tumeric Decor Ink
-
Ranger Mini Ink Blending Tool
-
Craft dryer
-
Titebond Quick & Thick Multi-Surface Glue
-
Wise Owl Heavy Metals Metallic Gilding Paint, bronze
-
Hole punch
-
String or bronze chain
-
Plant
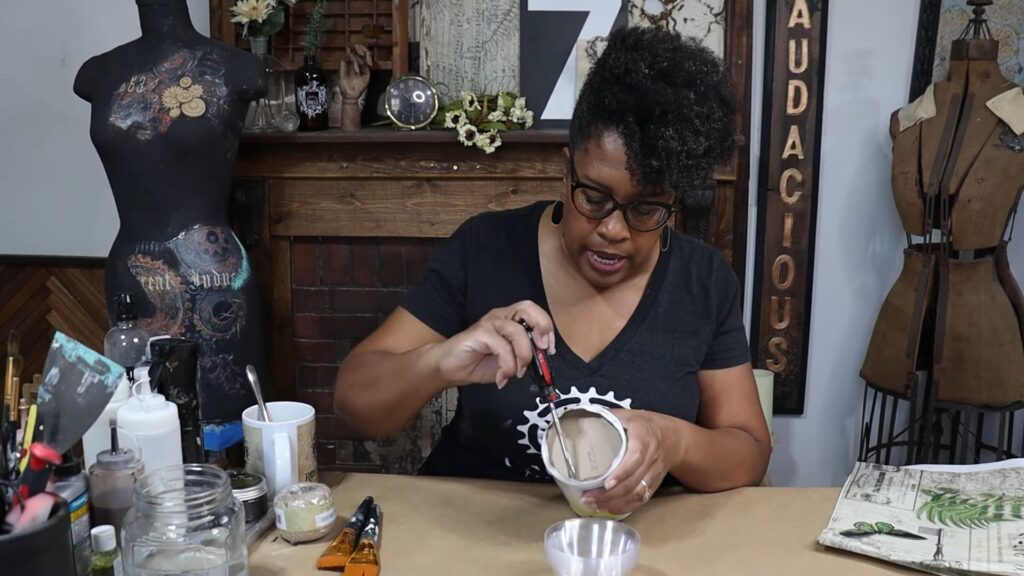
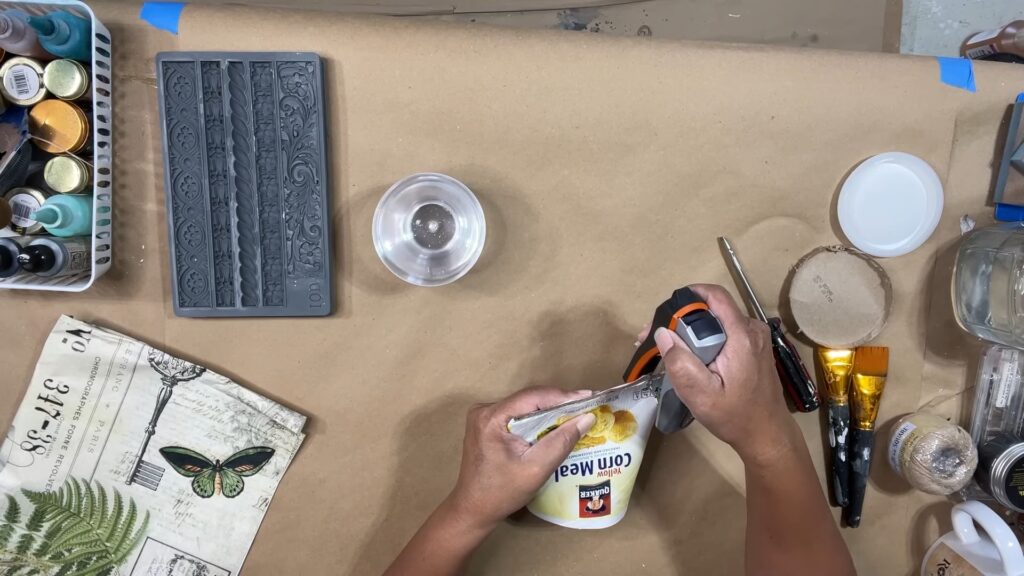
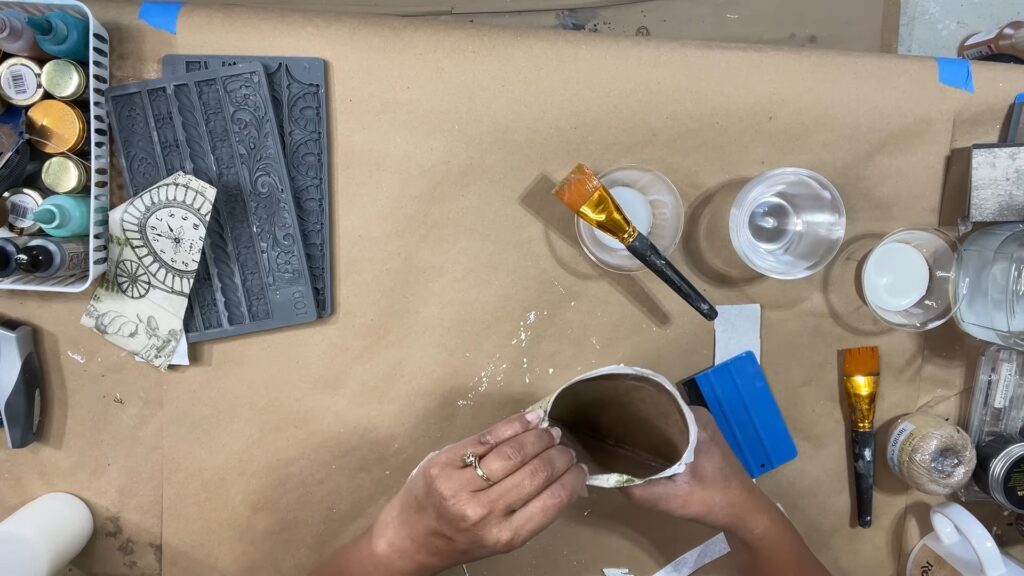
1. Remove the lid and base of the can.
Remove the can’s lid. Use your nails to peel up the bottom lip of your can.

Then use a screwdriver to pry out the cardboard base.
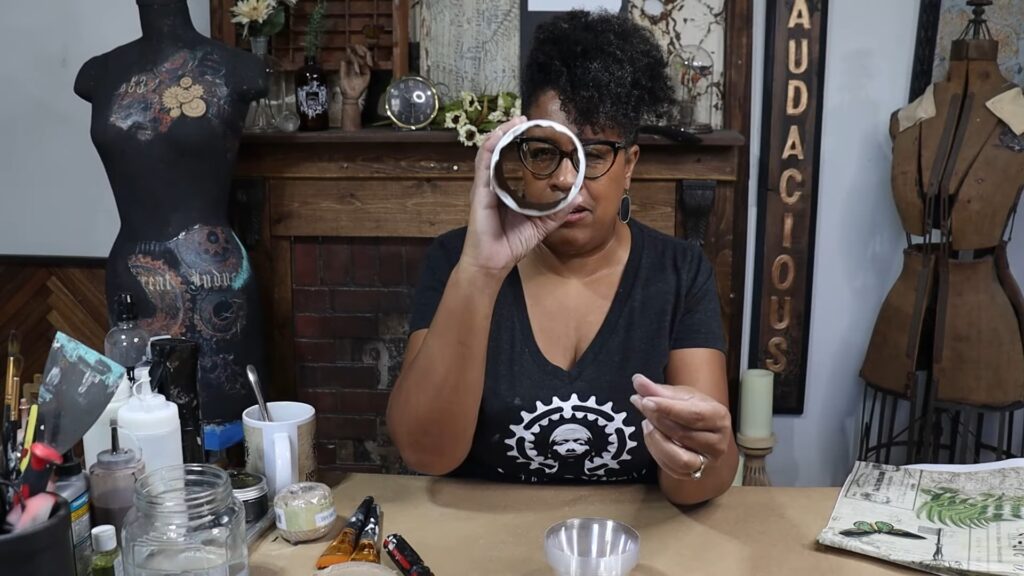
You should now have just a hollow cardboard tube.
2. Make a pocket.
Pinch the base of the tube together flat to create a pocket. Think of an open bag of potato chips for the shape.
3. Staple the edges.
Use a stapler to attach the edges that have been pinched together to keep them sealed. If you can, get the staples in the ridge where the edges meet so that they’re less noticeable, but don’t worry about it too much; we’ll be covering all of this up with our decoration anyway, so we can always mask anything we need to at the end.
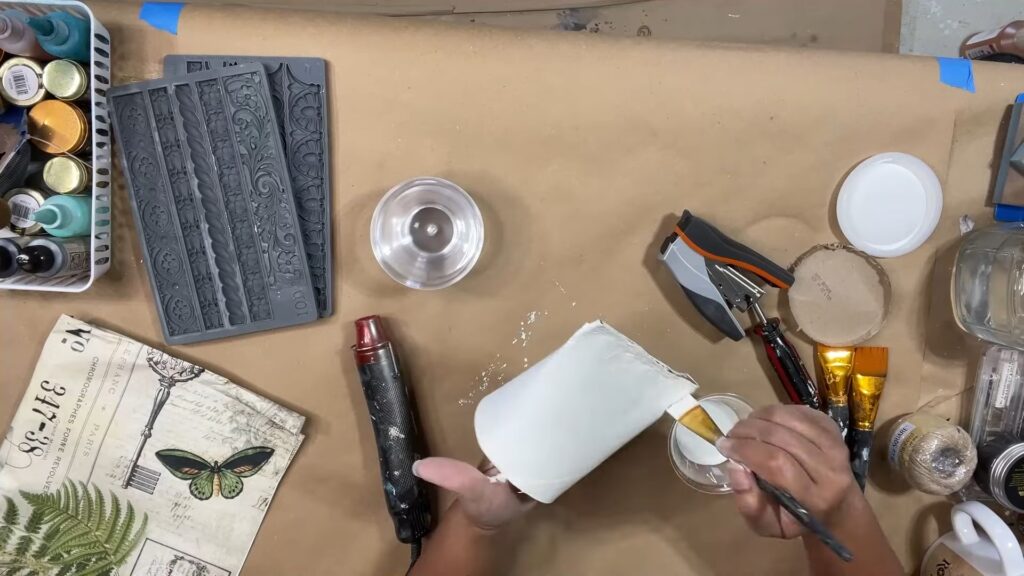
4. Paint the pocket.
I always paint my decoupage projects in white as a base to help the images I add stand out. You’ll especially want to do this if you’re using a can with anything unsightly or tacky on the cover—like, say, pictures of corn meal and a Quaker man. To make sure all of this is covered up, I’m using Wise Owl chalk synthesis paint in the color Antique Villa, which is a warm white. I used two coats to ensure full coverage. You can also paint the inside of the pocket if you’d like, but I’ll be skipping that step for this project.
5. Lay out decoupage paper.
Now that we have the pocket put together and painted, grab your Roycycled decoupage paper. For this project, I’m very excited to be using one of the new Roycycled decoupage papers; this one is called Industrial Masterboard and is inspired by masterboards created by mixed media or junk journaling artists.
 Find Your Roycycled retailer Here
With the paper in hand, decide which sections of it you want visible on each side of the planter. I really want the octopus to be visible on the front of our planter, so I’m going to make sure to lay out the pattern accordingly.
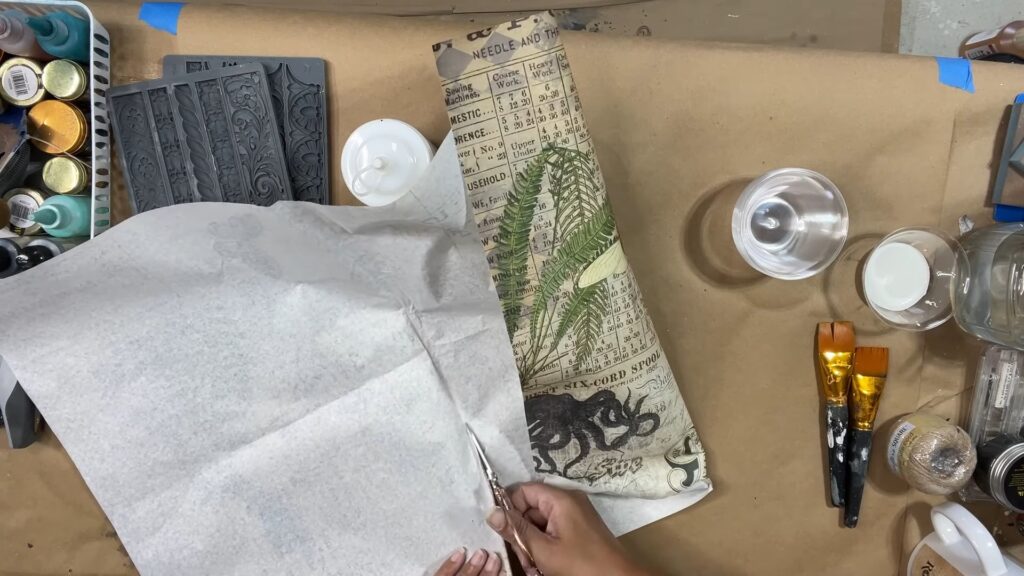
6. Trim decoupage paper.
Once the patterns are lined up as desired, trim your Roycycled decoupage paper down to just those sections to get a perfect fit. Since the shape of this pocket is wider around the top than the bottom, I recommend doing the front and back separately; otherwise, the pattern probably won’t sit on the planter very nicely. Alternatively, if you’re going to be hanging the planter like I am, you could skip the back entirely.
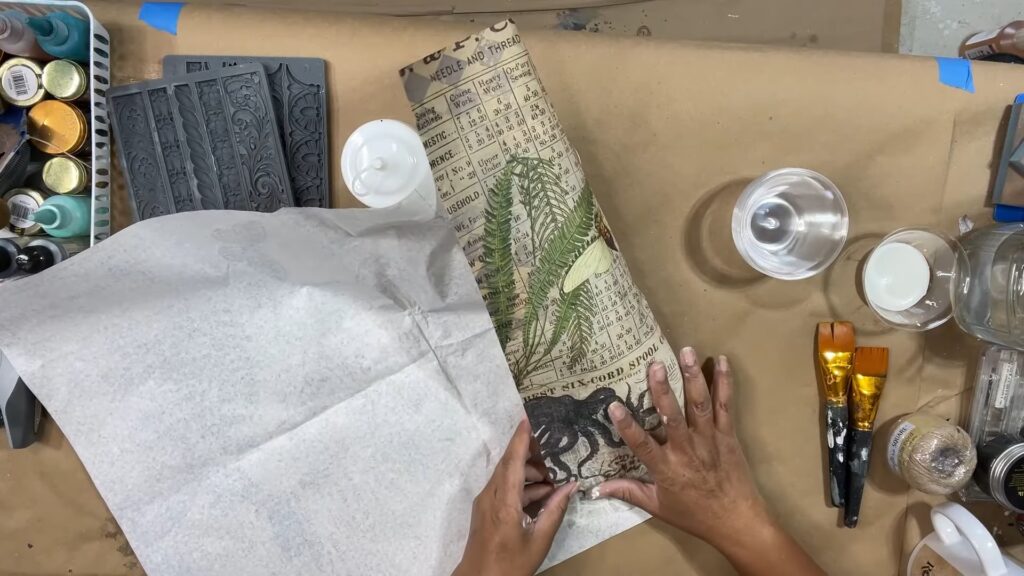
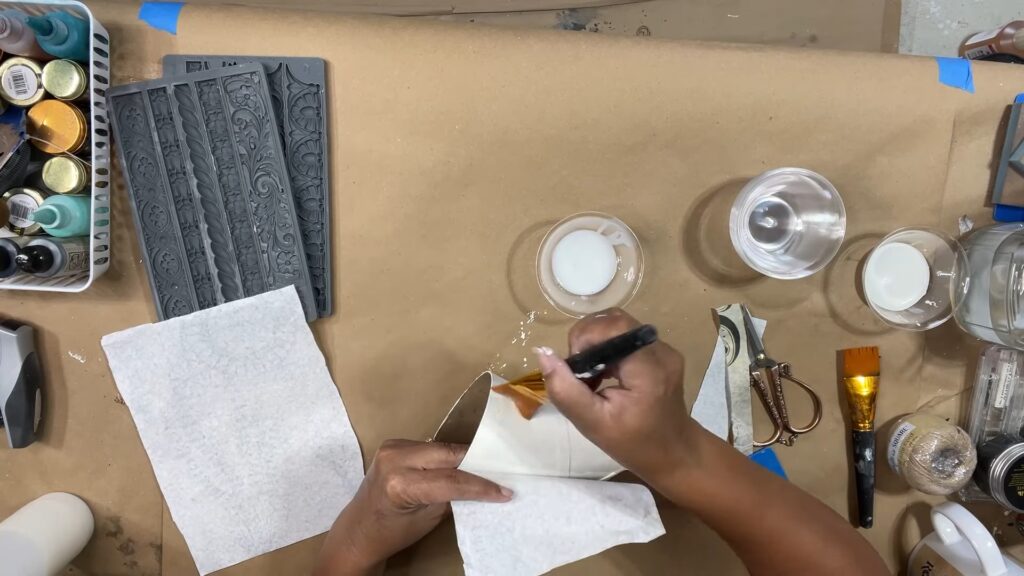
7. Decoupage.
With your Roycycled decoupage paper trimmed down, it’s time to decoupage. For more detailed explanations of how to decoupage, make sure to check out my playlist of tutorials here.
a. Adhering your decoupage paper
I like to use Wise Owl’s One Hour Enamel in a matte finish, but it’s also available in a satin or semi-gloss finish if you prefer a glossier surface. I’ll be using this enamel as both an adhesive and to seal my paper. Using a brush, spread the enamel onto the planter. Work your way around the planter, pasting down your Roycycyled decoupage tissue as you go.
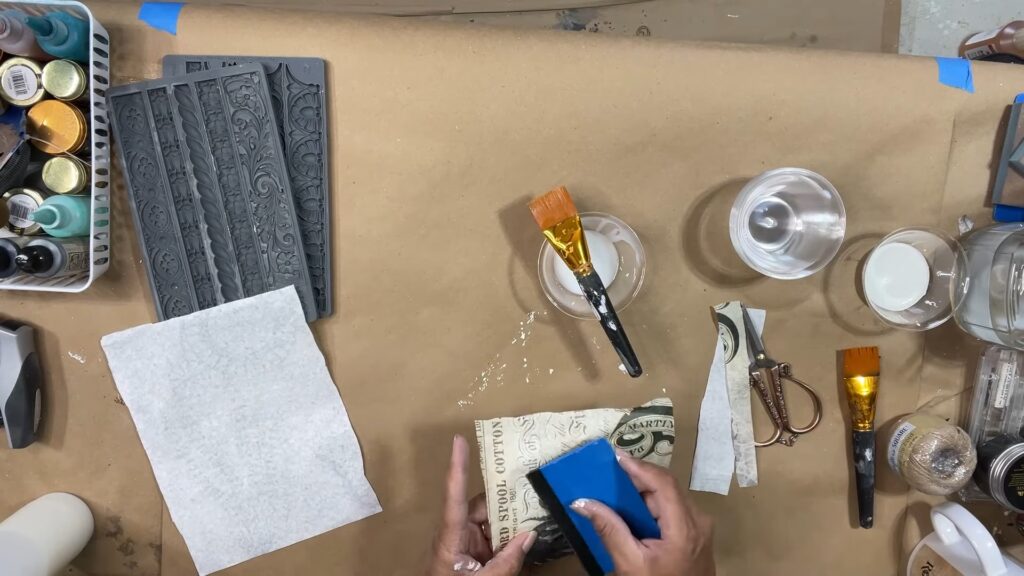
b. Smoothing Your Paper.
As you paste each section down, run a felt covered spatula tool over the paper to ensure it lays flat and there’s good contact with the surface of the project. Start in the middle and work your way outwards to ensure any air bubbles are worked out. Remember to be gentle with the spatula; we are essentially working with wet tissue paper, so excessive force could damage it.
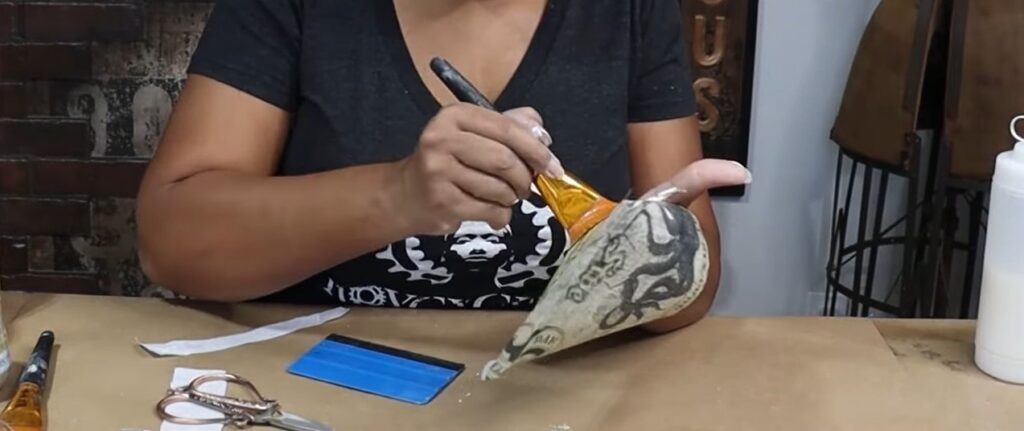
C. Seal.
Once the planter is fully covered, brush an additional layer of enamel on to fully seal the paper. Allow to dry.
d. Trim.
Use a sanding block to trim the paper at the bottom of the “can” as closely as possible.
e. Finish.
Brush enamel onto the inside of the planter just under the top, and fold over any excess paper from the outside. This will clean up our edge and also make sure that the inside looks finished as well if anyone happens to look in there.
f. Prep gears.
The planter is looking a little plain to me, so let’s add some steampunk embellishments. I’ll start off using WoodUBend gear appliques.
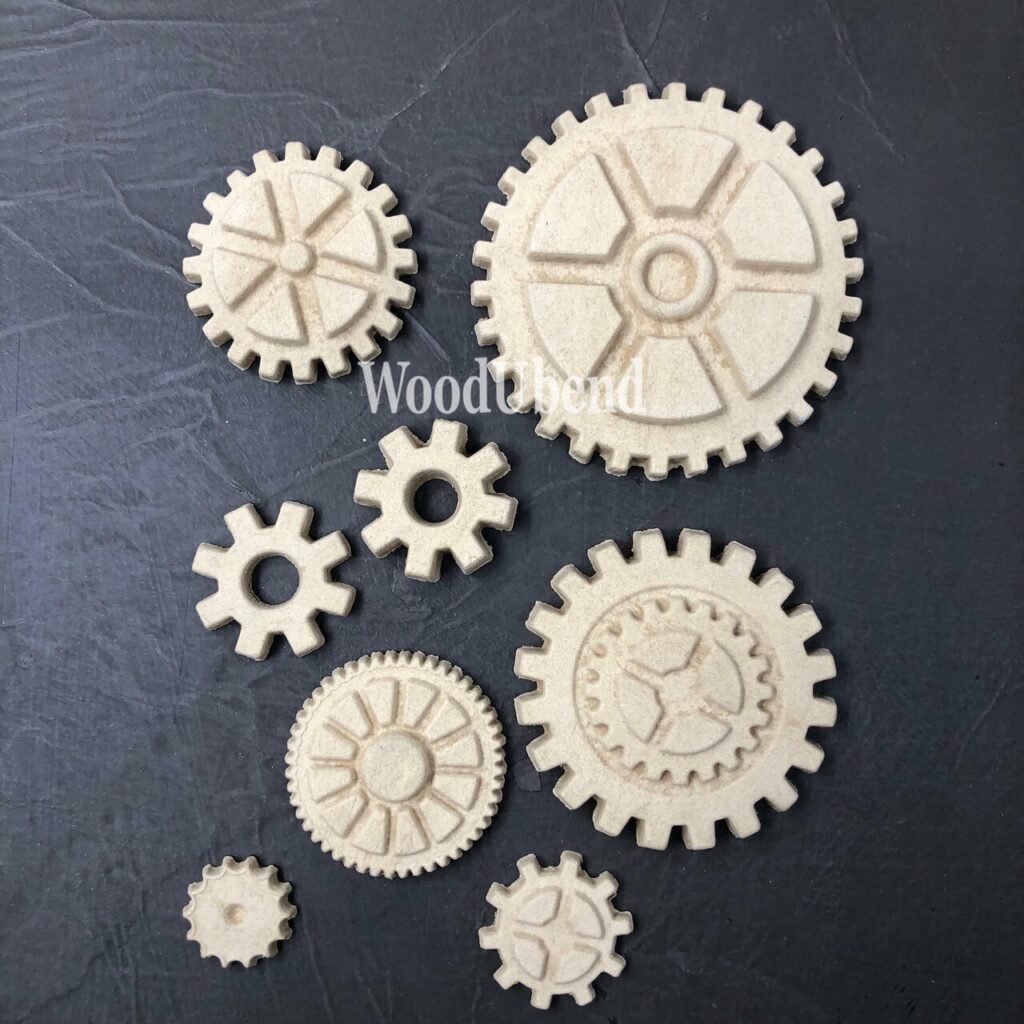
These are nice because when exposed to heat they become bendable—hence the name WoodUBend—so I can wrap them around the curve of the planter. We can also use these to cover any flaws or mistakes we’ve made so far. Before we attach them I’ll give them a coat of Wise Owl’s black chalk synthesis paint with some Saltwash paint additive mixed in.
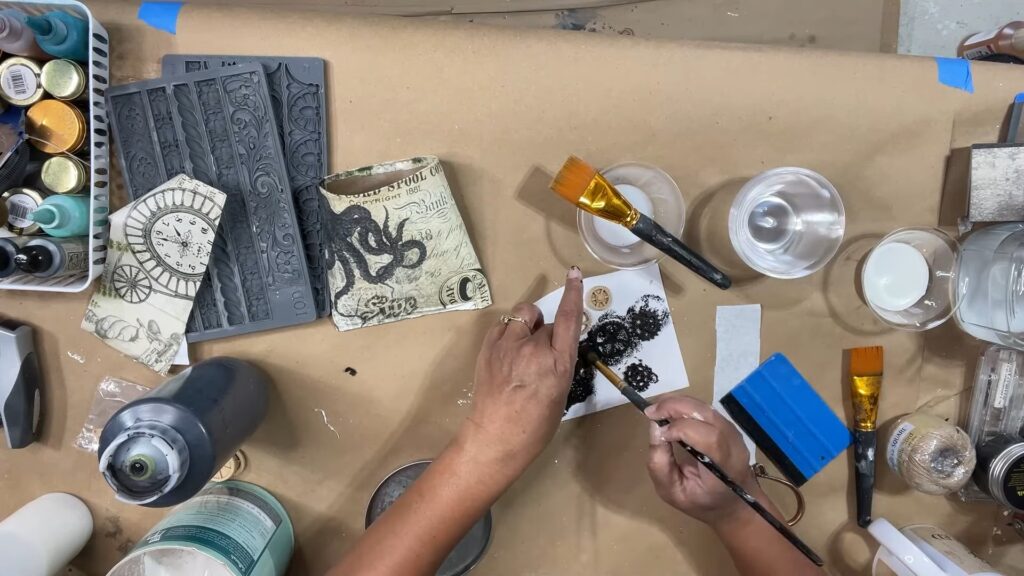
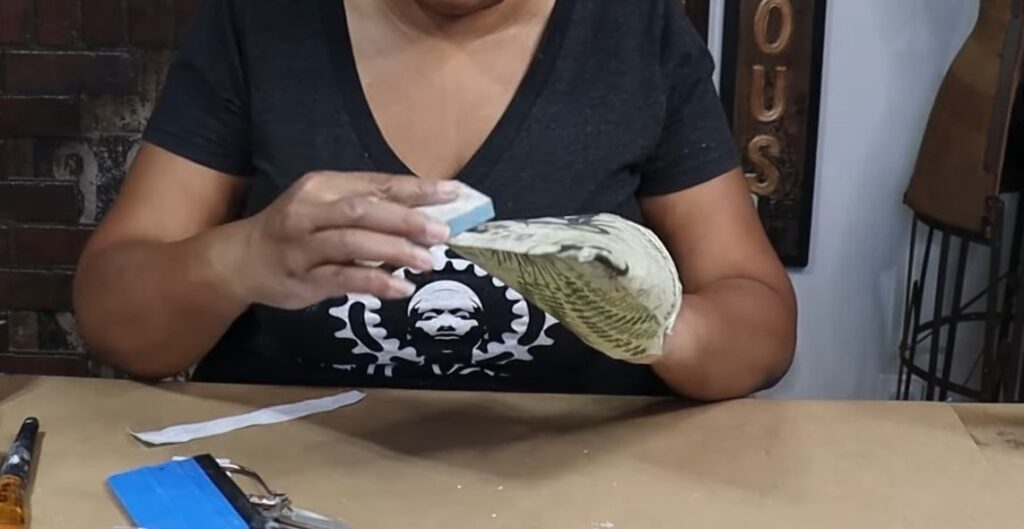
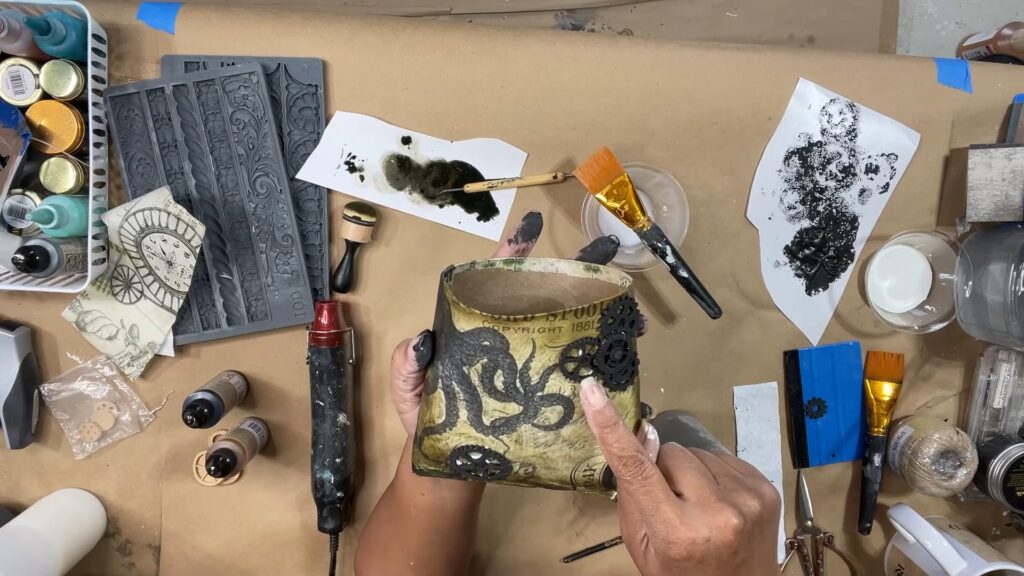
g. Grunge.
While these dry, we can add some grunge to the planter using Iron Orchid Designs inks. This is my brand of choice because it’s color fast, so I know the color won’t bleed. I’ll be combining the colors black and tumeric. Load the ink onto your ink blending tool (I am using this one made by Ranger Ink), and dab it onto the edges of the planter. This will add some warmth and character and also cover any spots of white paint that are left showing.

h. Dry.
Once done, go over the ink with your craft dryer. The heat will set the ink and make sure it doesn’t run.
i. Reseal.
Go over the whole planter with another layer of enamel to seal the ink. Make sure to also fix any edges where you have paper lifting by going under them with the enamel and making sure the edges are tacked down.
j. Attach gears.
Heat the painted gears with your craft dryer or heat gun to make them bendable and to improve the adhesion. Add glue to the backs of the gears and glue them down. I am using Titebond Quick & Thick, but any glue will work (though wood glue does work best). As you glue each gear down, hold it down for a few minutes to make sure it’s securely attached.
Note: this particular glue will dry clear, but if there is glue visible that you’d like to clean up, you can go in with a dry paintbrush and dab it out.
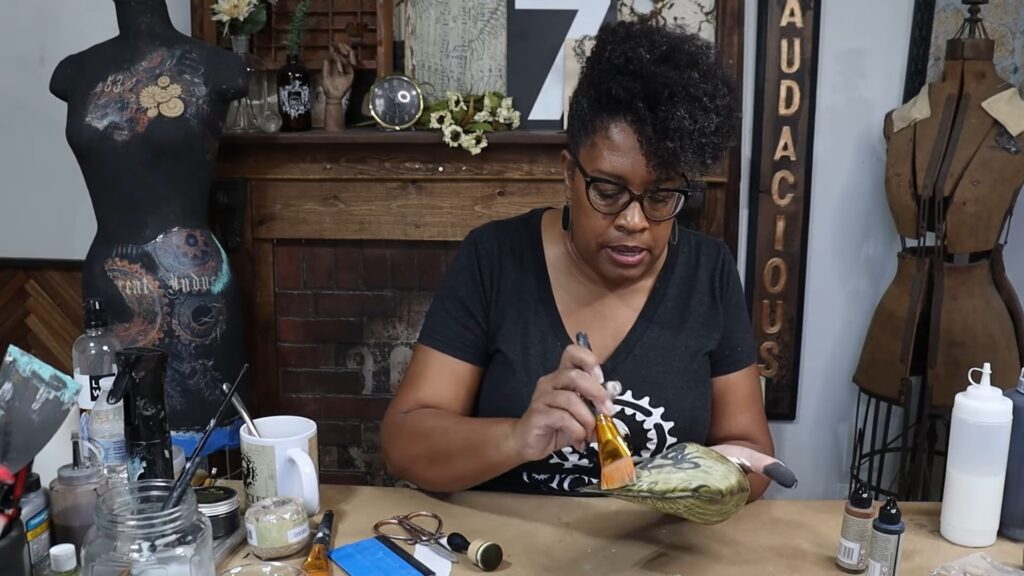
k. Bronze gears.
Dry brush the gears with Wise Owl’s Heavy Metals Bronze paint to add some interest and bring out the details.
8. Make the hanger.
Use a hole punch to punch some holes in the planter, and thread through a string or bronze chain to use as a hanger.
9. Plant.
Fill with whatever plant you would like. I’ll be using succulents.
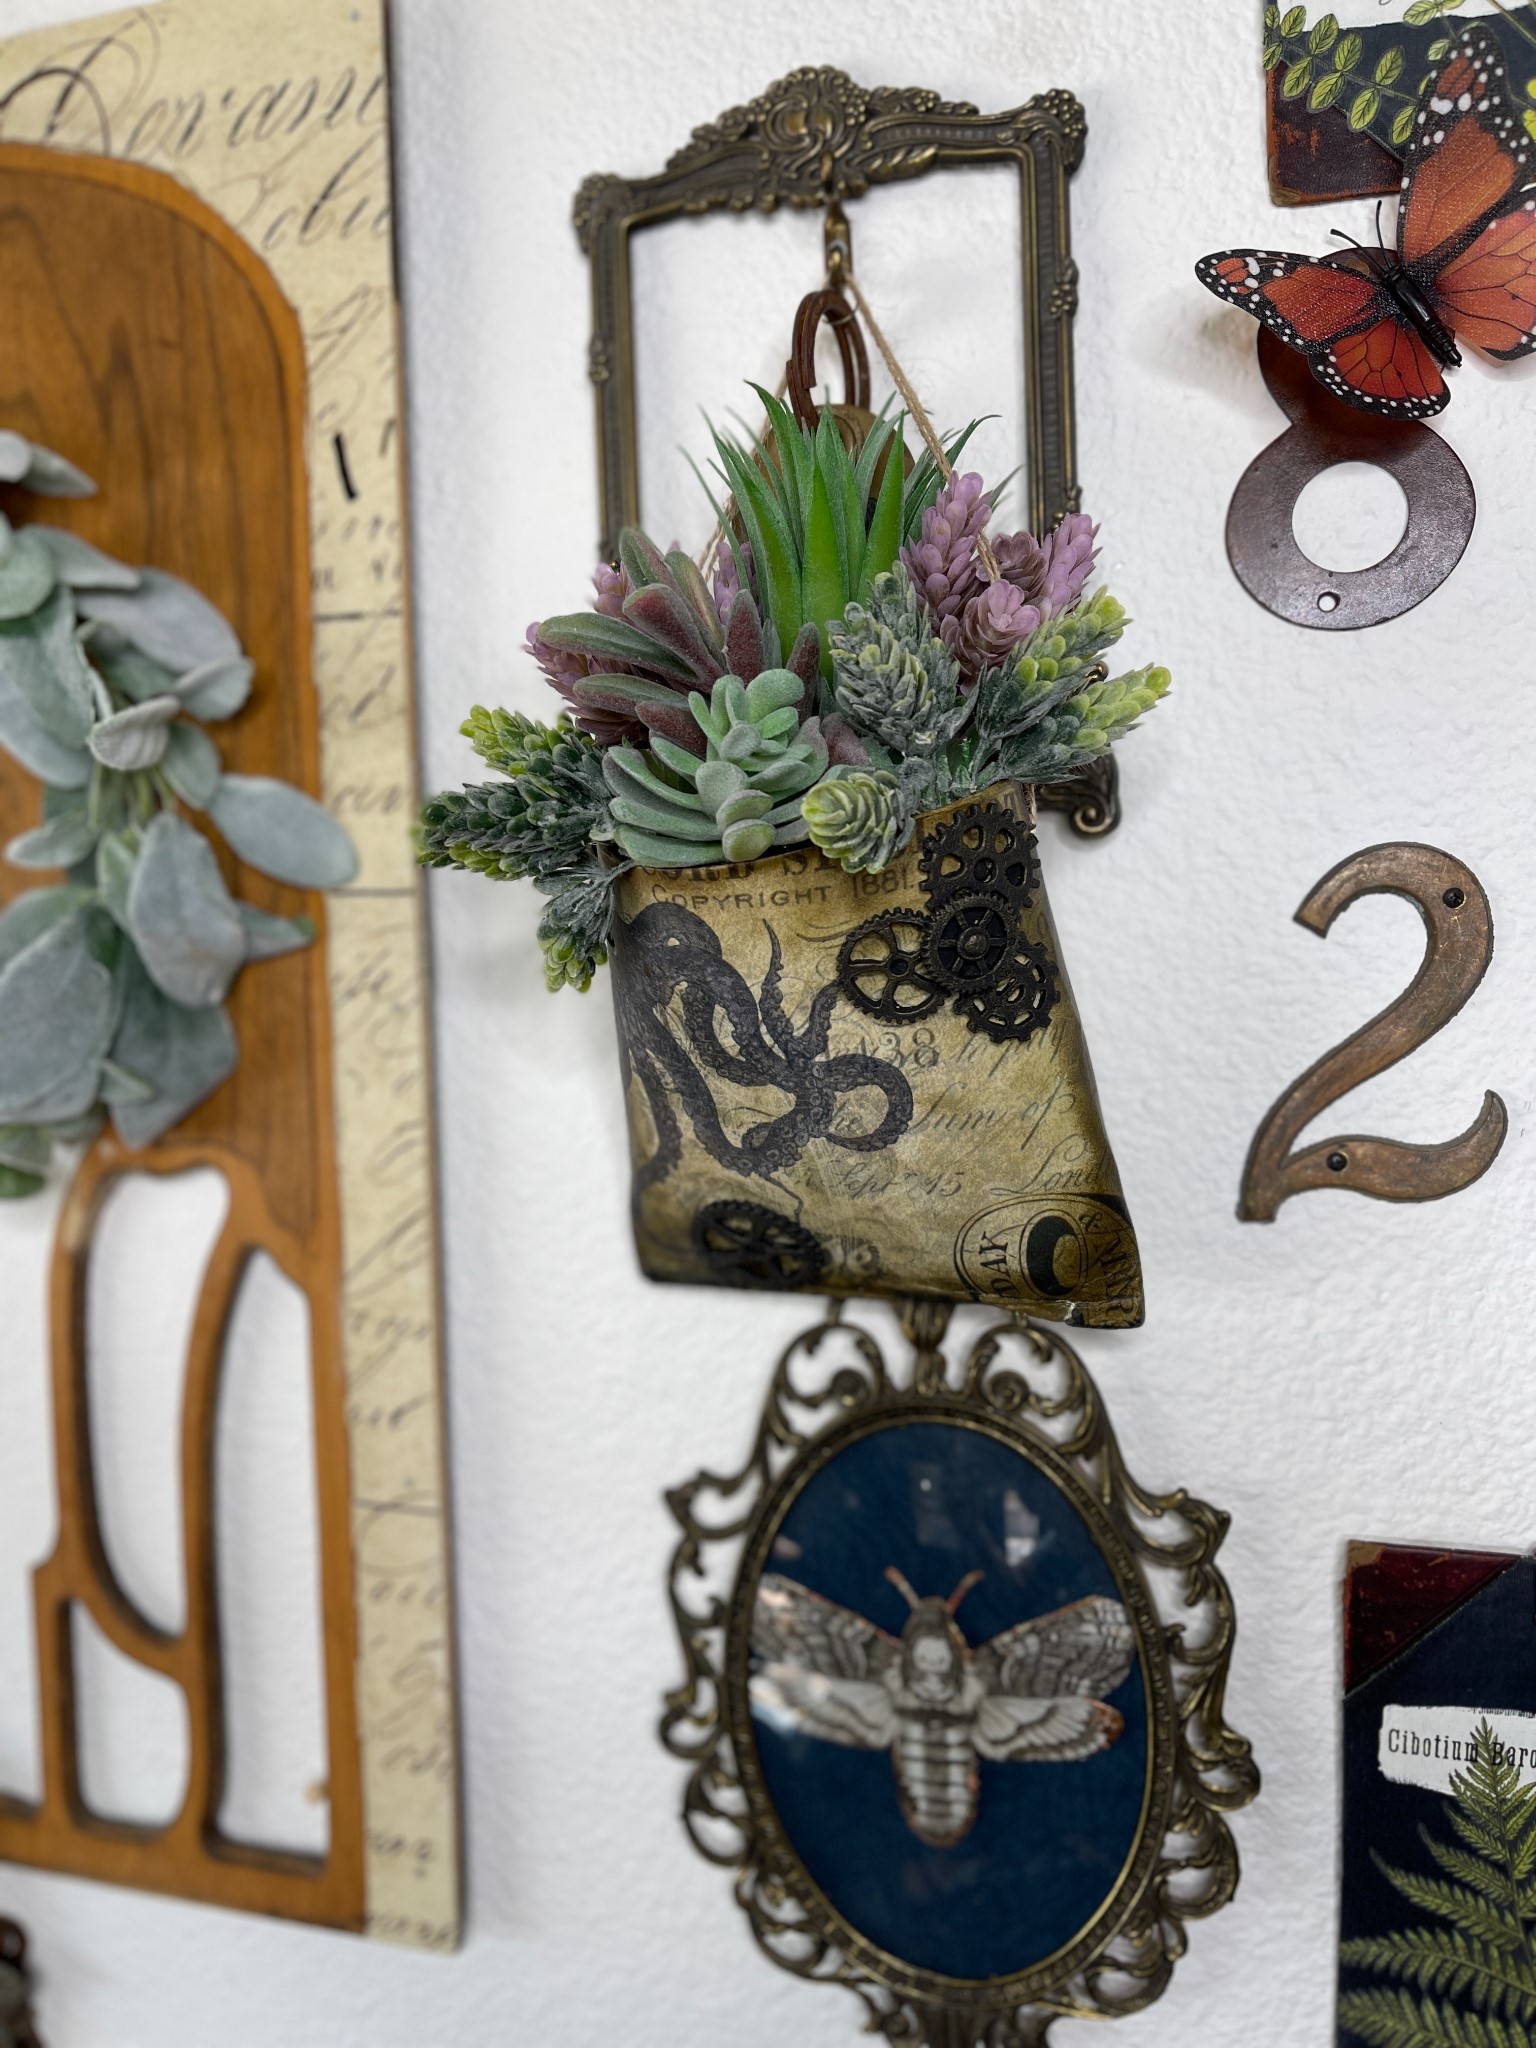
10. Hang and enjoy!
Here’s the final result!
 Get Beginner Freindly Tips and Tricks For Creating Your Custom Home Decor