I am having SO much fun with these little projects. It’s so easy to have a vision and finish it really quickly. So be careful, these can be addicting! These are instructions for the tag in the video, but you can use: decoupage paper, transfers, stamps, and even moulds on your project.
List of supplies
-
Unfinished wood tag
-
Unfinished wood square
-
Roycycled Decoupage Paper Scraps
-
IOD Ephemeral Malang Transfer
-
Wise Owl Chalk Synthesis Paint in Antique Villa
-
Wise Owl One Hour Enamel Clear
-
Felt Covered Spatula
-
A piece of stiff plastic paper
Start your project by applying one coat of white paint or primer on your wood tags. You don’t have to do this step, but creating a light base will help the artwork of the Roycycled Decoupage Paper really pop.
Decoupaging Your tag and square
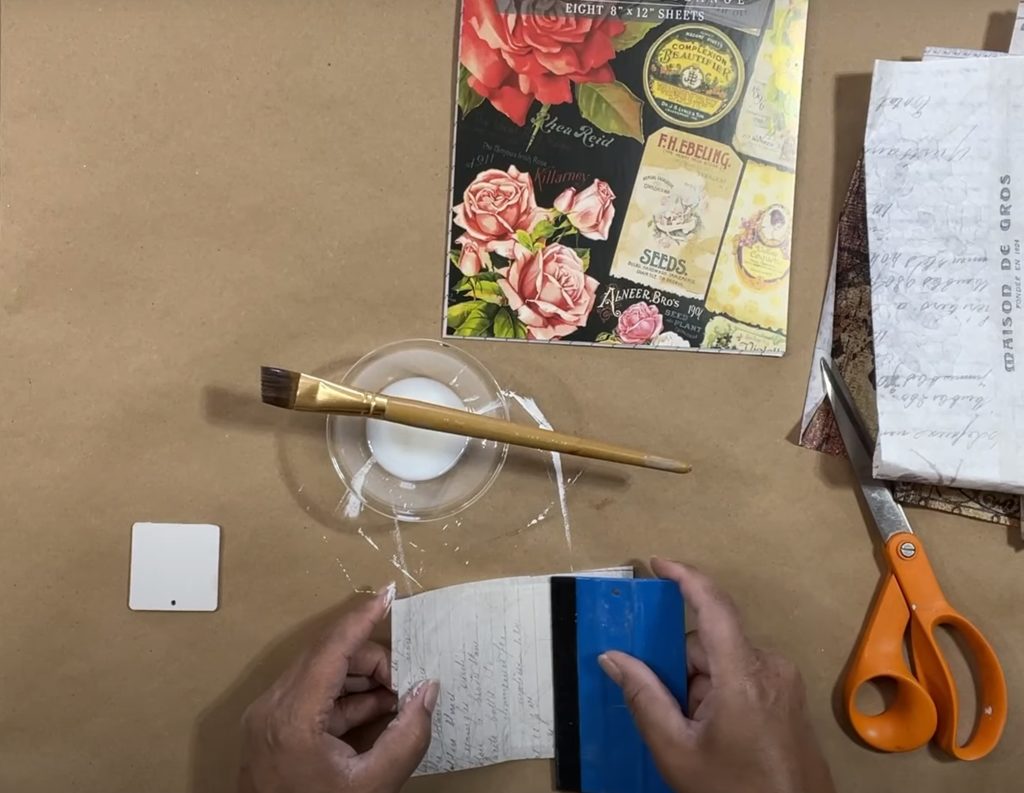
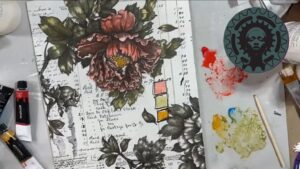
Once the initial coat of paint or primer dries, you can move on to the decoupage. Roycycled Decoupage Papers come in 20” x 30” sheets. This is a small project, so I’ll be able to decoupage it in one go.
Begin applying Wis Owl Varnish to the surface using a Wise Owl Micro Angle Paint Brush. Make sure you cover the entire surface with an even coat of One Hour Enamel. Any dry spots or unevenly applied areas will cause bubbles later. You may have small wrinkles, but don’t worry. Most of them will disappear as the paper dries and shrinks. Once you’ve applied the Wise Owl Varnish, apply the paper. Rub gently from the inside out to push out any bubbles. If you use a felt-wrapped spatula, you can manipulate the paper a little more without the risk of tearing your paper.
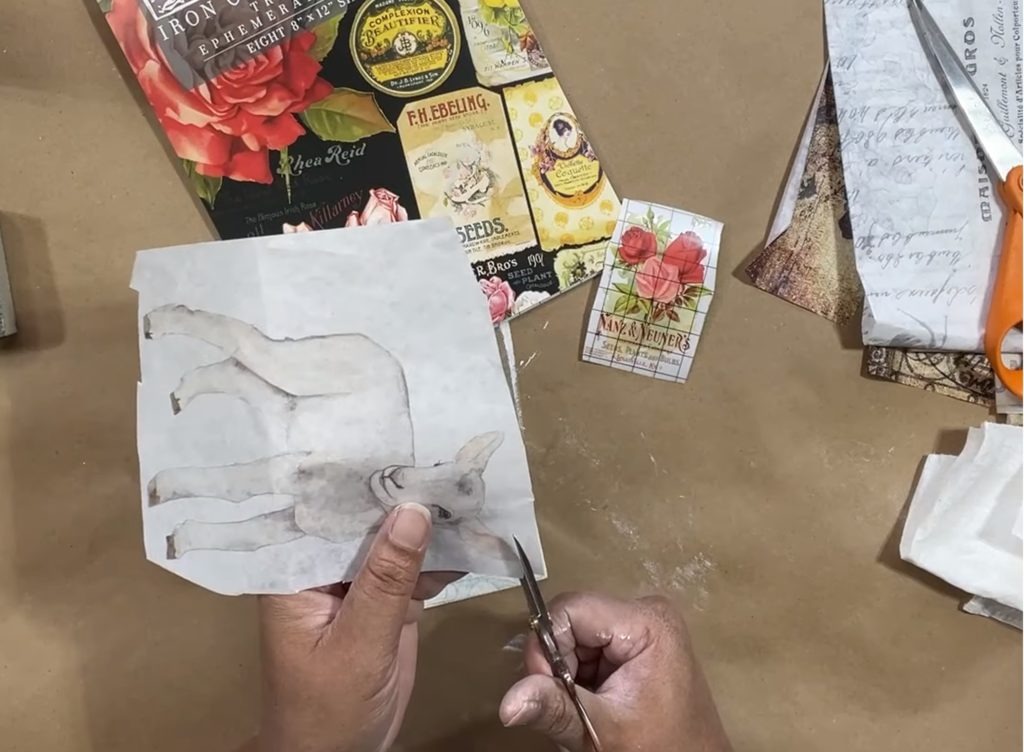
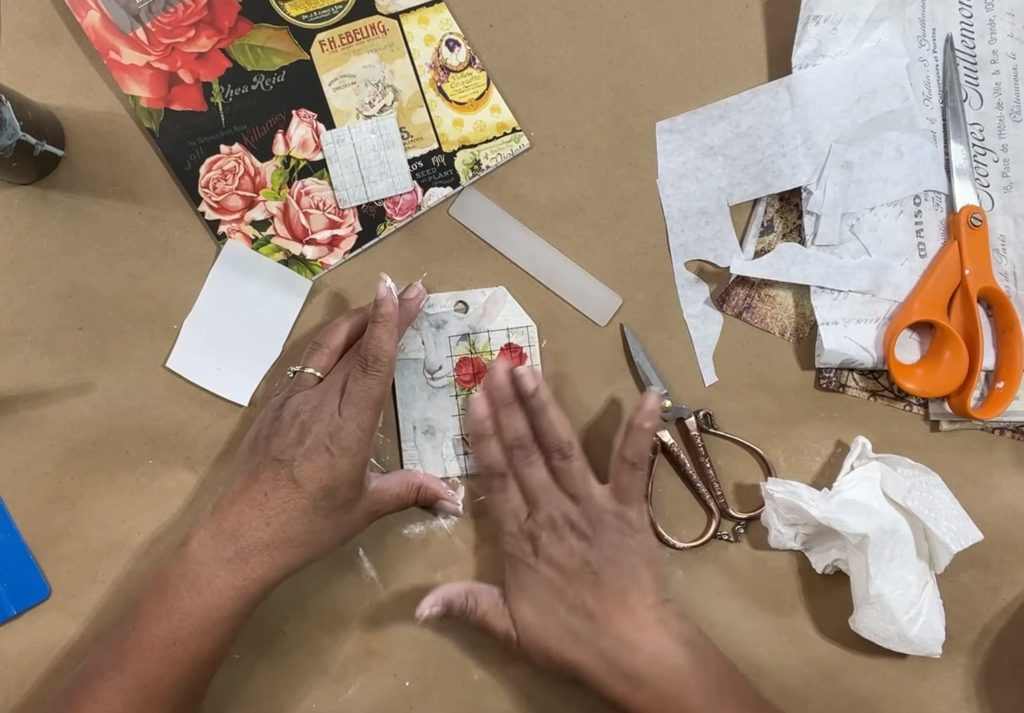
Layering On Your lamb
If you layer over the first layer of your decoupage, the bottom layer will show through your top layer as the paper becomes transparent when it’s wet. In order to prevent this from happening, you’ll need to take a few extra steps when decoupaging your lamb.
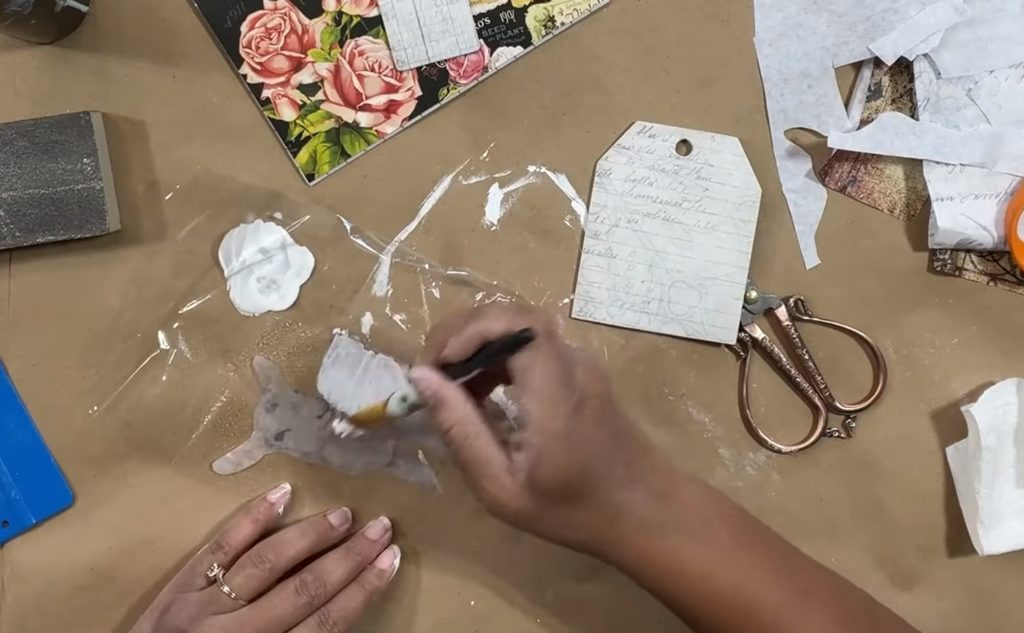
Fussy cut your lamb removing the white background. Take your stiff plastic, and spritz it with a light layer of water. This will hold your lamb in place. Turn your lamb with the front-facing down, and tap it down onto the wet plastic. If you see wrinkles, you can carefully pull your tissue to remove them. Take a small amount of varnish, and paint and mix them together. 50% paint and 50% varnish. Paint this mixture onto the back of the lamb. Be careful not to get paint on the plastic so it doesn’t transfer to your project. Flip your plastic over, and apply your lamb onto your project. Using your spatula, scrape over the top of your plastic to help your lamb adhere to the surface. Carefully lift your plastic, and your lamb should have adhered. If an edge lifts up, you can carefully hold it down while you lift off your plastic. As the lamb dries, the paint will become more opaque, and you will hardly be able to see the background through him. Apply a good layer of varnish over the top of your entire design to seal and protect it. Once dry, use a 320 grit sanding block to trim off the excess paper.
Adding A Transfer
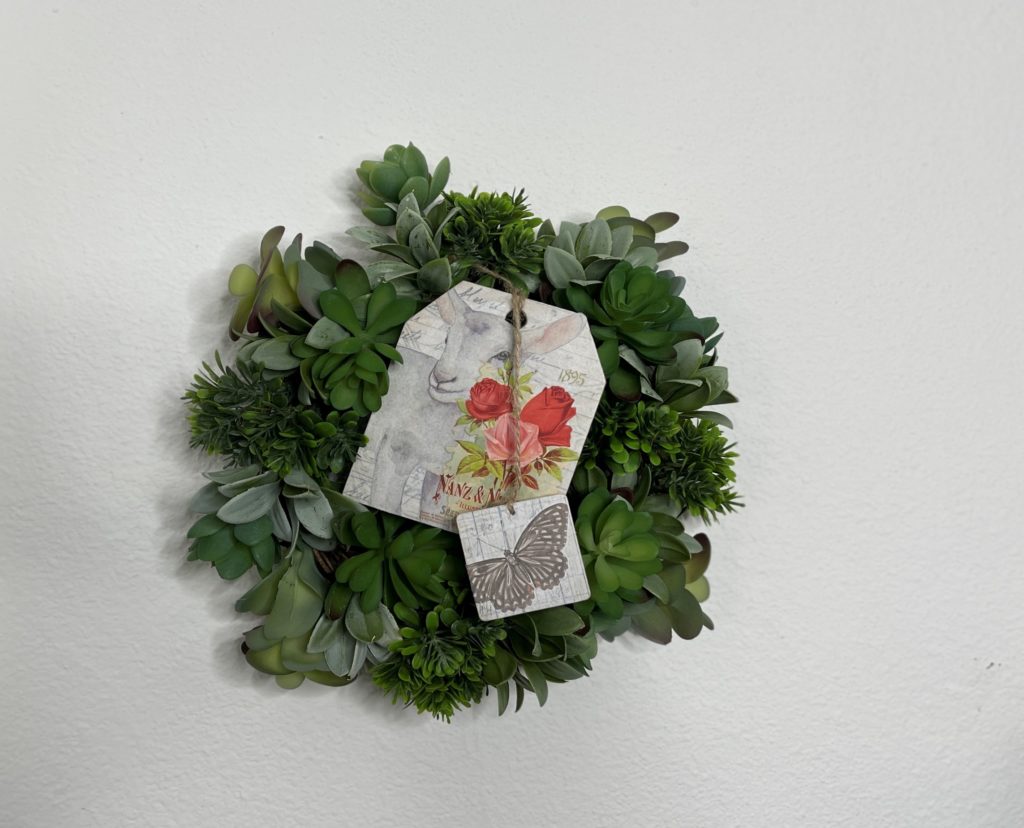
Add a transfer bit for a little pop of color. Be sure your project is completely dry before adding your transfer. The transfers don’t like moisture, and this could affect their adhesion. To add your transfer, remove the paper backing, and apply your transfer where you like. Use the plastic braying tool that comes with the tag to rub the transfer off of the carrier sheet, and onto your surface. Lift your edges carefully once done to make sure the transfer has adhered. If there is a portion still on the carrier sheet, simply lay it back down, and rub that portion of the transfer. Once you have removed the carrier sheet, use it to lightly rub the transfer to ensure there is good contact between the transfer and the surface. I added a butterfly to my tea square, but you can add any element you’d like.
Putting It All Together
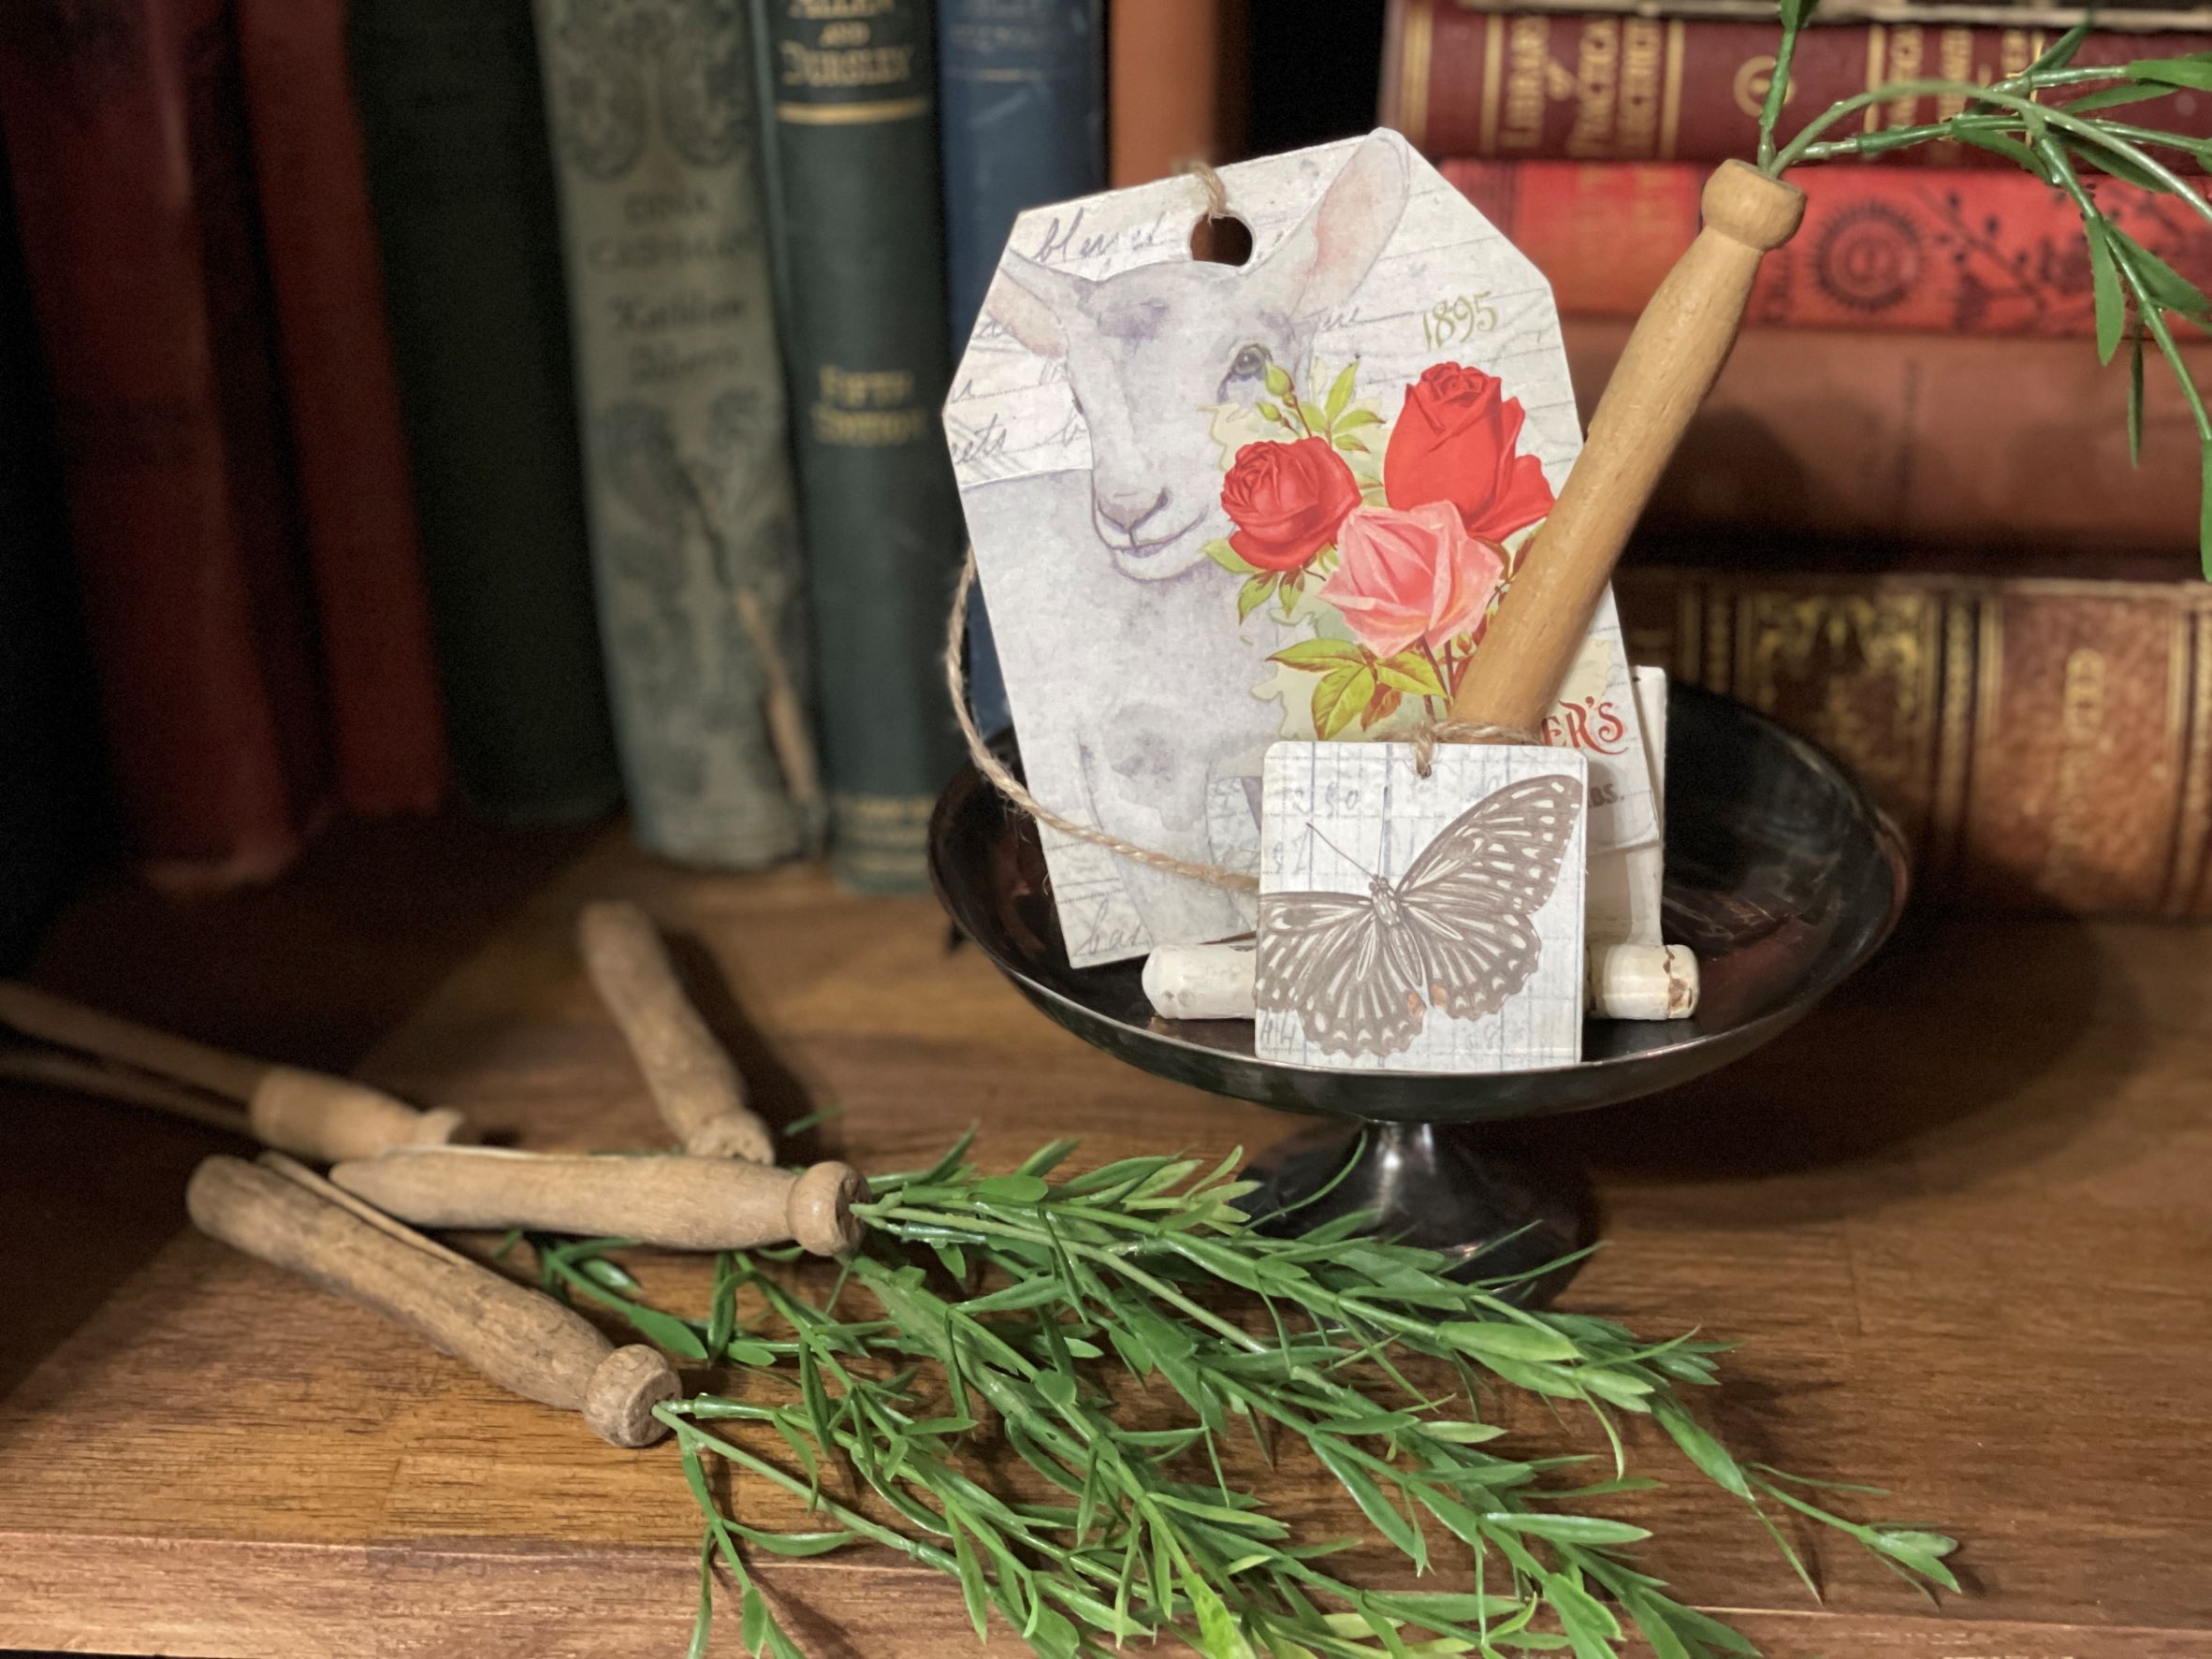
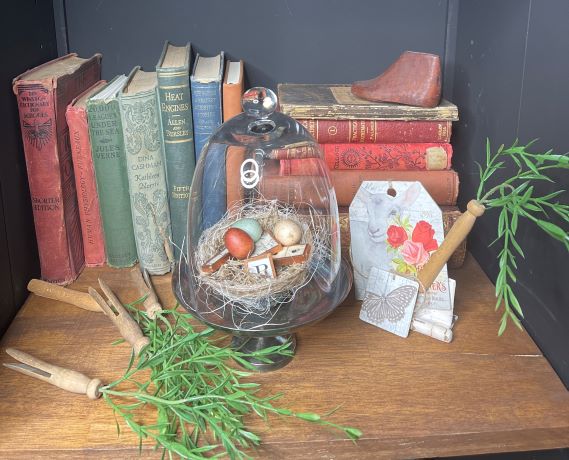
Once both of your pieces are completed, use a piece of string to tie them together. Wala!! You have a super cute wood tea bag. I have hung mine over photos in hooks in my house. You can use them to add interest to special places in your home.
