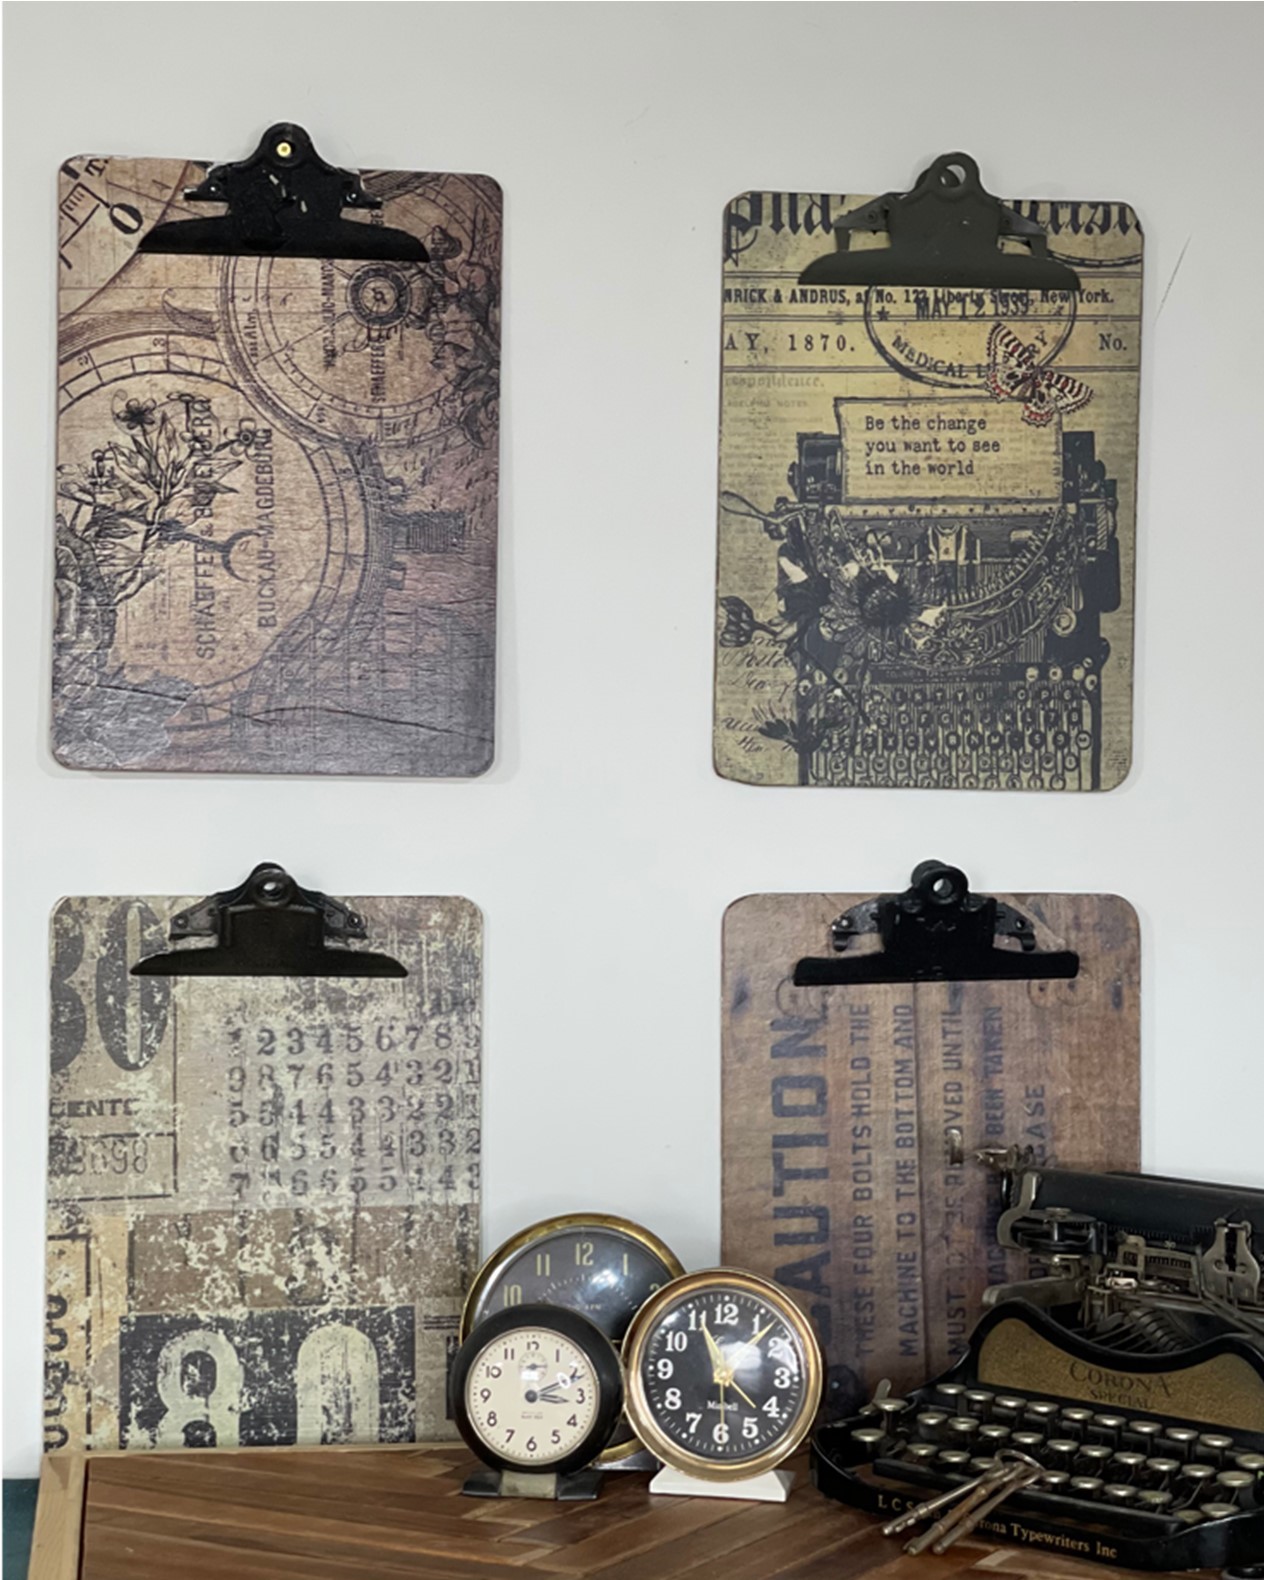
What better way to learn how to decoupage than updating thrift store clipboards for functional artwork in your space. The holidays are just around the corner. These would make perfect gifts for teachers, students, or friends with home offices.
Subscribe To My Youtube Channel HereList of Supplies
-
Dollar Tree Wood Craft Cubes
-
Roycycled Decoupage Paper
-
Wise Owl Stain Blocking Primer
-
Wise Owl Chalk Synthesis paint
-
Wise Owl Clear One Hour Enamel
This list contains some affiliate links. If you click and purchase I may receive a small commission at no extra cost to you. I only recommend products I have purchases, used, and enjoy.
Prepping your clipboard
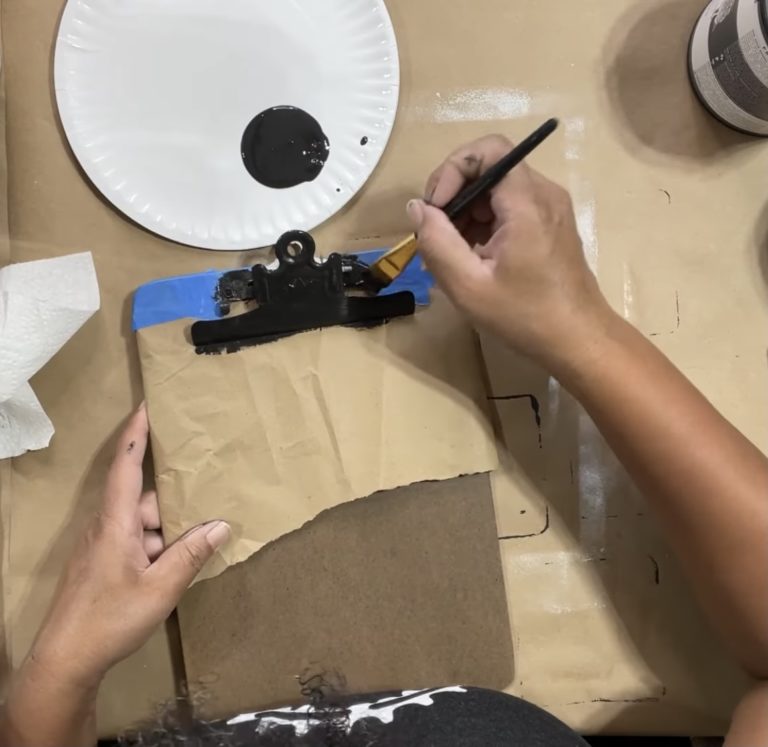
Start your project by cleaning your clipboard of any dust and/or debris. Using paper and tape, mask off your clipboard in order to paint your clip. Use Wise Owl primer to prep your clip for paint. After your clip has dried, shift your attention to the back of the clipboard. I like to let my paint dry for a while when painting metal to insure I don\’t scratch it with my clamp. I used a clamp to hold the metal clip open, but a zip tie would be a lot easier (I continue to learn  ). I prefer to use primer when painting my thrift store clipboards. Wise Owl’s Stain Blocking Primer will block out any stains, and/or old scribbles that may be on the board. Once the primer dries, prepare your board for decoupage.

Decoupage
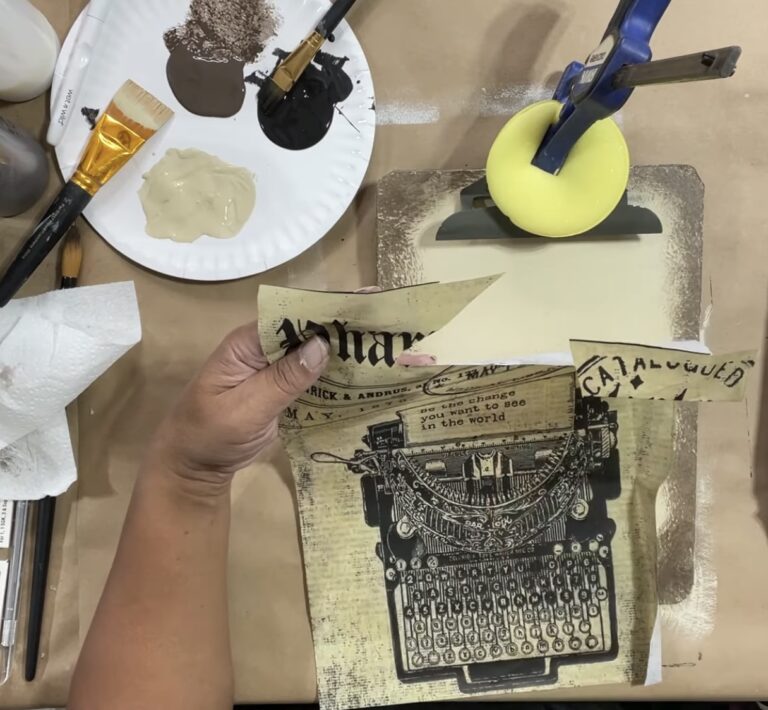
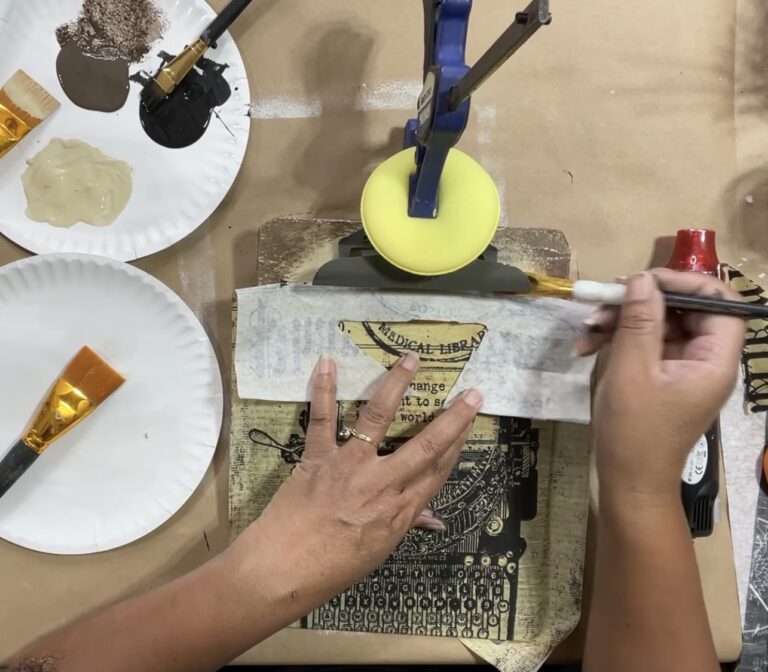
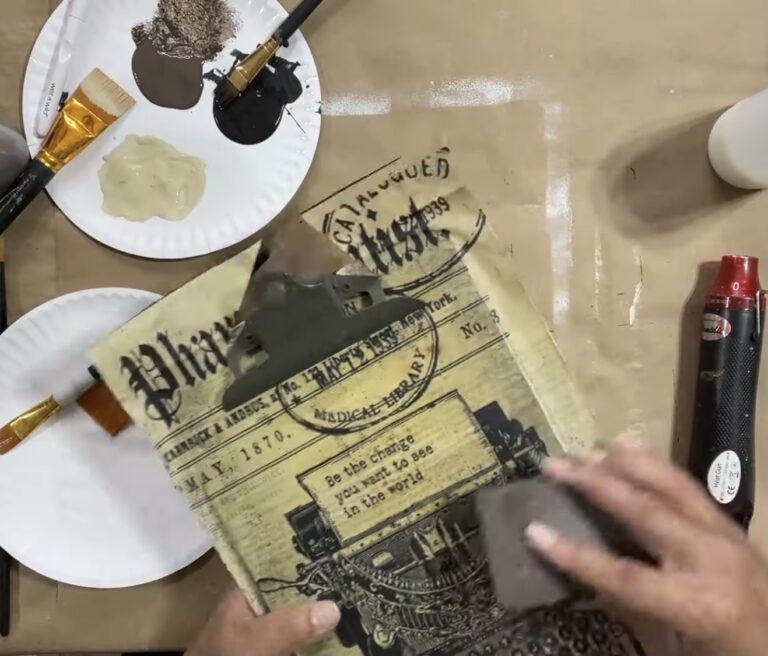
Before starting your decoupage, you’ll want to do a dry fit with your paper, and decide exactly how you want it to lay. Make diagonal cuts along the top of your paper so it fits around the clip. Once you’ve decided how you want your paper to lay, take the clamp off of your clip, and use it to help hold your paper in place. We’re going to begin decoupage on the top of your clipboard. Lay down enough One Hour Enamel and cover about ½ of your clipboard. Lay your paper down, a little at a time, and smooth it out from the top to the bottom using your balled-up piece of plastic wrap. Once you’ve adhered to the first portion, repeat this process until the entire board is decoupaged. In order to decoupage the top, you’ll need to take a little more care. Re-clamp your clip. If you used a zip tie to open the clip, don’t worry about unclamping and re-clamping. Fold your paperback to gain access to the area under the clip. Using a small brush, apply One Hour Enamel to the top of your clipboard underneath your clip. Be very careful not to get product on your paper. Ensure that the entire surface is covered, and roll your paper up to adhere it. Using your ball of plastic wrap, smooth it out until the paper has adhered.
Find Your Roycycled Decoupage Paper Retailer Here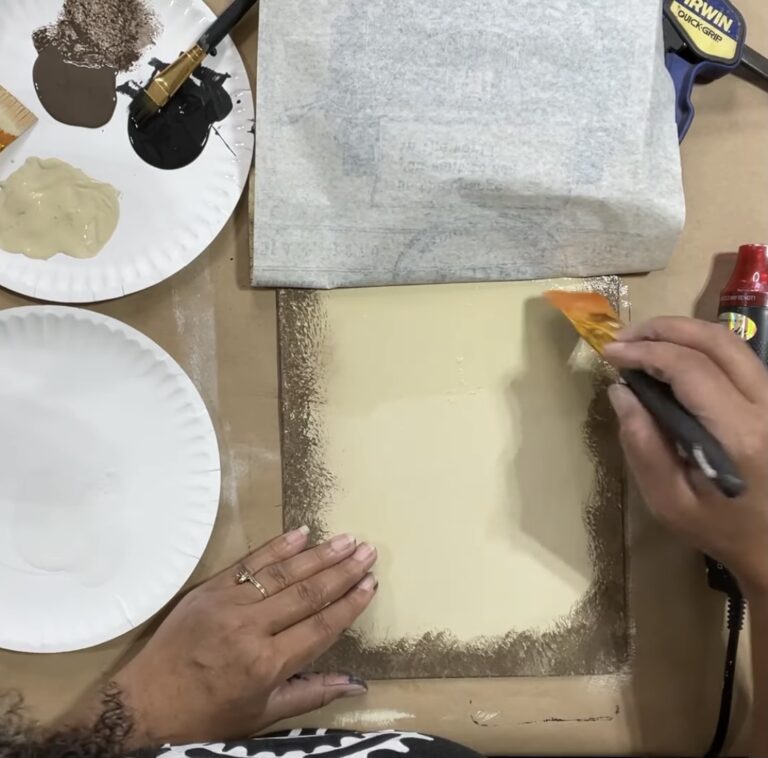