
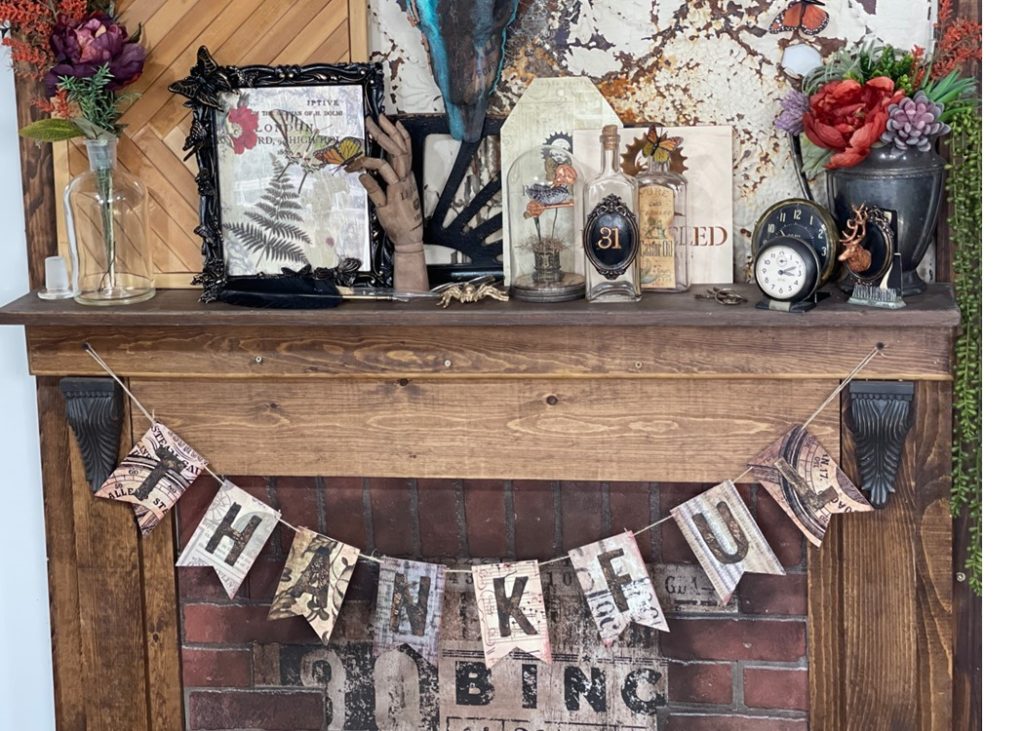
Words are so powerful. This craft idea enables you to put words in your space to set the tone for your celebrations. This Thanksgiving Decor Craft Idea is so fun. Create a custom DIY bunting for your fireplace using Roycycled Decoupage Paper and craft supplies. Use the iron on decoupage method for wrinkle-free decoupage. You can use these letters on tons of other projects!
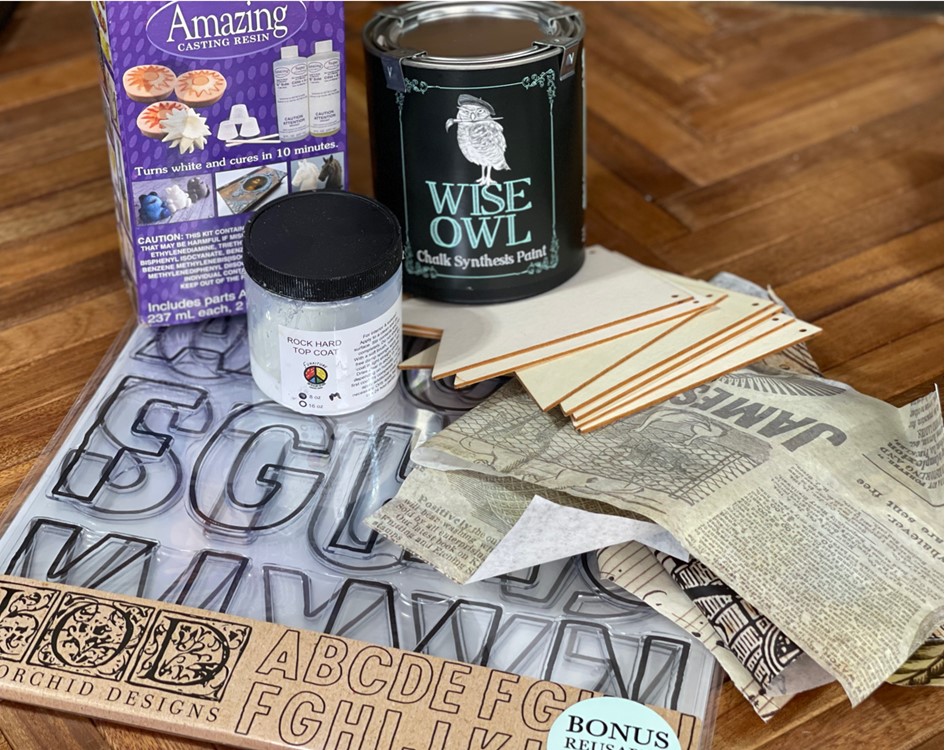
Supply List
-
Unfinished wood bunting flags
-
Roycycled Decoupage Paper
-
Wise Owl Chalk Synthesis Paint in Antique Villa
-
Funkiture DIY Rock Hard Top Coat
-
Cricut Easy Press Mini
-
Iron Orchid Design Retro Stamp
-
Amazing Castin Resin
-
220 grit sanding block/paper
-
Protective Sheet (Teflon sheet, parchment paper, or plain tissue paper)
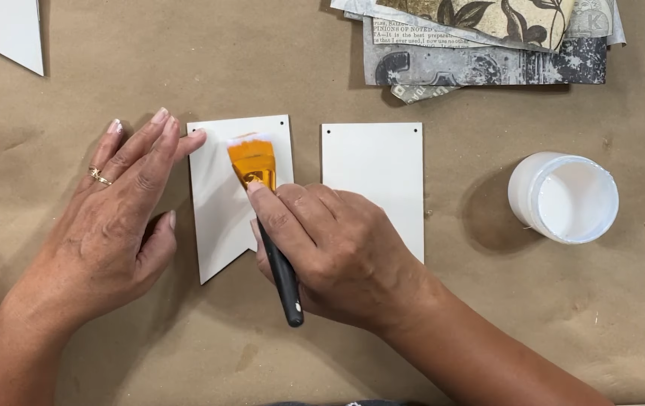
Prepping Your Flags
Start your project by applying a thin coat of white chalk synthesis paint to your bunting flags. This will ensure your decoupage images really pop. After the paint has dried, apply three coats of your decoupage medium. I used Funkiture DIY Rock Hard Top Coat. If you are using a thicker decoupage medium like mod podge, or a gel medium you may only need one or two coats. It’s important to allow each layer to dry before applying the next. Be sure each flag is covered evenly on each coat to avoid bubbles down the road.
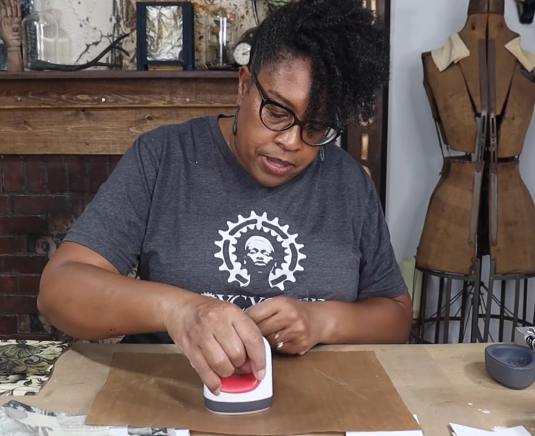
Decoupaging Your Flags Using the Iron On Decoupage Method
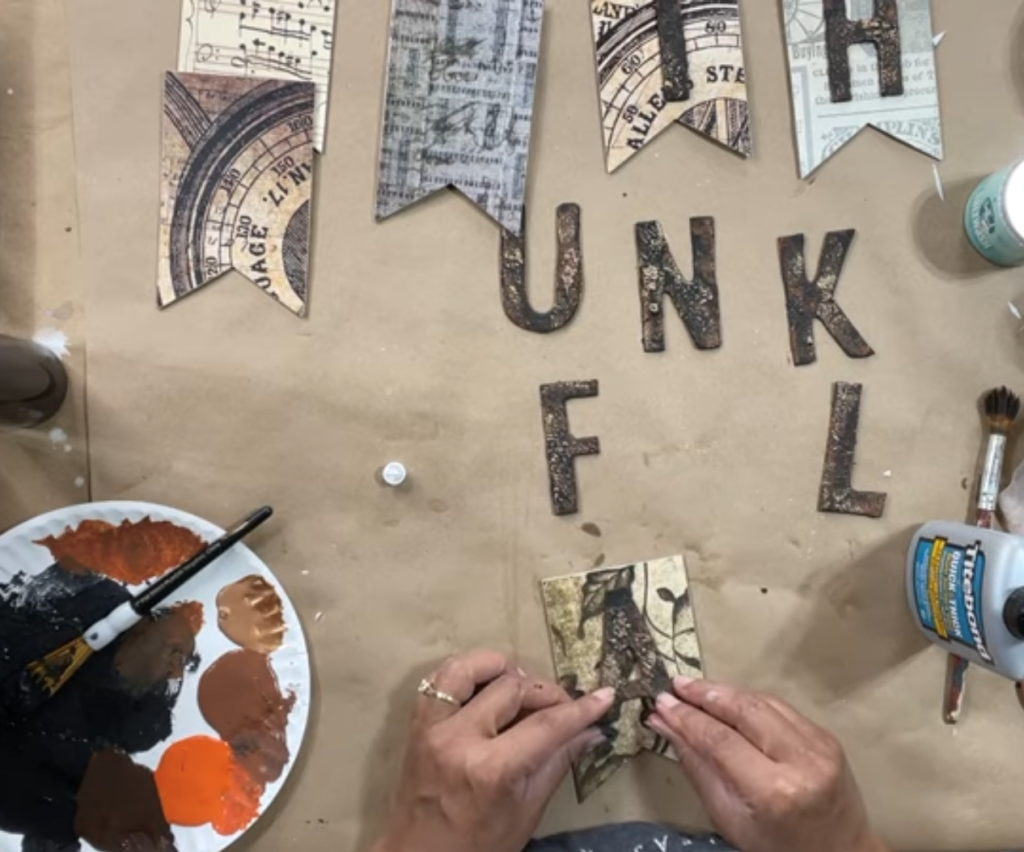
Now that your flags are prepped, you can begin decoupaging. I pulled together a group of decoupage paper scraps that would work well together. This is a perfect project to pull out your container of scraps, and put them to use. The small flags make it easy to cover them with small leftover pieces of paper.
Lay your paper over your flag. Your flag should be completely dry. Once you’ve settled on placement of your paper, lay a protective layer between your paper, and your heat source. I used a Teflon sheet to protect my tissue paper, but you can use parchment or plain tissue paper. I used a Mini Cricut Press as my heat source, but you can use your iron (just be sure there is no water in it). Lay your protective layer over your decoupage paper, and run your iron over the surface of your piece. The heat from your iron will re-activate the sealer underneath, and the paper will adhere with no wrinkles!! Repeat this process until all of your flags are decoupaged.
Using a 220-grit sanding block, sanding paper, or even an emery board, trim the excess paper from your flags. Remember to only use a downward motion when trimming to avoid tearing your paper.
Once your flags are trimmed, go over the top with a sealer for good measure. You may see some bubbles when you seal your piece, but don’t panic. Leave them alone, and the bubbles and wrinkles will disappear as the paper dries.
Making Letters for Our Flags
I’ll be using Iron Orchid Design’s Retro Stamps as moulds and Amazing Casting Resin to create 3D letters for the flags.
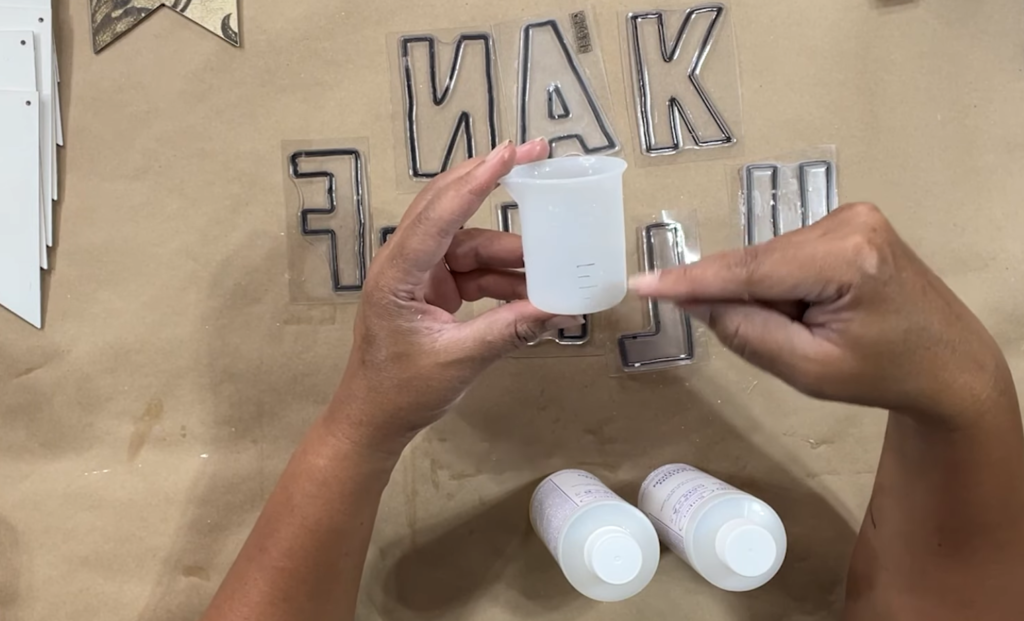
To prepare your resin, you’ll need a silicone measuring cup, a popsicle stick, and your resin kit. Take a marker and mark measurements on your cup so you can see them clearly. You’re going to mix a total of 40 ML of casting resin. Pour both parts of your resin into one cup. Pour part A of your resin up to 20ML, and pour part B up to 40 ML. When mixed, your resin will turn cloudy. Stir your resin for about 1 minute until it is clear. You will have 10 minutes before your resin sets.
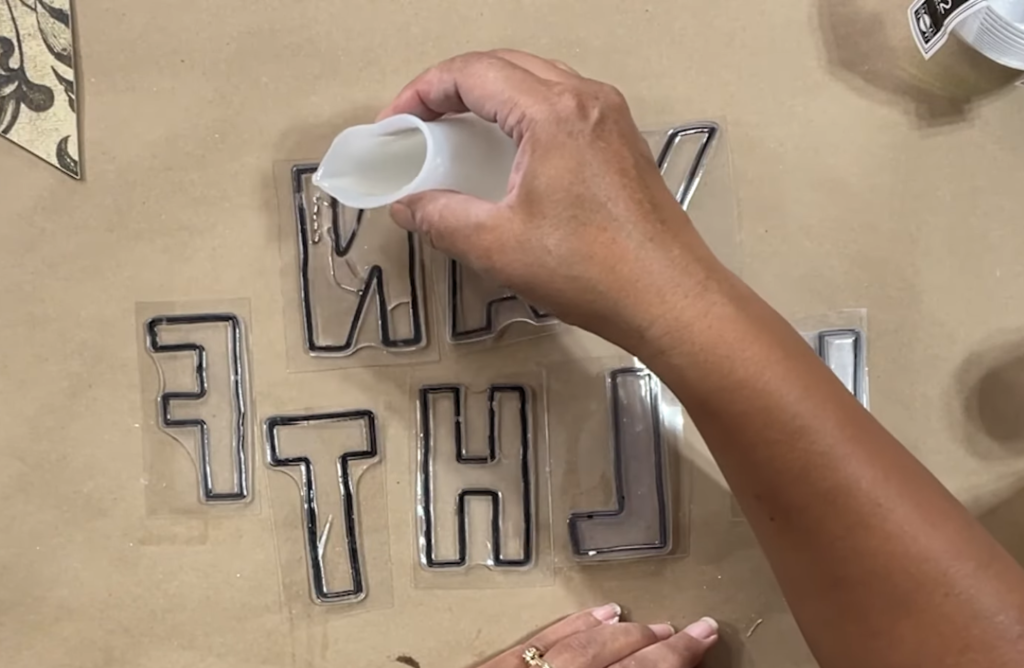
Set your Retro Stamp pieces with the shallow side facing up. Be sure your letters are on a level surface. Carefully pour the resin into each of the stamps until they are full. Let your letters set for about 10-15 minutes until your resin is cured. You’ll need to move relatively quickly to ensure your resin doesn’t set in your cup.
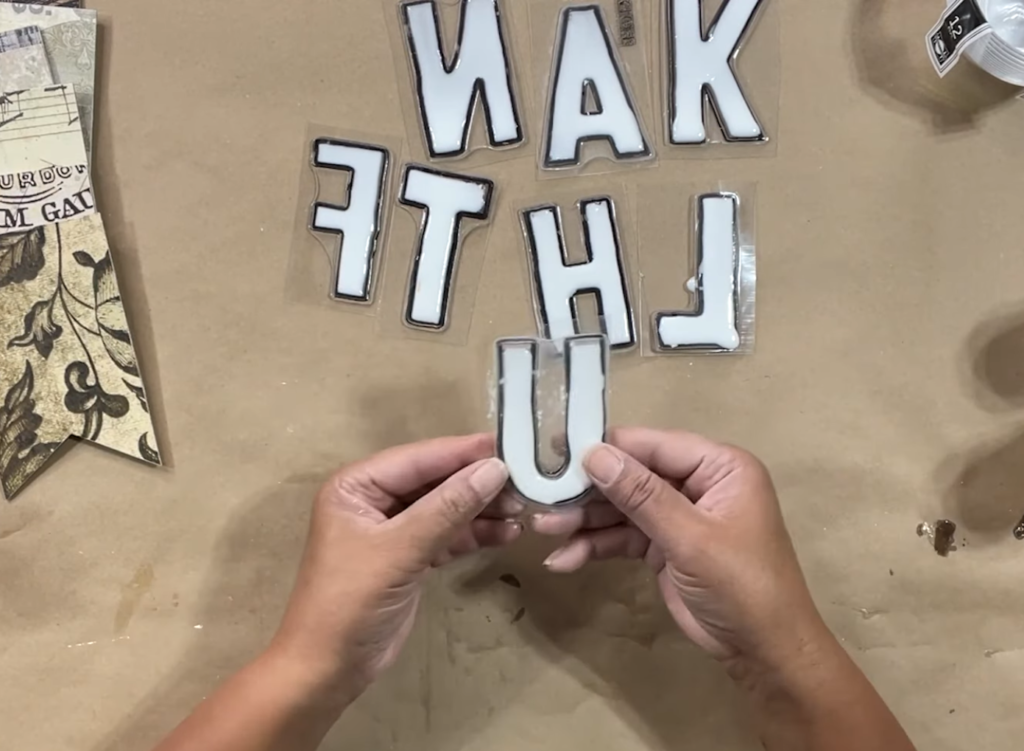
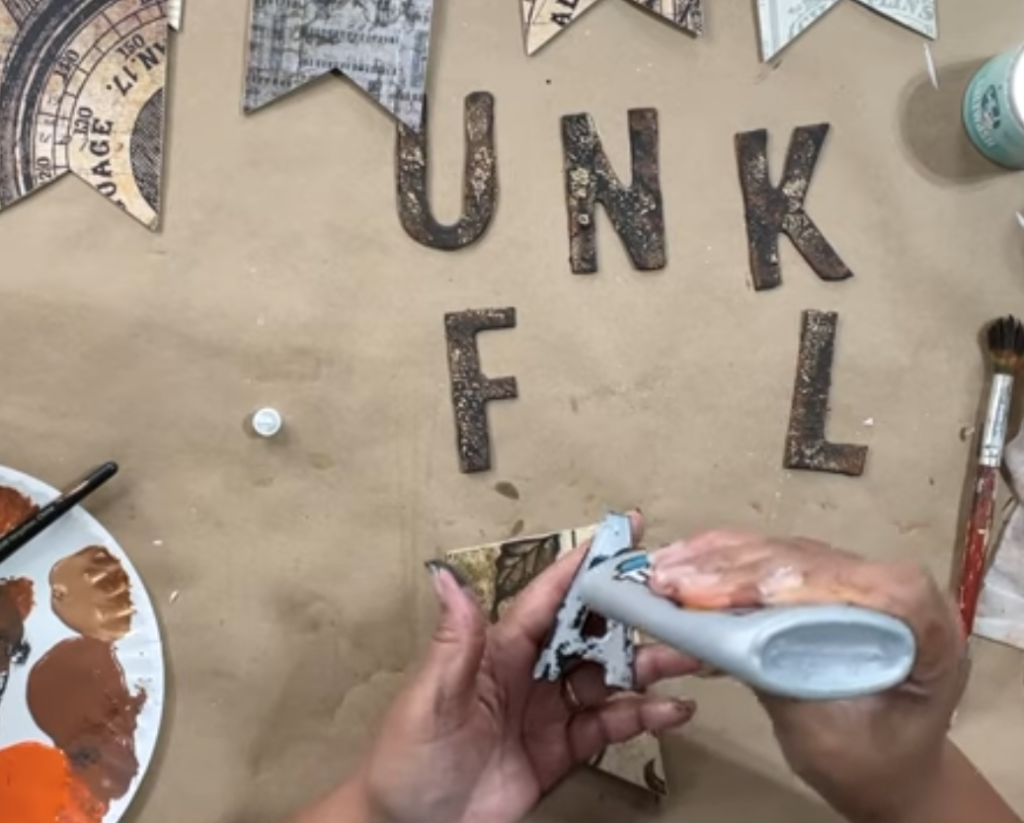
Once cured, you can remove your letters from the Retro Stamps. If you overpoured your resin, no worries. Just use your scissors to snip them off while your resin is still soft. Now your letters are all ready for paint! I used Wise Owl Chalk Synthesis Paint in Black, Mandarina, Chocolate Brown, and Iron Oxide to create my rusty finish. But you could paint your letters whatever color you like.
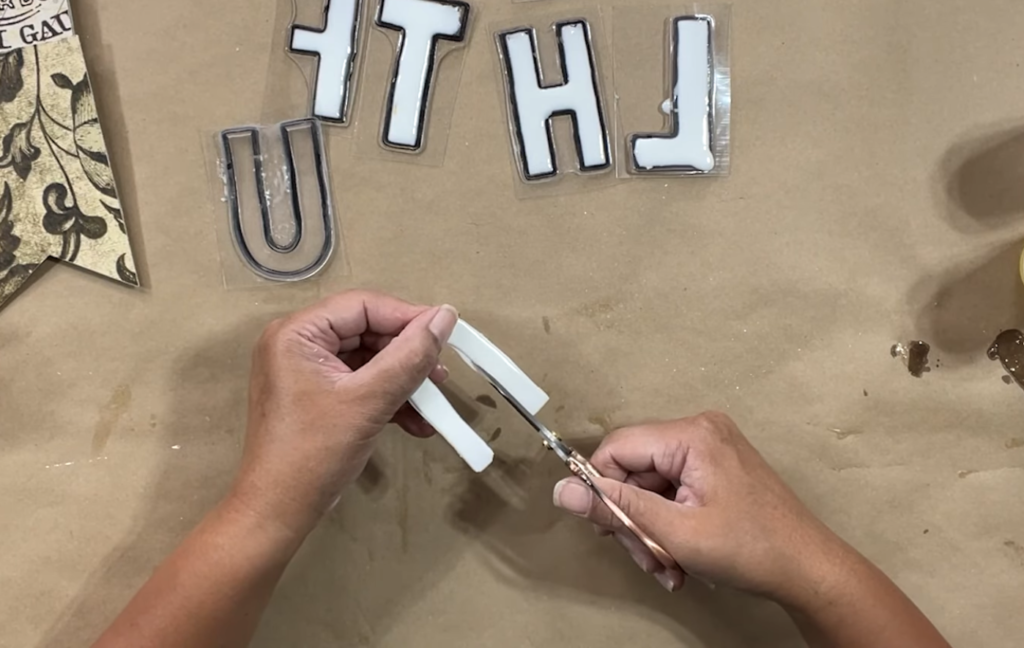
If you overpoured any of your letters, you\’ll want to address them now while your resin is still soft. Simply take your scissors, and snip off any bits caused by overpouring your resin.
Now that your flags are decoupaged, and your letters are all set, you can assemble your bunting. Using Tight Bong Quick and Thick, you can glue your letters onto your flags. Measure if you’d like, but I just eyeballed and glued the letters to the center of each flag. Once the letters are glued onto each flag, string them together to create your bunting.
