Simple Decoupage for Beginners
Subscribe To My YouTube ChannelIt’s amazing how transformative this simple decoupage project is. It only includes a few simple steps and Wala!! You may need to practice to perfect the process, but like I always say, you can’t say you’ve tried something unless you’ve tried at least three times.
Gather your supplies:
-
Project Piece (I’m using a thrifted cutting board)
-
One sheet of Roycycled Decoupage Paper
-
Wise Owl Stain Blocking Primer
-
Wise Owl Matte Varnish (I prefer matte, but satin and gloss are also available)
-
220 grit sanding block
-
Wise Own Micro Angle Paint Brush
Each sheet of Roycycled Decoupage Paper measures 20” x 30”. They are scaled perfectly for furniture decoupage but can be cut apart for smaller craft projects and home decor. The 18lb paper is a perfect weight. Light enough to virtually disappear once decoupaged, but heavy enough to make decoupage easier
Find a Roycycled Decoupage Paper Retailer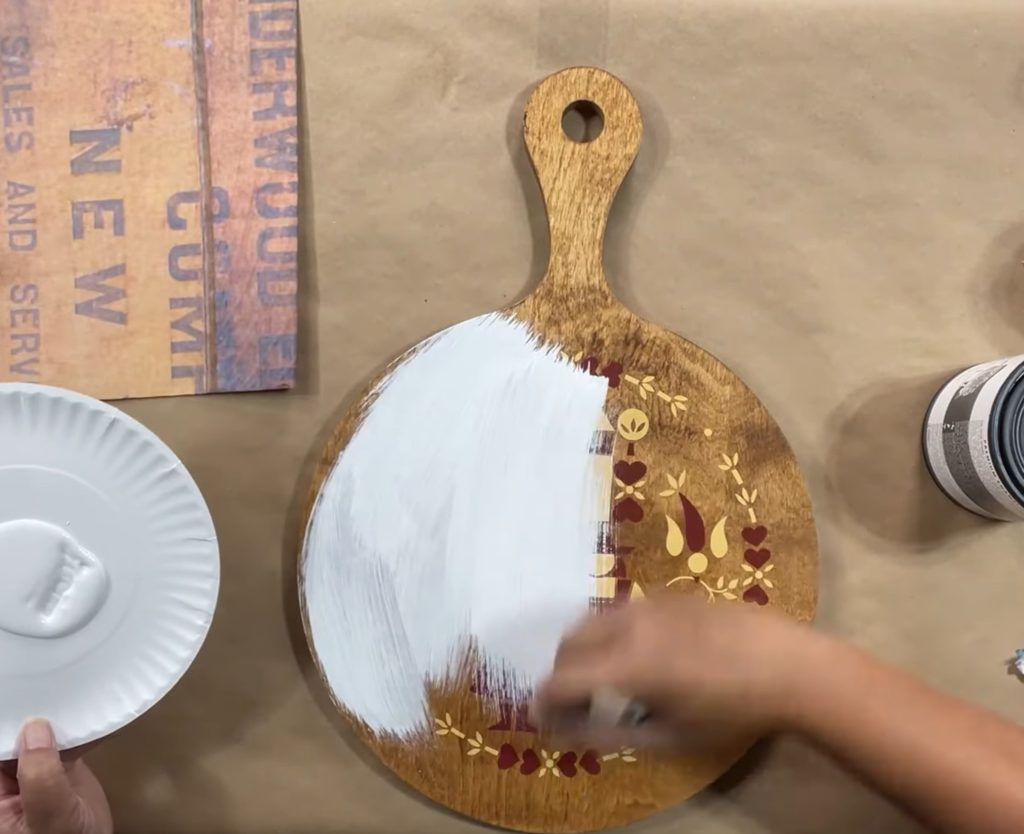
Prepping Your Surface
Apply one coat of white paint or primer. You don’t have to do this step, but creating a light base will help the artwork of the decoupage paper be the star of the show. You can decoupage over a dark surface, just know that your image won’t be as prevalent in your final finish. If you are working with a new piece of wood, or a piece that has a finish, then chalk-style paint is fine. If you are decoupaging over old raw wood, you’ll want to use a quality stain-blocking white primer.
Once the initial coat of paint or primer dries, you can move on to the decoupage. Roycycled Decoupage Papers come in 20” x 30” sheets. This may be larger than your project.
-
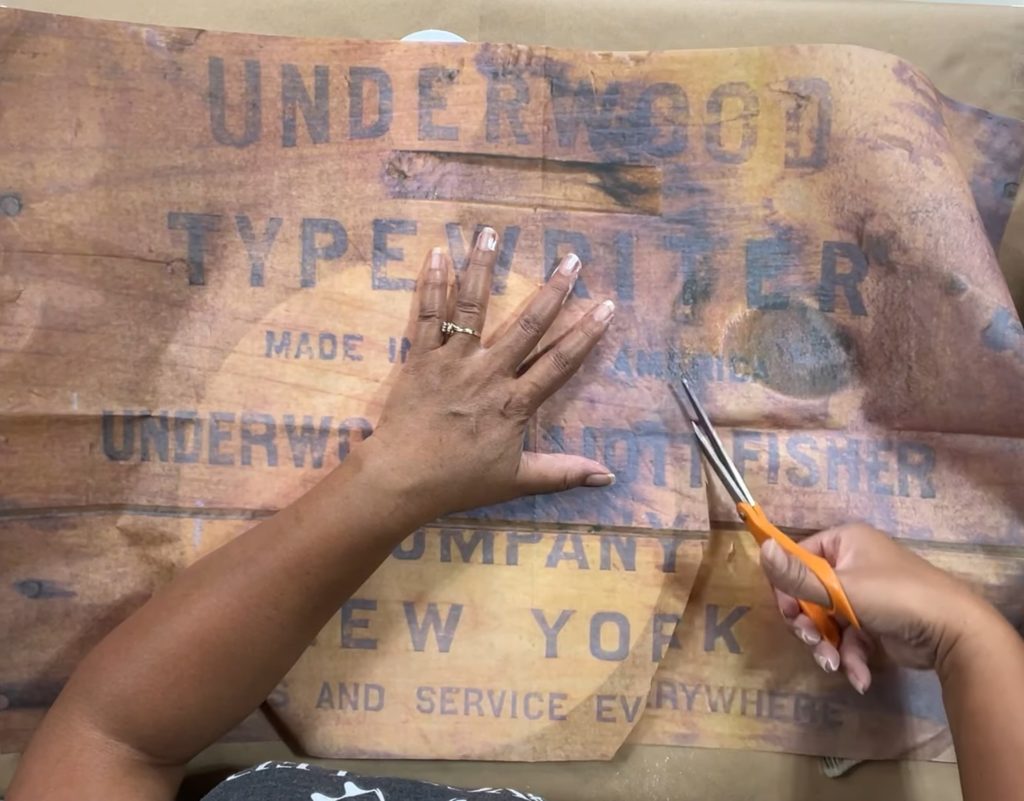
The first step is deciding which portion of the design you would like to be decoupaged on your piece. Once you decide, trim any excess leaving about an inch overage on all sides. Don’t worry about trimming perfectly, we’ll address that later.
-
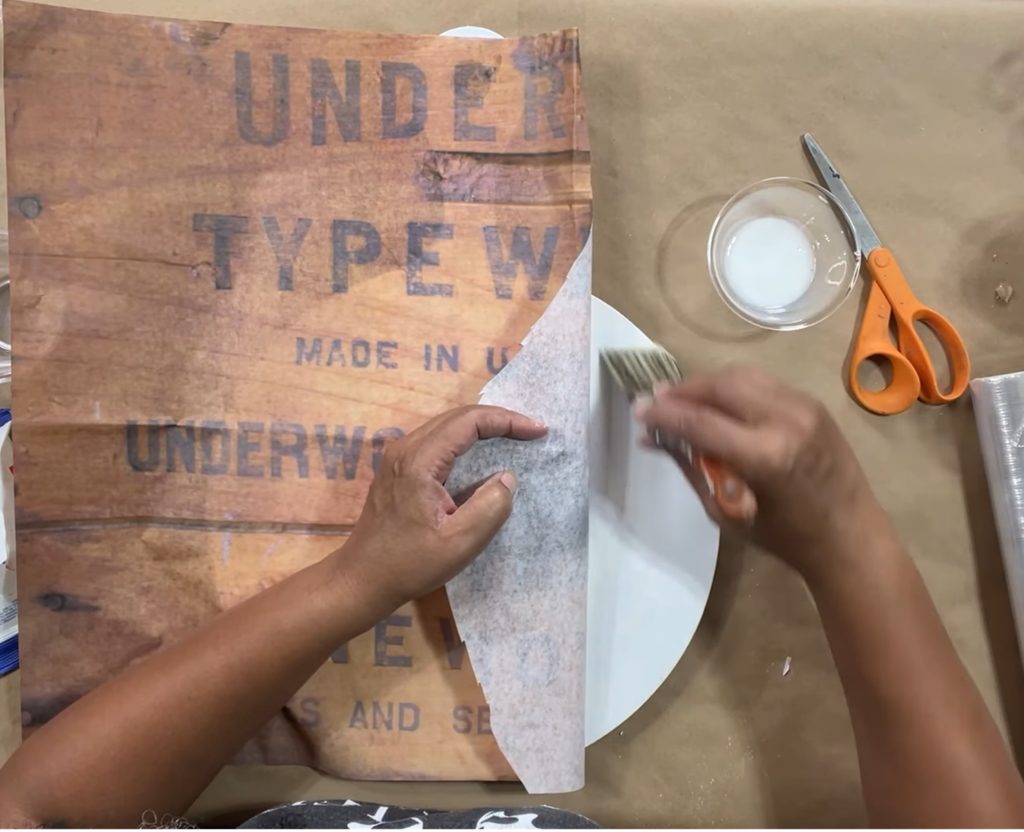
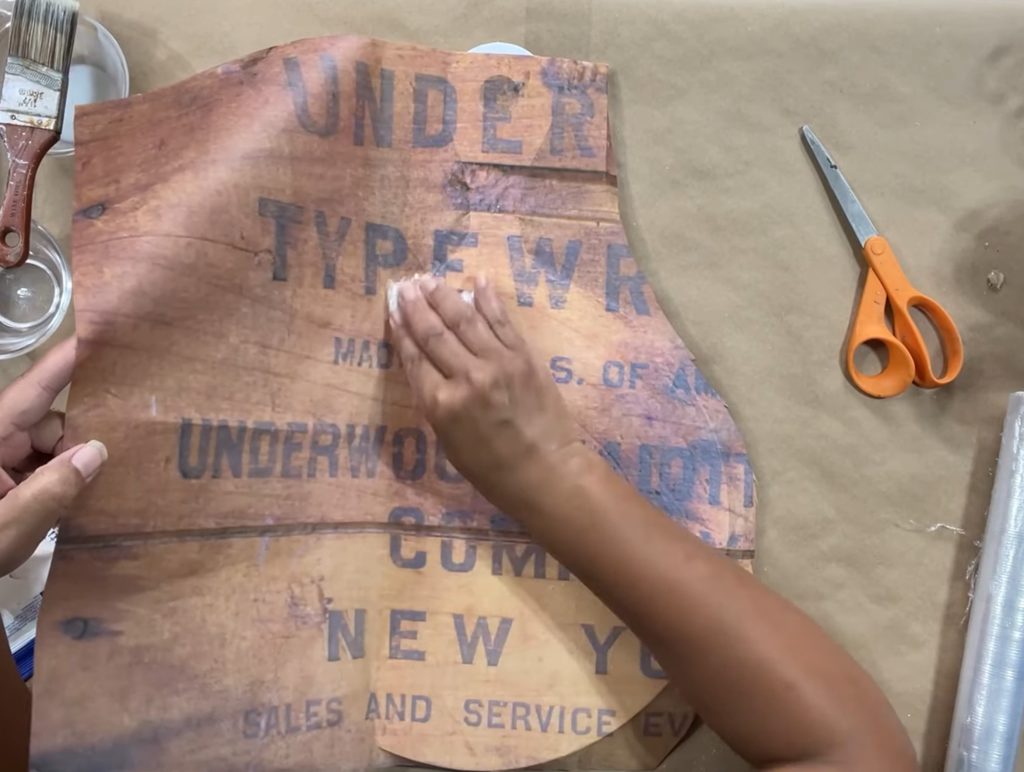
The best way to approach large-scaled decoupage projects is to do it in sections. I begin on the side of my non-dominant hand.
-
Holding the paper in place, I fold the paper over on itself, and begin applying Wis Owl Varnish to the surface using a Wise Owl Micro Angle Paint Brush. Make sure you cover the entire surface with an even coat of One Hour Enamel. Any dry spots or unevenly applied areas will cause bubbles later.
-
You may have small wrinkles, but don’t worry. Most of them will disappear as the paper dries and shrinks.
-
Be careful not to puddle the product. Too much moisture can cause your Roycycled Decoupage Paper to tear during the decoupage process.
-
Once you’ve applied the Wise Owl One Hour Enamel, about 1/3rd of the way across the circle, apply the paper, rubbing gently from the inside out to push out any bubbles.
-
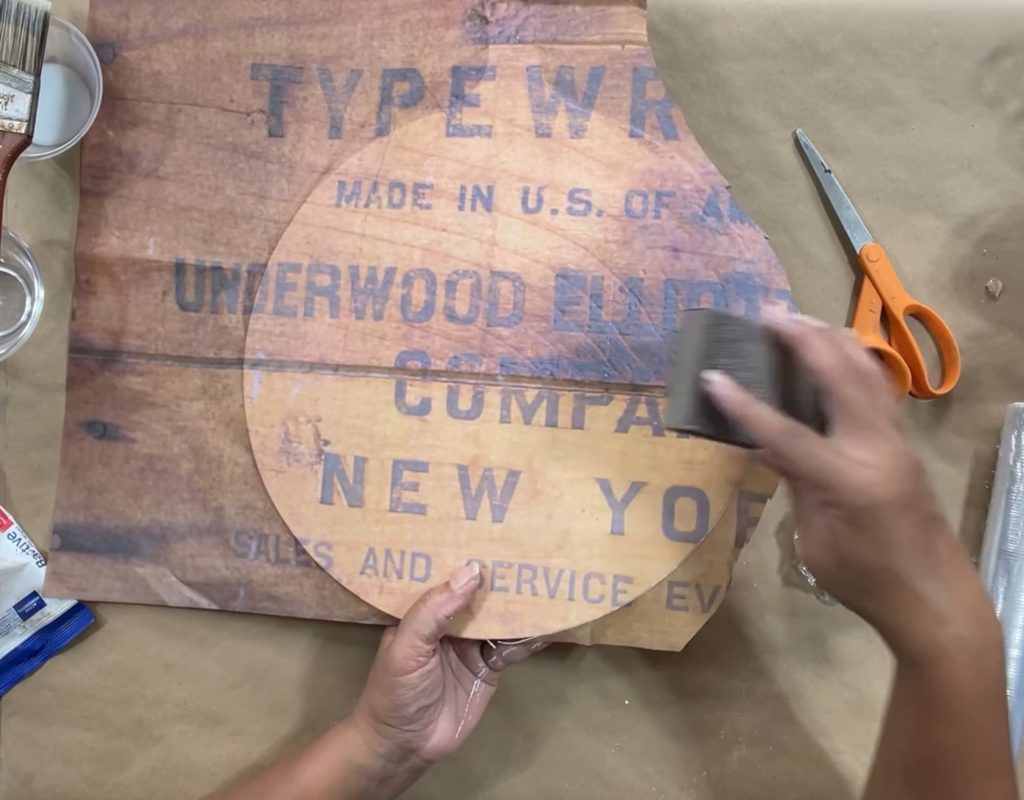
Once this section is anchored, you can fold the paper back over the attached area, and continue applying One Hour Enamel, and adhere the paper one section at a time until you’re done.
-
If you use a piece of plastic or plastic wrap, you can manipulate the paper a little more without the risk of tearing your paper.
Trimming Your Project
The easiest way to trim this decoupage project is using a 220 grit sanding block after it dries. Sand the edges of your piece in a downward motion until the paper begins to “cut”. Continue this process all the way around the circle until it is completely trimmed.
Finishing
Follow up with a final coat of sealer to protect the surface. If your project is going to be used a lot, you may want to apply two coats. When you apply the sealer, bubble and buckles will appear. Don’t panic. Walk away and let the project dry completely. The paper will shrink when it dries, and the wrinkles will disappear like magic!
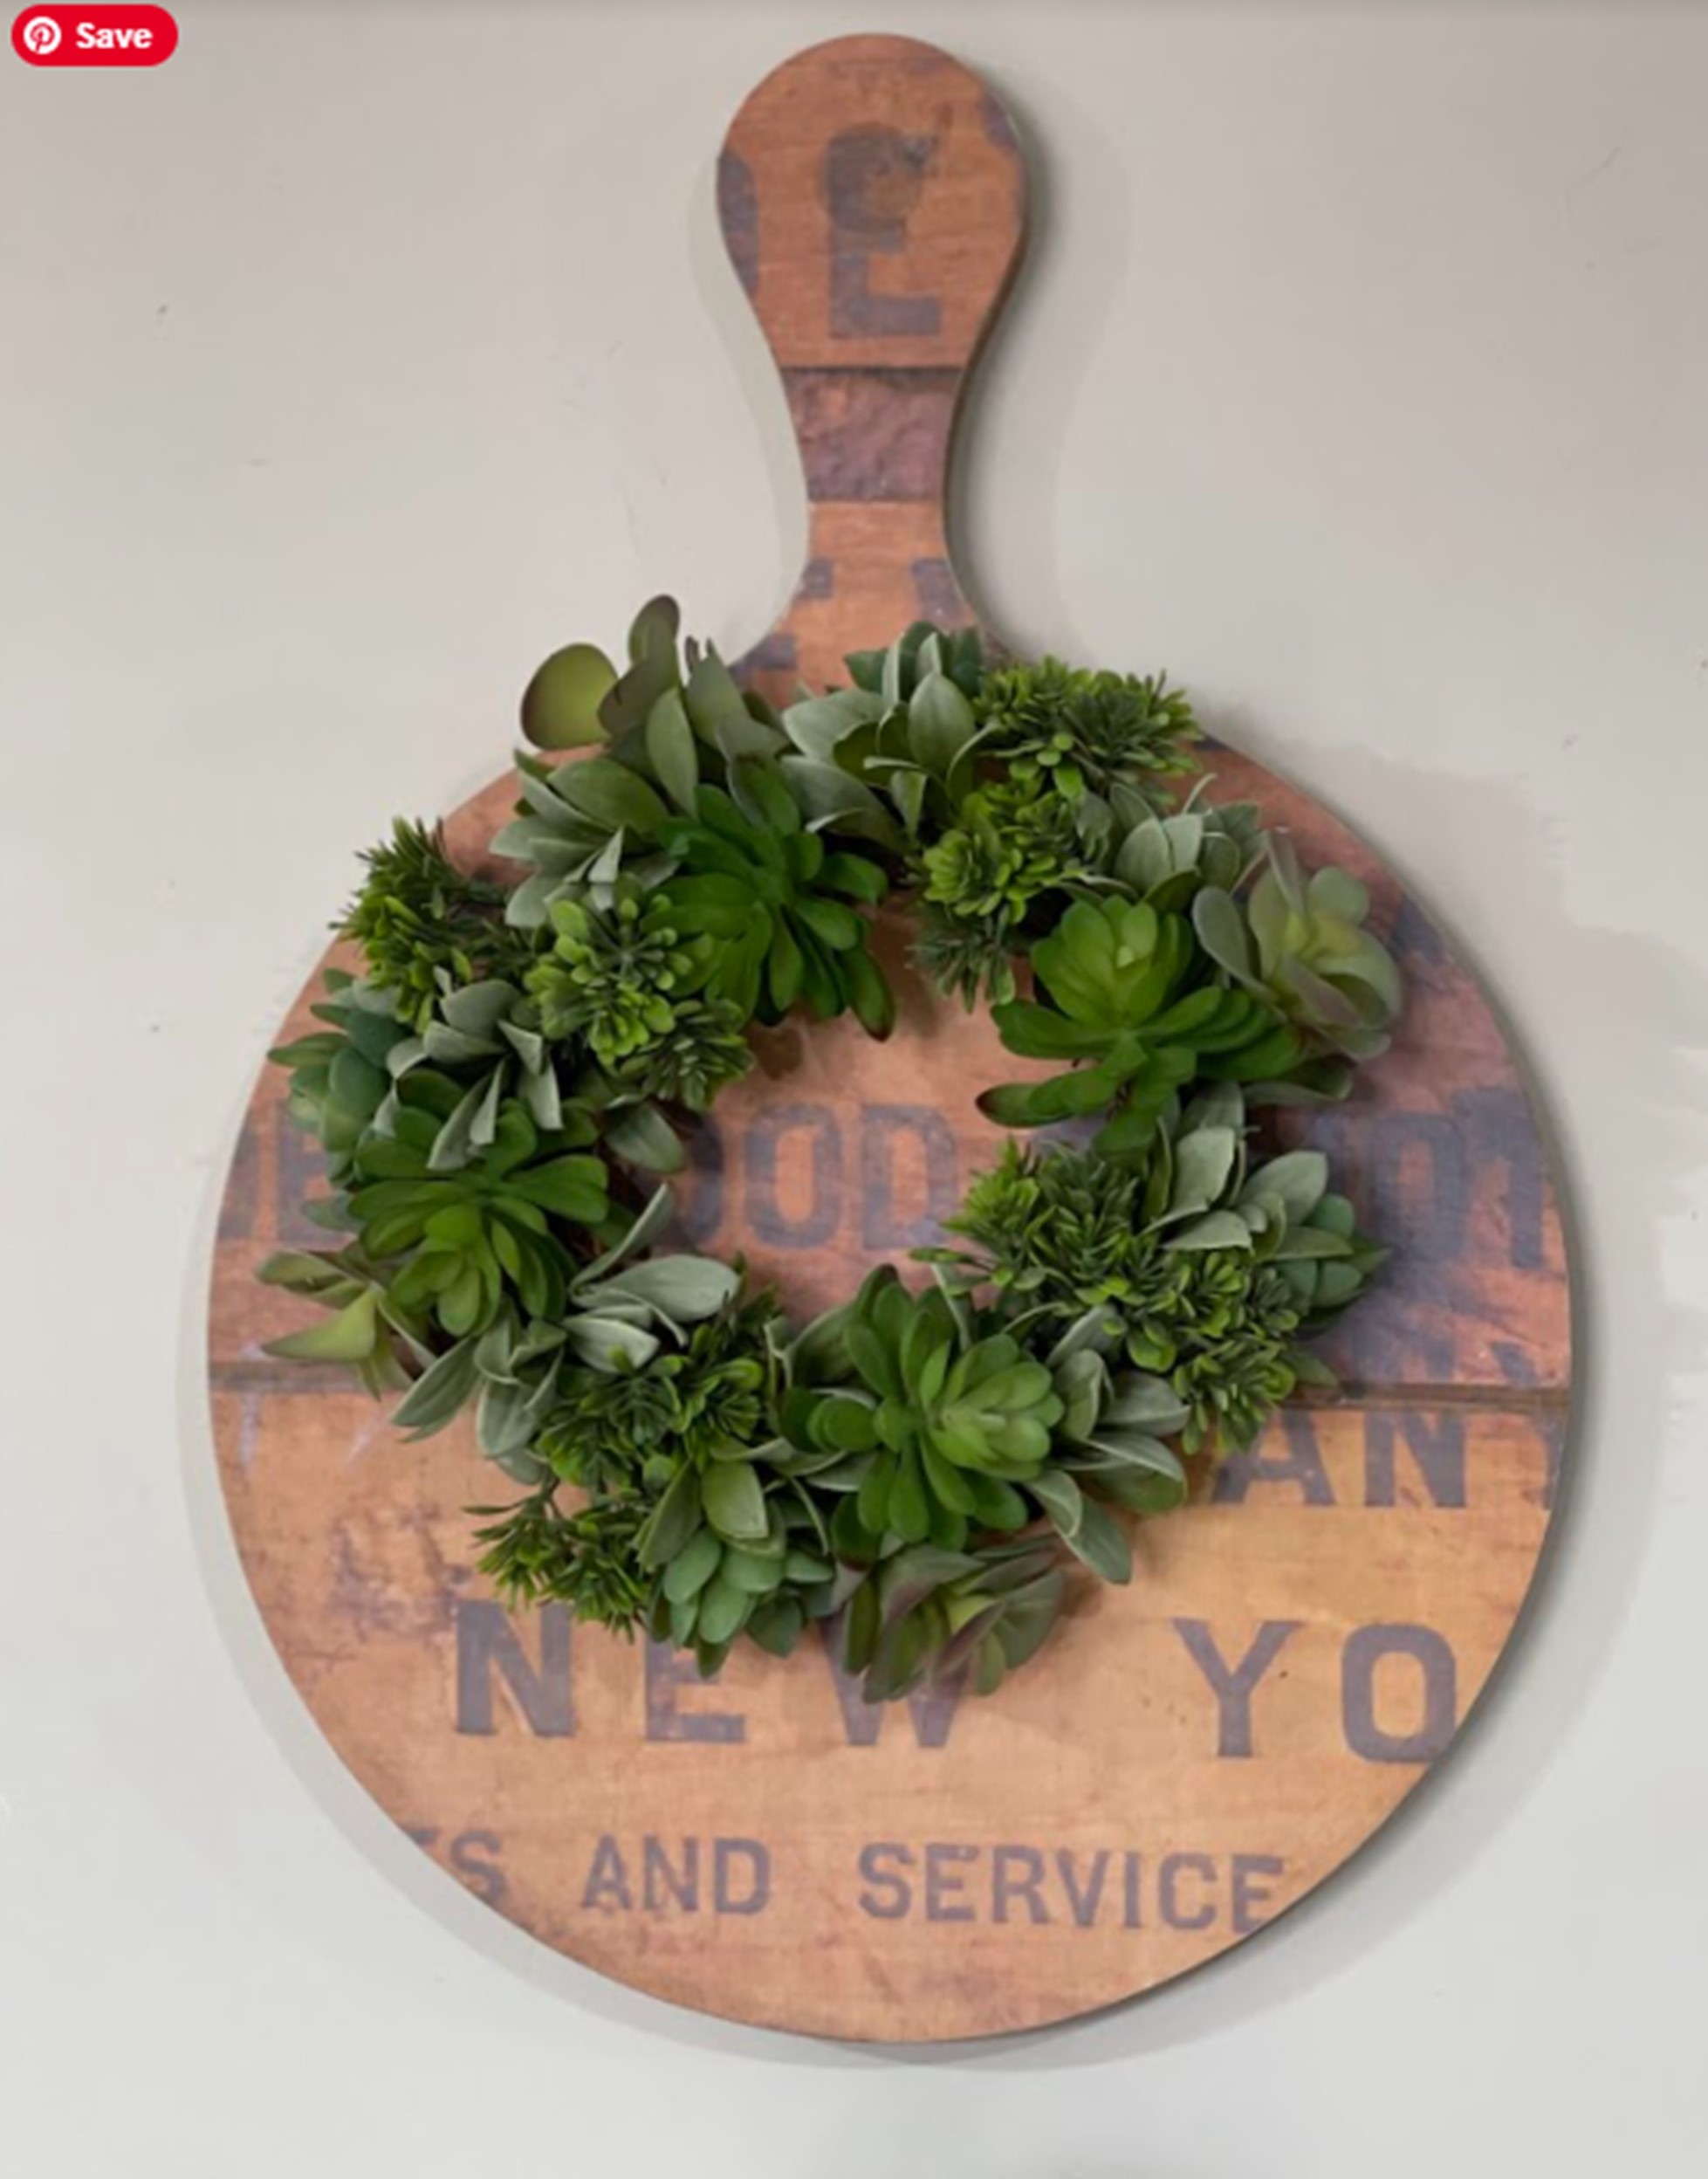
Enjoy Your Creation
Step back and enjoy your creation! I just love the way Roycycled Decoupage Paper can completely transform a surface. This simple wood round can now be used to create a tray, a lazy Susan, or a table riser. If you decide to do this project, I hope you will share your project with me.
Find Out More About My Decoupage Bootcamp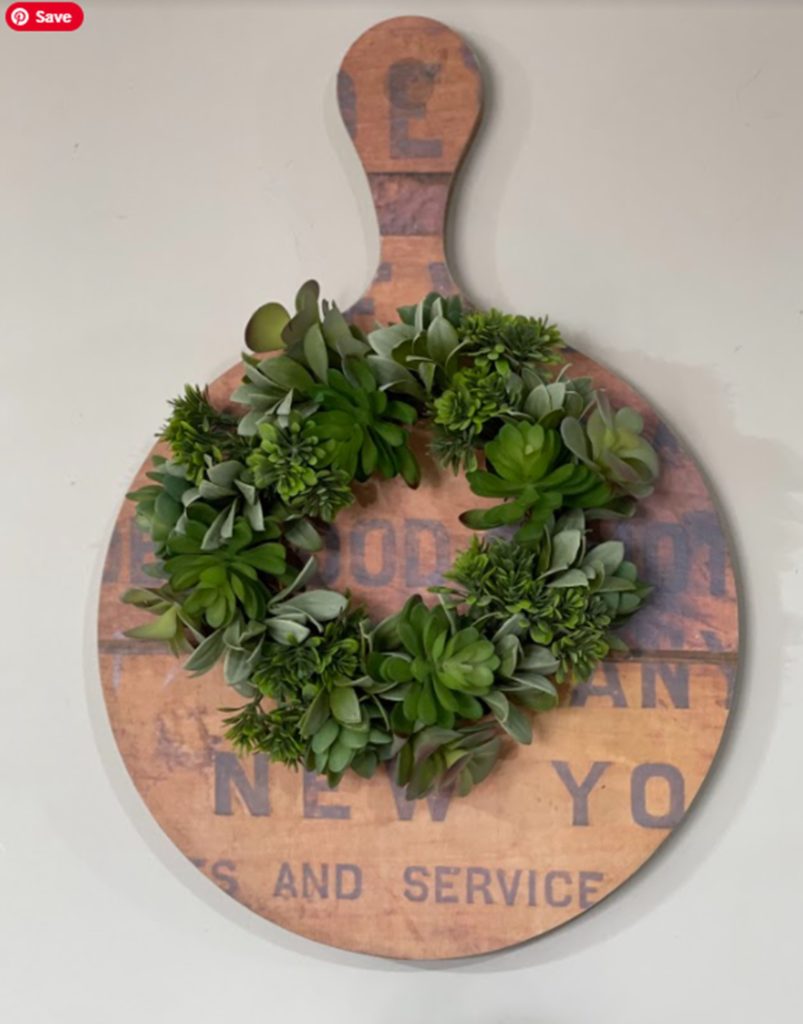

