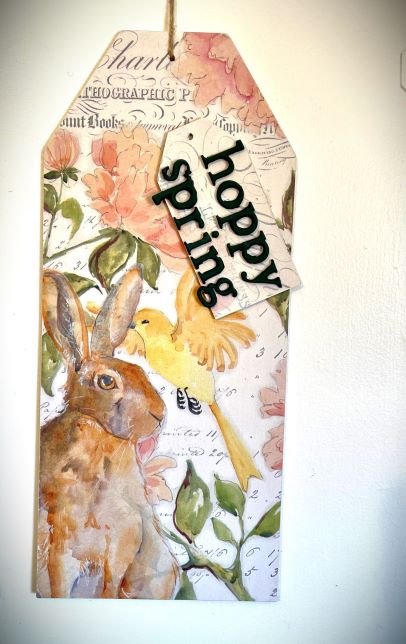
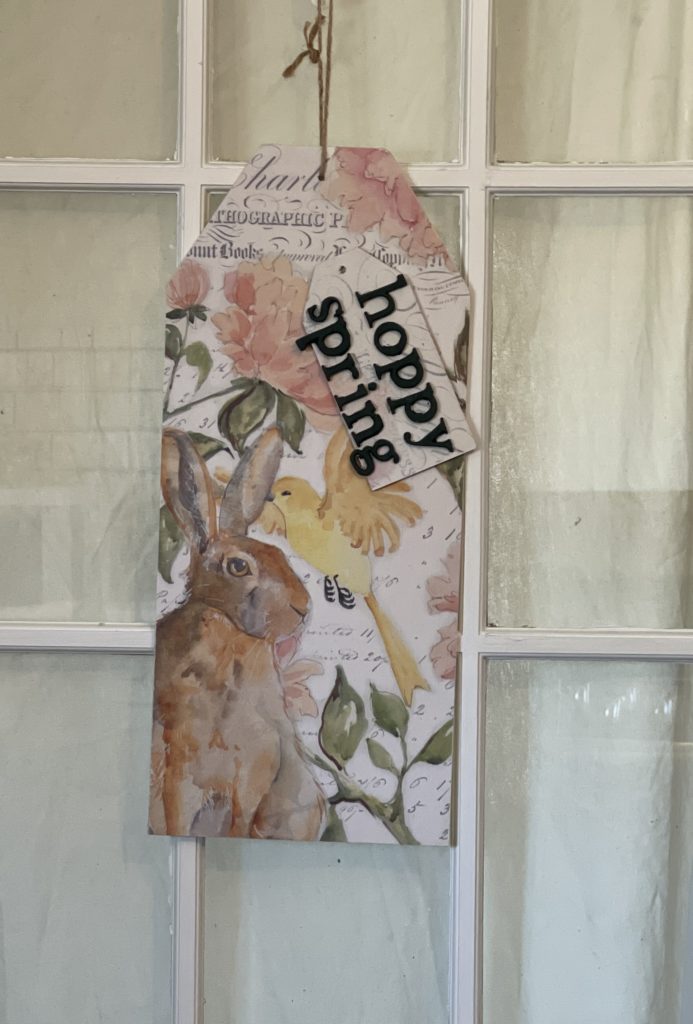
Spring Decoupaged Door Hanger
Spring has sprung, and I am SO ready to celebrate. When I think of Spring I think of new beginnings, pretty porches, and the beauty of budding flowers. This project embodies all these things and is a perfect topper for my front door.
https://www.youtube.com/watch?v=ig5eIJvNoaU
Click here to subscribe
List of supplies
Large unfinished wood tag
A small unfinished wood tag
Roycycled Spring Blocks Decoupage Paper
Wise Owl Chalk Synthesis Paint in Antique Villa
Wise Owl Varnish
Felt Covered Spatula
A piece of stiff plastic paper
Iron Orchid Designs Harper Mould
Tight Bond Quick and Thick Glue
Amazing Casting Resin
Plastic or wood stirring stick
Silicon cup
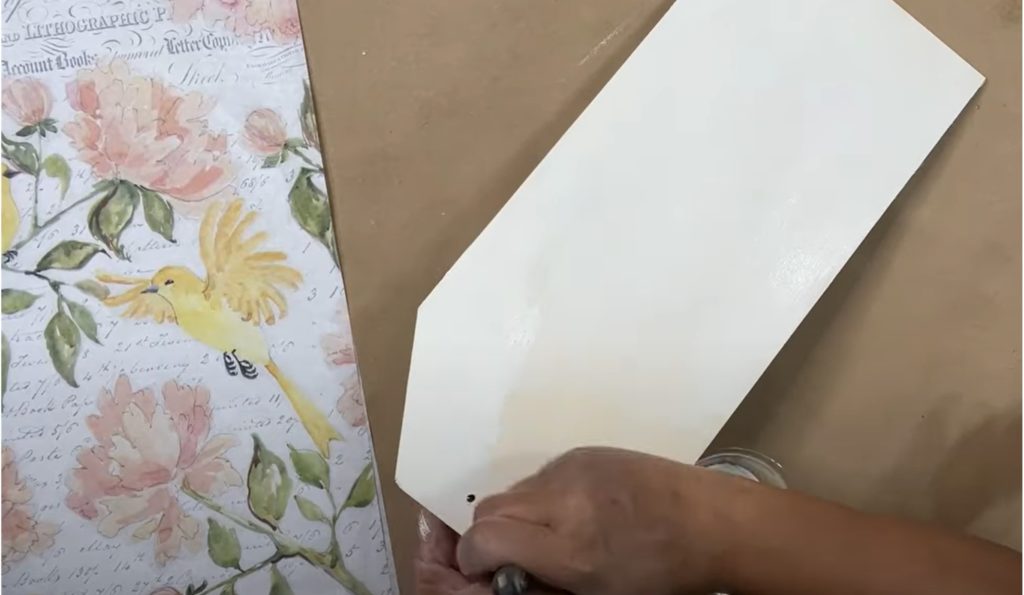
Start your project by applying one coat of white paint or primer to your wood tag. You don’t have to do this step, but creating a light base will help the artwork of the Roycycled Decoupage Paper be the star of the show. You can decoupage over a dark surface, just know that your image won’t be as prevalent in your final finish.
Decoupaging Your Large Tag
Once the initial coat of paint or primer dries, you can move on to the decoupage. Roycycled Decoupage Papers come in 20” x 30” sheets. I’ll be able to cover this tag using the floral half of the sheet as a backdrop. Trim any excess leaving about 1/4-inch overage on all sides. Don’t worry about trimming perfectly, we’ll address that later. Once you’ve decided how you want your paper positioned, hold it in place.
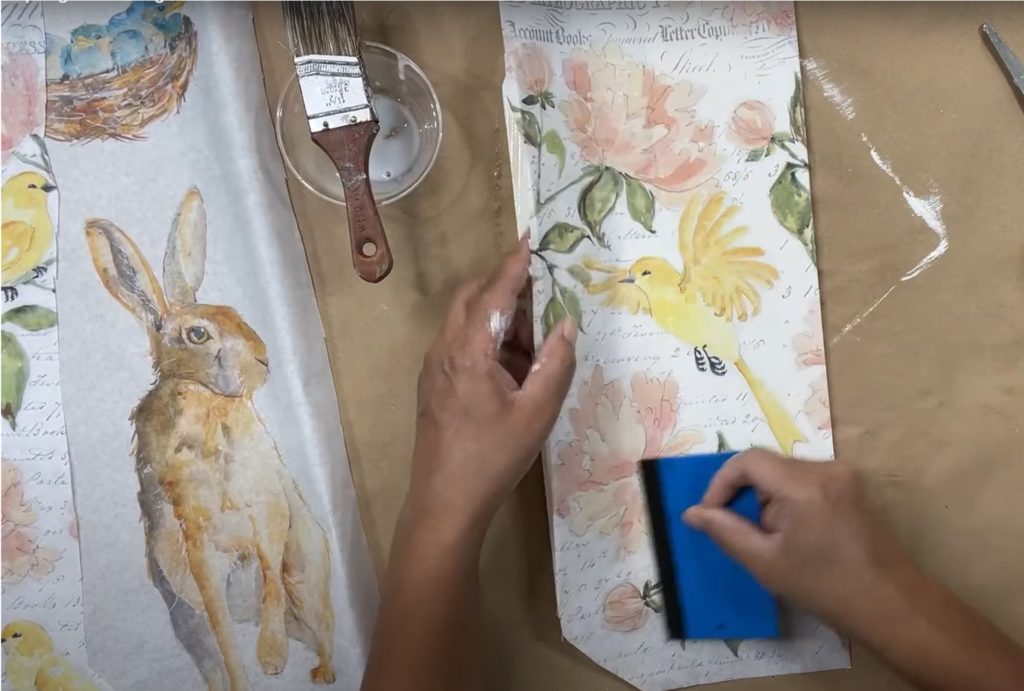
The best way to approach large-scaled decoupage projects is to do it in sections. I begin on the side of my non-dominant hand. Holding the paper in place, I fold the paper over on itself, and begin applying Wis Owl Varnish to the surface using a Wise Owl Micro Angle Paint Brush. Make sure you cover the entire surface with an even coast of One Hour Enamel. Any dry spots or unevenly applied areas will cause bubbles later. You may have small wrinkles, but don’t worry. Most of them will disappear as the paper dries and shrinks. Be careful not to puddle the product. Too much moisture can cause your Roycycled Decoupage Paper to tear during the decoupage process. Once you’ve applied the Wise Owl Varnish, about 1/3rd of the way across the tag, apply the paper.
Rubbing gently from the inside out to push out any bubbles. Once this section is anchored, you can fold the paper back over the attached area, and continue adhering the paper one section at a time until you’re done. If you use a felt-wrapped spatula, you can manipulate the paper a little more without the risk of tearing your paper.
Layering On Your Rabbit
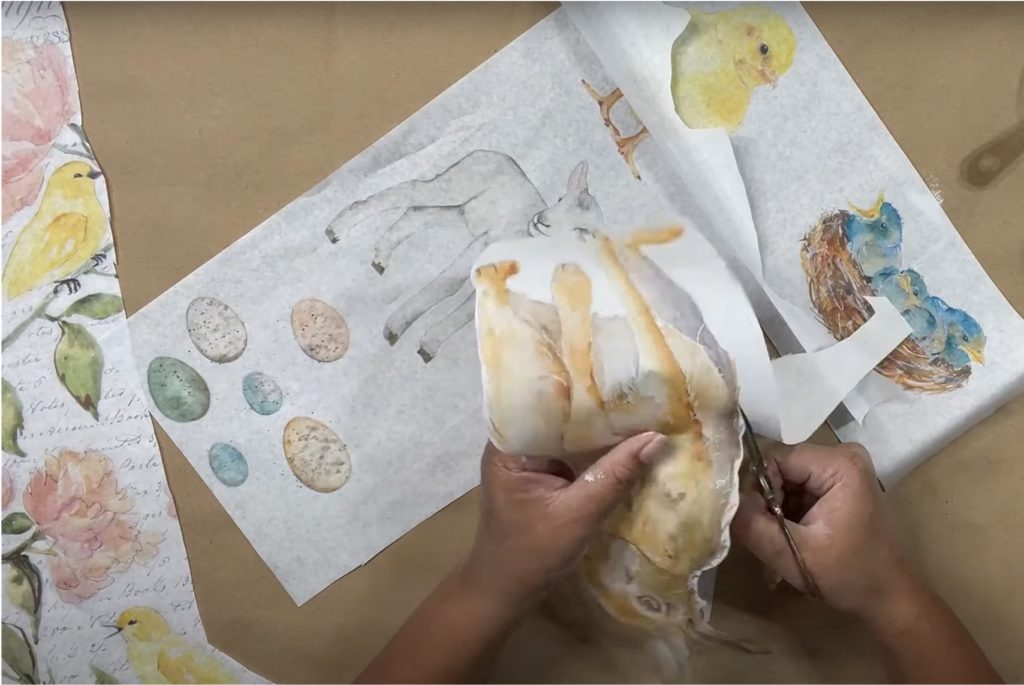
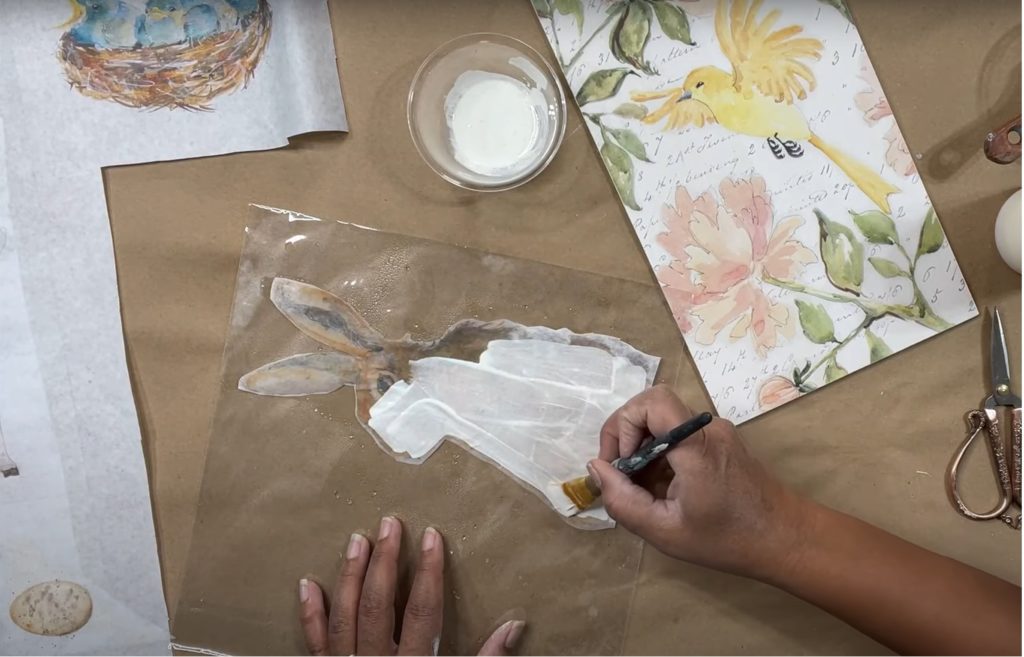
If you layer over the first layer of your decoupage, the bottom layer will show through your top layer as the paper becomes transparent when it’s wet. In order to prevent this from happening, you’ll need to take a few extra steps when decoupaging your rabbit.
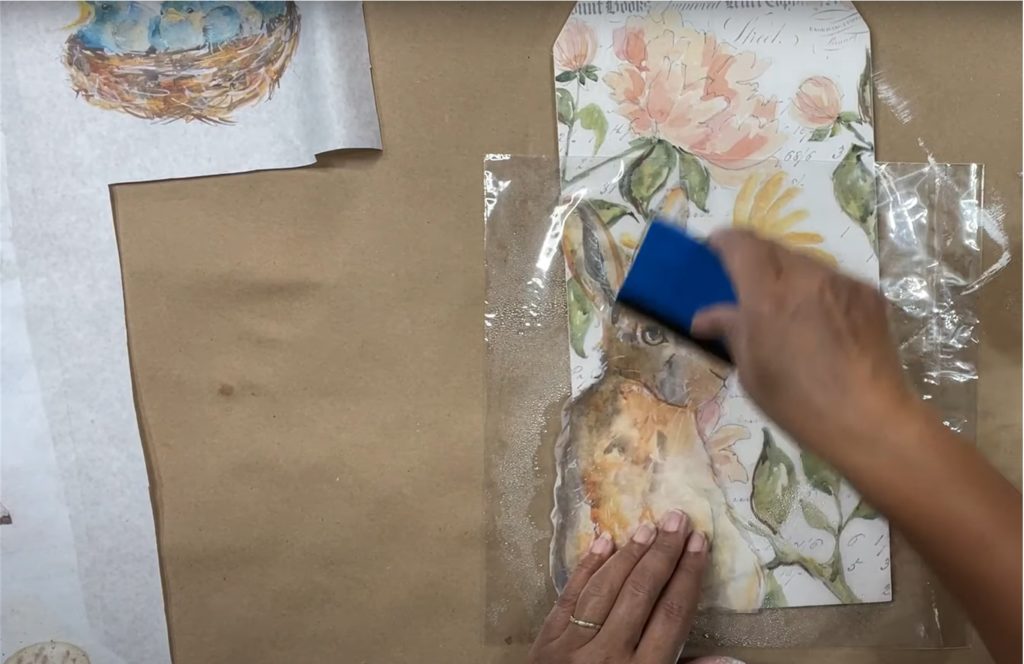
Begin by fussy cutting your bunny and removing the white background. Take your stiff plastic, and spritz it with a light layer of water. This will hold your rabbit in place. Turn your rabbit with the front-facing down, and tap it down onto the wet plastic. If you see wrinkles, you can carefully pull your tissue to remove them. Take a small amount of varnish, and paint and mix them together. 50% paint and 50% varnish. Paint this mixture onto the back of the rabbit. Be careful not to get paint on the plastic so it doesn’t transfer to your project. Flip your plastic over, and apply your bunny to your project. Using your spatula, scrape over the top of your plastic to help your rabbit adhere to the surface. Carefully lift your plastic, and your bunny should have adhered. If an edge lifts up, you can carefully hold it down while you lift off your plastic. As the rabbit dries, the paint will become more opaque, and you will hardly be able to see the background through your bunny. Apply a good layer of varnish over the top of your entire design to seal and protect it.
Decoupaging Your Small Tag
This portion of your project is super easy. Take a piece of the floral portion of your Roycycled Spring Project Blocks Decoupage Paper, and cut it to fit your small tag. Lay down a layer of varnish, and lay your Roycycled Decoupage Paper over the tag. Use your felt-covered spatula to smooth out your paper (be careful to not get product on your felt). Apply another layer of varnish over your paper to seal it. In order to push the design back just a bit, apply a layer of watered-down paint, and dab it off of the surface.
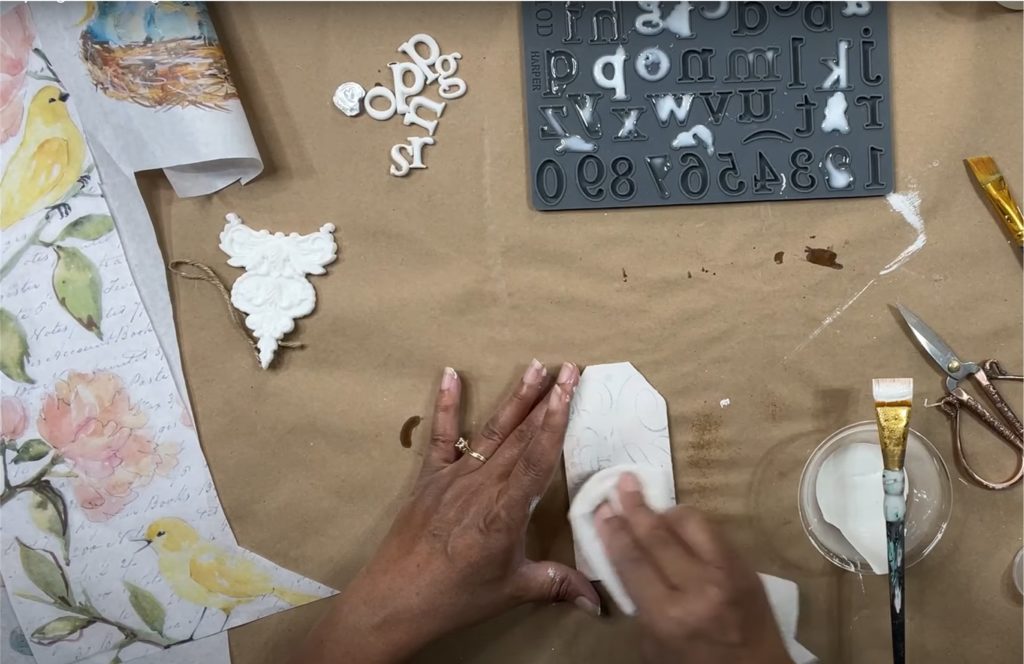
Creating Your Letters
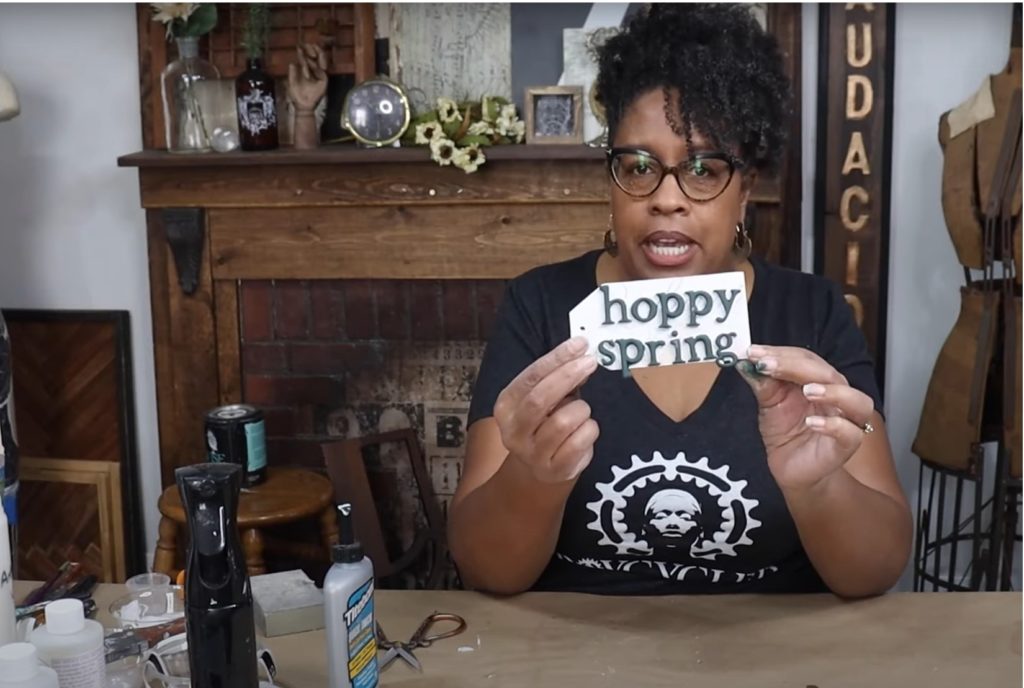
Using the IOD Harper mould, create the saying for your tag. I created “Hoppy Spring” using resin. To prepare your resin, you’ll need a silicone measuring cup, a popsicle stick, and your resin kit. Take a marker and mark measurements on your cup so you can see them clearly. You’re going to mix a total of 20 ML of casting resin. Pour both parts of your resin into one cup. Pour part A of your resin up to 10ML, and pour part B up to 20 ML. When mixed, your resin will turn cloudy. Stir your resin for about 1 minute until it is clear. You will have 10 minutes before your resin sets.
Be sure your mould is on a level surface. Carefully pour the resin into each letter until they are full. Let your letters set for about 10-15 minutes until your resin is cured. You’ll need to move relatively quickly to ensure your resin doesn’t set in your cup
Once cured, you can remove your letters from the mould. If you overpoured your resin, no worries. Just use your scissors to snip them off while your resin is still soft. Now your letters are all ready for paint! I used Wise Owl Chalk Synthesis Paint in Charleston Green, but you could paint your letters whatever color you like.
