“You don’t need to replicate what I did. Just start. Let your creativity live somewhere new.”
One of the most beautiful things about creativity is that it doesn’t follow rules. It doesn’t stay in boxes. It doesn’t ask for permission. That’s the energy that brought this sap bucket project to life.
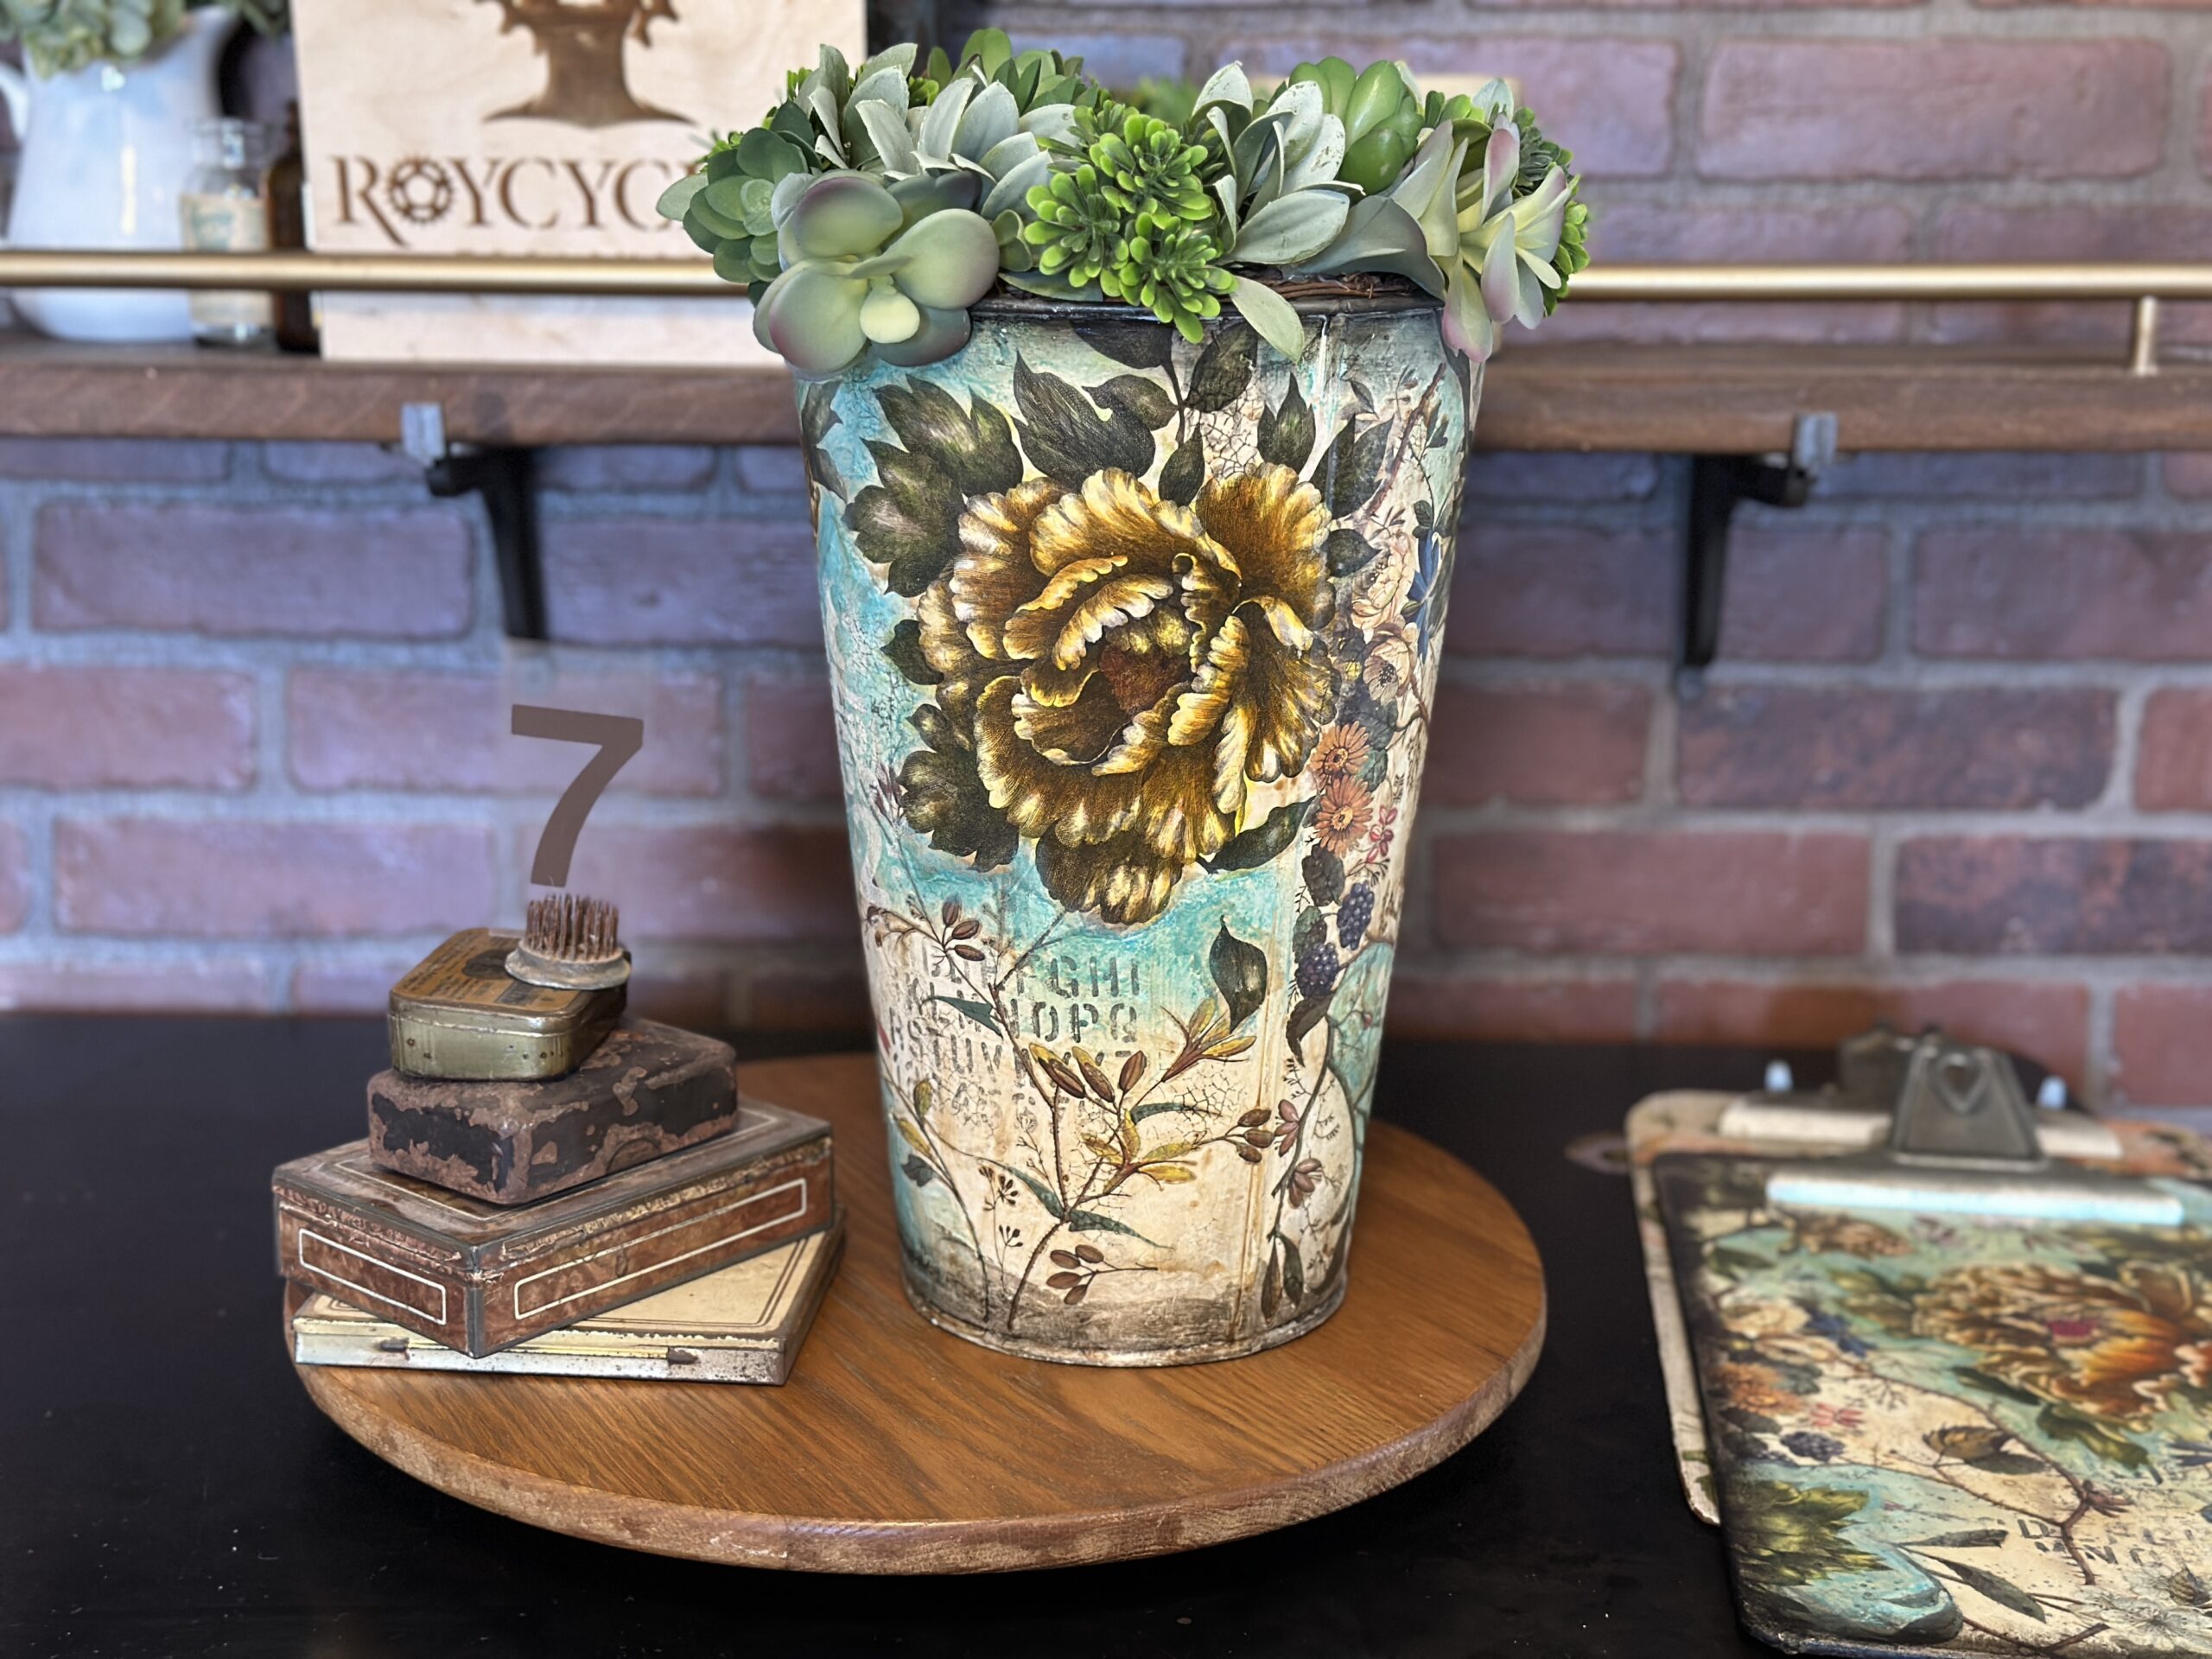
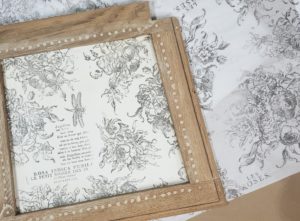
It all started with a clipboard and some leftover supplies. No plan. Just play. The finish that came from that moment of curiosity inspired me to try something new; bringing that same layered, mixed media approach to a functional object. The result? A transformed sap bucket that now holds color, texture, personality… and a lesson in letting your creativity lead.
Whether you’re new to mixed media or a seasoned creative looking for your next inspiration, this step-by-step tutorial will walk you through how to take your art from flat surfaces to functional ones… with heart, depth, and a whole lot of soul.
If you love projects like this, be sure and join Roycycled Insiders for more encouragement, inspiration, and tips and tricks to grow your creativity.

Materials I Used for This Project
-
- White primer (to prep your surface)
-
- Roycycled Paintable Floral Decoupage Paper (my newest obsession!)
-
- IOD Lost Garden Transfer
-
- IOD Permanent Ink
-
- Stamps (for typography & texture)
-
- Watercolors (any palette you love)
-
- Water-soluble crayons or pencils (for shading and details)
-
- Matte medium (for gluing and blending)
-
- Water-based varnish (to seal between layers)
-
- Spray bottle (for misting paper)
-
- Coffee (yes, really—for stains and texture!)
-
- Brushes in various sizes
-
- Heat tool or dryer (optional but helpful)
** Don’t stress about having the exact same brands. Use what you have. This is about process, not perfection.
Step 1: Prime Your Surface
Let it dry completely before moving on.

Start by applying a coat of white primer. Primer will ensure good adhesion, and gives your surface some “tooth” and ensures everything you layer afterward has something to grab onto. A stain-blocking primer will also ensure any stains won’t bleed through to the surface of your finish.
Let it dry completely before moving on.
Step 2: Create Your Background with Coffee and Stamps

Yep, we’re starting with coffee. Not just to sip (though that’s encouraged) but to stain.
Use a brush or sponge to dab brewed coffee onto your surface. Let it drip, pool, and stain organically. You’re not trying to control this part… you’re creating texture and visual interest. Let it dry or help it along with a heat tool.
Next, bring in your stamps. I used typography (letters and numbers) because they give a gorgeous layered look. Stamp directly onto your surface, keeping in mind this will peek through your decoupage and paint later. It’s a quiet but powerful voice in the story your piece will tell.
** Pro Tip: Heat-set your ink if you’re using water-soluble mediums later. It’ll keep things from running.
Step 3: Apply Your Transfers
Let’s add a little magic. I used the IOD Lost Garden transfer, trimming it strategically so the florals looked like they were growing out of the bottom of the bucket. Don’t be afraid to snip the edges of your transfer to help it lie flat, especially on a curved surface.Now, I made a mistake here. I should’ve sealed my surface before applying the transfer. I didn’t, and it made the application harder than it needed to be. Learn from me… seal your background first and let it dry completely. Then apply the transfer for best results.

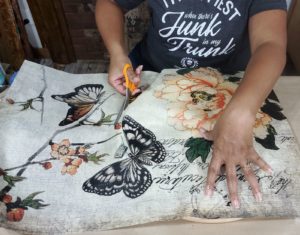
Step 4: Tear & Mist Your Decoupage Paper
Time to bring in the floral decoupage paper. Instead of cutting, I tear my Roycycled Decoupage Paintable Floral Decoupage Paper. This creates a more organic edge that melts into the background more naturally. Don’t worry about getting a perfect shape.
Lightly mist your paper with water using a misting spray bottle. This helps soften the fibers, making the paper easier to manipulate and helping reduce wrinkles when you apply it. It also helps make the paper more transparent. We want all that goodness to show through.

** If you want cleaner edges around a flower, use a wet brush to draw a line around it—then tear. The water will guide the paper fibers and give you a soft, controlled tear.
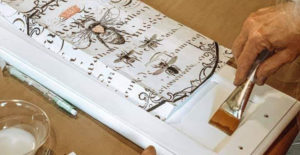
Step 5: Apply Your Decoupage Paper

Use matte medium or a water-based varnish to glue your paper down. Apply the medium to the surface first, press your paper down, and then gently brush more medium on top.
Work from the center out to push air bubbles away. Because Roycycled Decoupage Paper is made from 18lb tissue, it’s stronger and more forgiving than napkins. You can lift and reposition it if needed.
Make sure there’s enough product under the paper. That’s your best insurance against wrinkles and bubbles.
Repeat this process with all your floral pieces, thinking about composition and balance as you go. Let each layer dry before adding another.
Step 6: Add Watercolor
Once your decoupage is dry, seal the surface again with a water-based clear primer or varnish and let it dry. This is your “isolation layer,” which means anything you paint on top can be manipulated without disturbing what’s underneath.
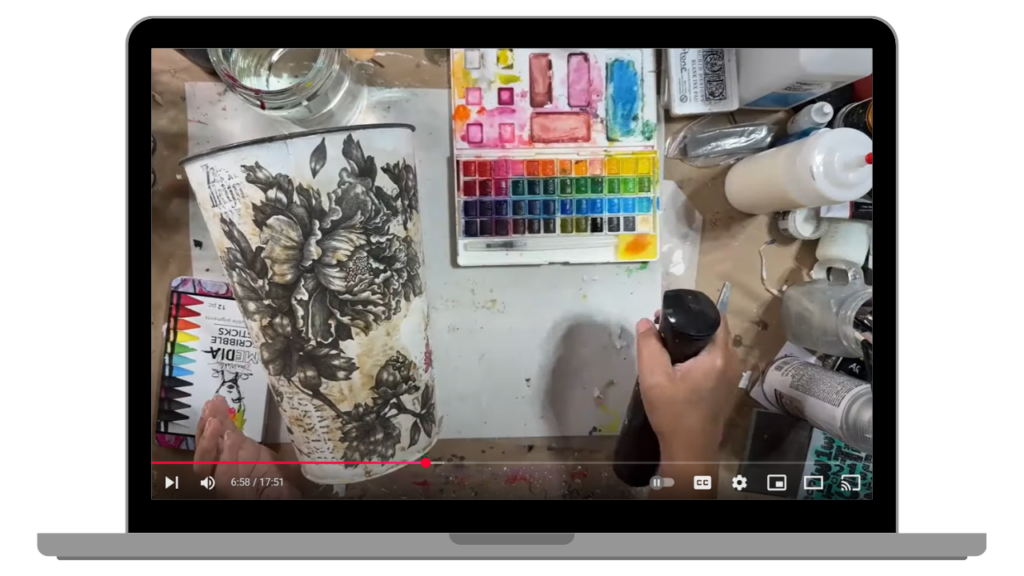
Now, it’s time to paint. Start with a mid-tone watercolor… something that sits between your darkest shadows and lightest highlights. I used yellow as my base tone and began building color from there.
As you paint, keep your highlights in mind. Use a clean brush with water to lift color from those areas to keep them light. Then gradually layer in deeper tones in the shadows and lighter ones in the highlights.
Mix your colors on the fly for a natural, painterly look. Don’t worry if every petal isn’t the same. They’re not supposed to be.
Step 7: Seal & Build Color Layers
If your paint feels like it’s just smearing around instead of building up color, it might be time to seal your surface again. I sprayed a light coat of varnish, let it dry completely, and came back in with more color.
This time, I added a touch of matte medium to my watercolor to help it stick to the slicker sealed surface. This gave me richer, more vibrant layers—and allowed me to deepen the colors without losing control.
Keep building until your flowers start to feel three-dimensional.

Step 8: Highlight & Define
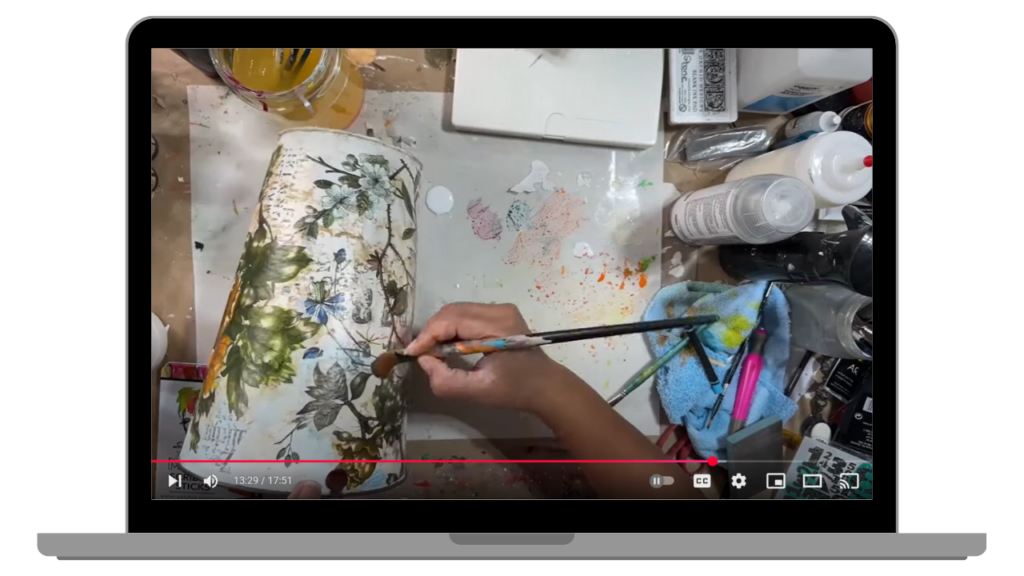
Now that you’ve got your shadows and midtones, it’s time to push the highlights. I used white watercolor, but not straight white. I mixed it with a tiny bit of the colors already in my palette so it wouldn’t look too stark.
Apply highlights sparingly and with intention. This is what gives your flowers life. It makes them pop from the surface and gives them that glowy, realistic finish.
Step 9: Shade with Crayons or Pencils
Use water-soluble crayons or pencils around the edges of your flowers to camouflage the decoupage lines and add extra depth.
Instead of blending with water (which reactivates every time), use matte medium to move and set the pigment. Let each layer dry before repeating the process to build up rich, velvety shadows.
Think of this step as contouring for your project. It makes everything feel a little more polished, grounded, and complete.

Step 10: Add Texture & Final Touches
This is where the fun really kicks in. I used:
-
- A stencil to add numbers and break up solid areas of color.
-
- A crackle texture stamp for subtle visual grit.
-
- More watercolor crayon to add a soft “halo” of grunge around the edges (because yes, I love a good halo).
Layer by layer, the piece came alive.

Even though I used tools and materials many of us already have, the final look was completely unique, because of the way I layered them, the order I chose, and the decisions I made in the moment. That’s the beauty of mixed media. It’s not about the materials—it’s about the moment.

Final Thoughts: Let It Be Yours
This sap bucket may have started as an experiment, but it became something special. Not because it was perfect (it’s not). But because I allowed myself to explore. I let the clipboard project inspire me. I let my creativity show up in a new way. And I allowed myself to enjoy the process, even when I made mistakes.
So here’s my challenge to you: Take something you’ve already created and use it as inspiration to make something functional. Let your creativity move off the page. Let it into your space. Let it reflect you.
Because we don’t just make art.
We make room… for experimentation, healing, growth, and joy.
Want More Like This?
If you enjoyed this tutorial and want to dive deeper into wrinkle-free decoupage, layering techniques, and creative confidence, check out my Decoupage with Confidence Course.
Whether you’re just getting started or want to explore new techniques, I’ve got something for you inside Roycycled Academy.
And if you create something inspired by this tutorial? Please tag me! I’d love to see it and celebrate with you.
Big hugs,
Royce
