
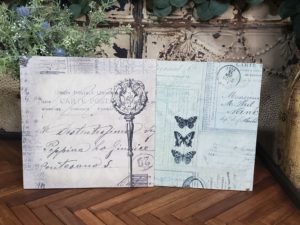
Reverse Decoupage on Glass – Create Custom Wall Art

Making custom artwork that reflects who you are can be empowering. Living in surroundings that speaks to the heart of who you are enabling us to create our own sanctuaries. A place to get away from the noise of the world. Creating custom art can feel intimidating, but it doesn’t have to be. With a few supplies and a little know-how, you too can create art to reflect your heart.
Follow My YouTube Channel Here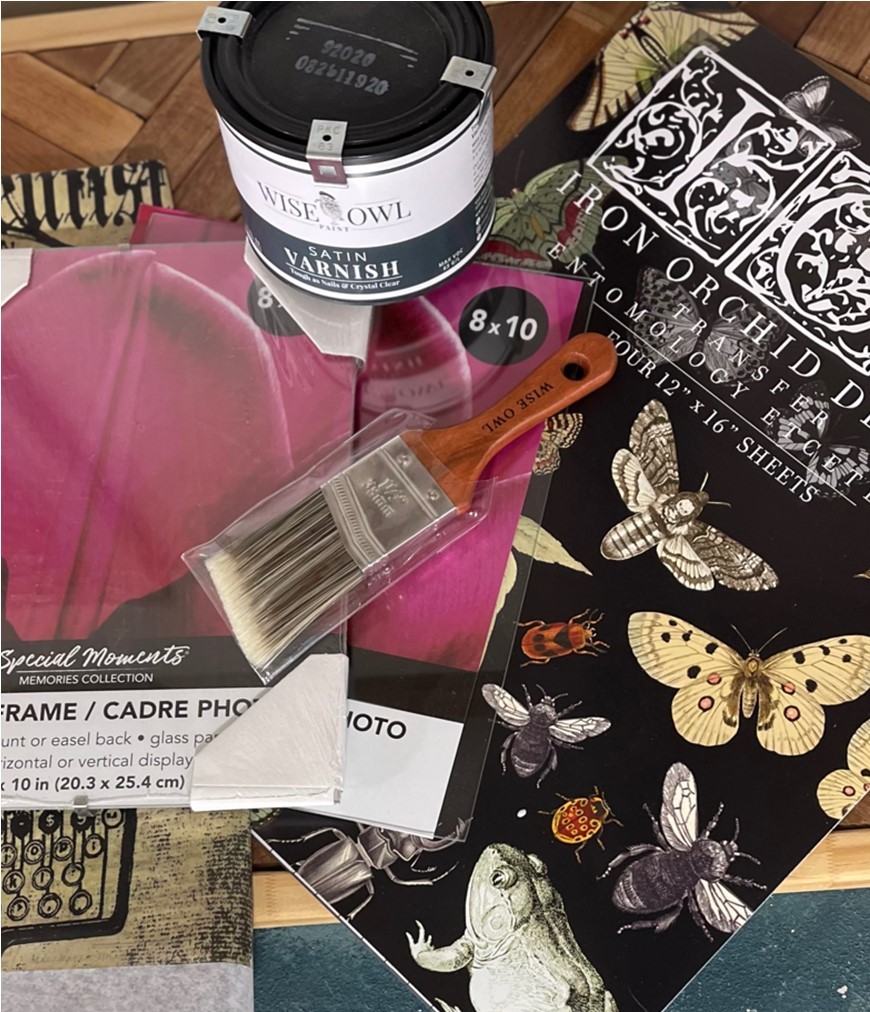
Gather your supplies
· All glass photo frames. I found these at the Dollar Tree
· Roycycled Industrial Project Blocks Decoupage Paper
· Wise Owl Varnish in Satin
· Wise Owl Chalk Synthesis Paint in Snow Owl
· O-45 Cling-On Paint Brush
· Wise Owl Glaze (50/50 mixture of Java and Black Walnut)
· Iron Orchid Designs Entomology Transfer
· Iron Orchid Designs Fronds Transfer
· Balled up piece of plastic wrap
· 220 grit sanding block/sanding paper
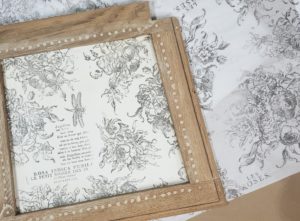
Start your project by reviewing your decoupage paper, and deciding how to place it on your glass. Trim your paper leaving about ½ inch of excess paper all the way around your glass. Once you’ve decided and trimmed your paper you are ready to start. Apply your Wise Owl Varnish over the surface of your glass. Be sure to lay down an even coat of varnish. Look at your piece from the side. If you see any dry spots, be sure and apply more varnish. Leaving dry spots can cause bubbles under your decoupage.
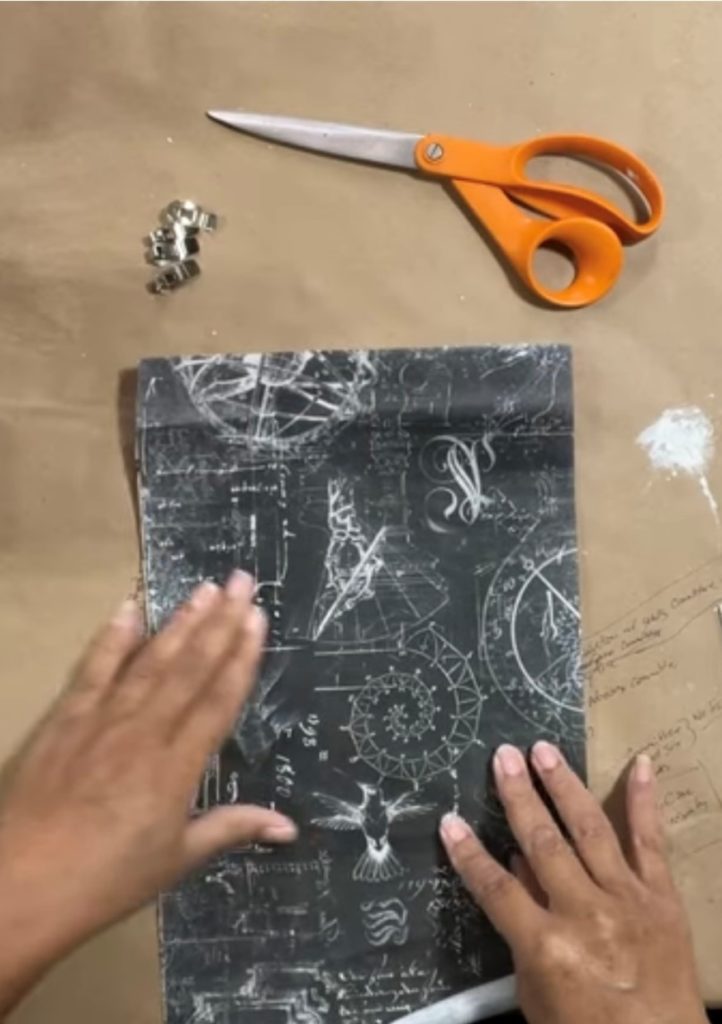
Start your project by reviewing your decoupage paper, and deciding how to place it on your glass. Trim your paper leaving about ½ inch of excess paper all the way around your glass. Once you’ve decided and trimmed your paper you are ready to start. Apply your Wise Owl Varnish over the surface of your glass. Be sure to lay down an even coat of varnish. Look at your piece from the side. If you see any dry spots, be sure and apply more varnish. Leaving dry spots can cause bubbles under your decoupage.
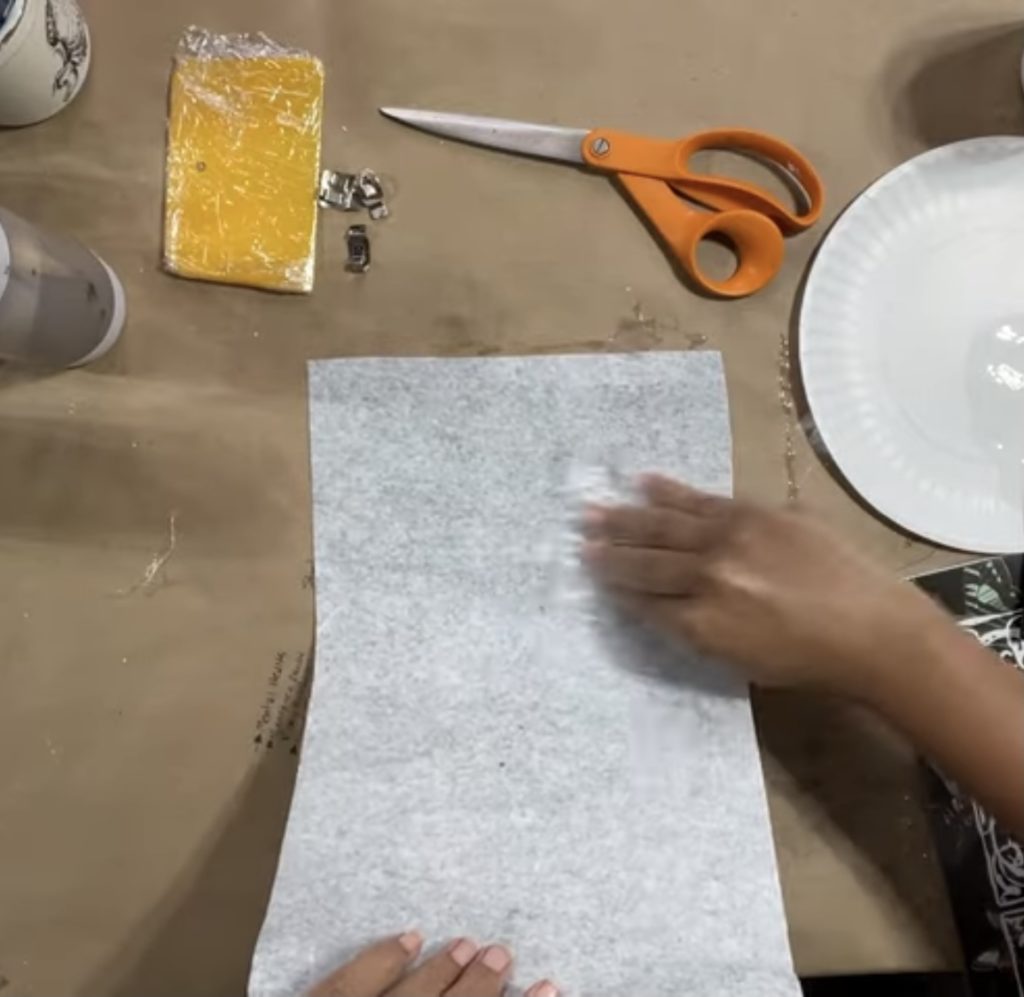
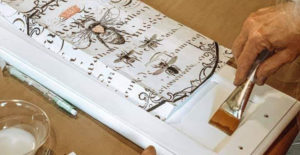
Once your glass is completely covered, you are ready to lay down your paper. Lay your paper face down on one end of your glass holding the other end off of the glass. Using your balled-up piece of saran wrap, rub your paper down from one end to the other. Using your plastic wrap, go over your entire piece ensuring good contact between your paper and the glass. Let your paper dry, or use your craft dryer. If you use your craft dryer, be careful not to get the glass too hot. You don’t want to crack your glass.
Find A Step by Step Decoupage Tutorial Here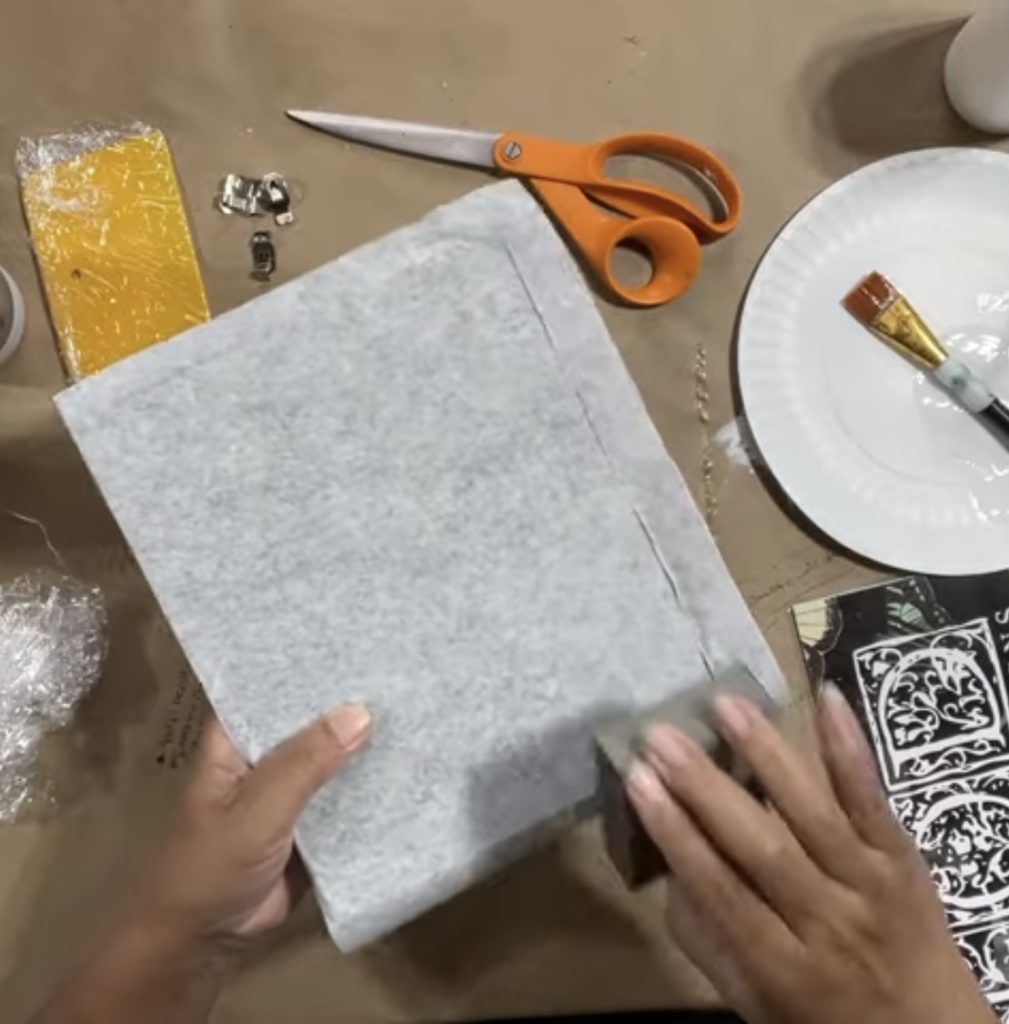
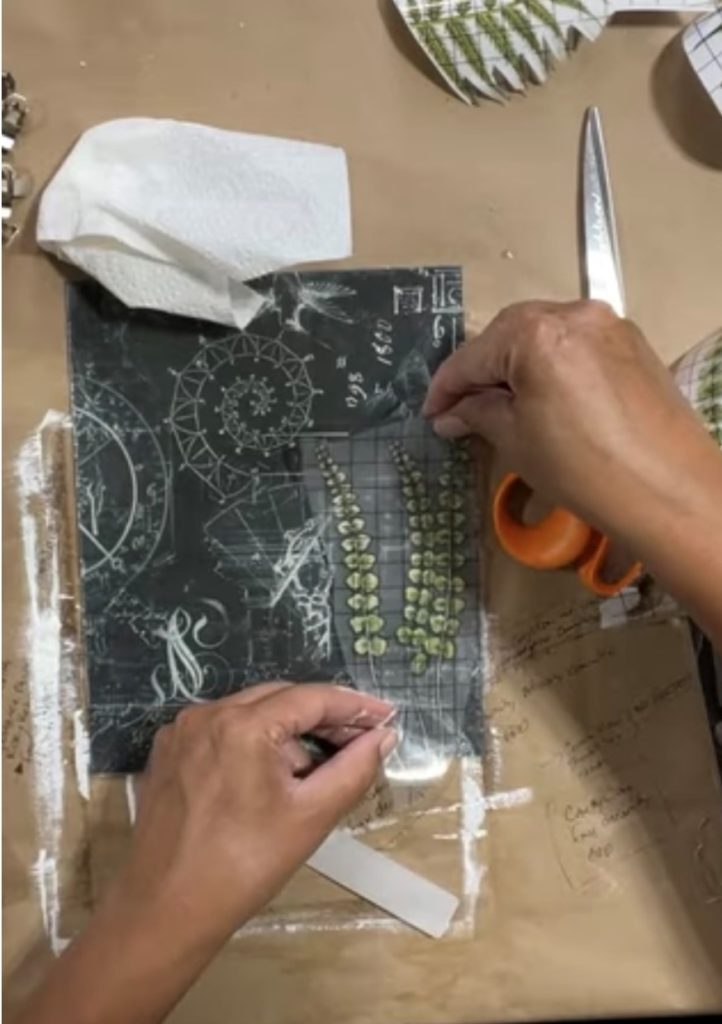
Once your paper is completely dry, use a sanding block to trim. Do not run your sanding block side to side, or up and down. Only drag your sanding block down as you trim to avoid tearing your paper or lifting it.
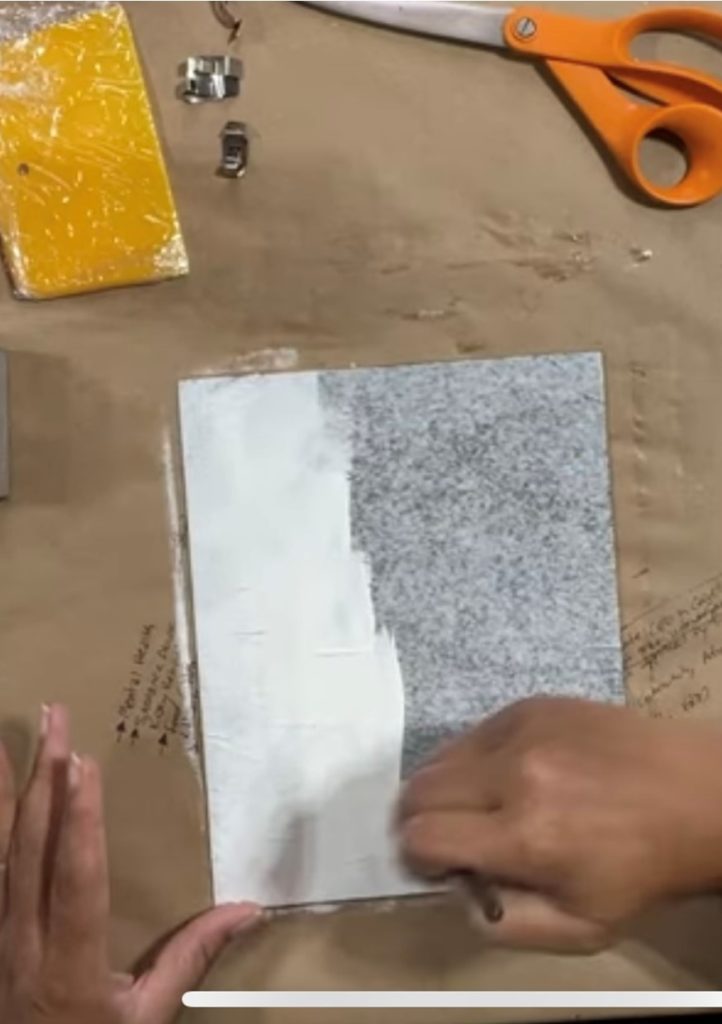
Create interest on the back of your paper. In the example, I show how to create a hallow. Refer to my “Underpainting Your Decoupage” for more complete instructions on this process.
If you would like your image to be more opaque, paint over the back of your paper with Wise Owls Chalk Synthesis paint in Snow Owl. Let your paper dry completely, then you can shift your attention to the front of the glass. Don\’t worry if your paper wrinkles. The wrinkles will vanish as the paper dries.
 Find Your Roycycled Decoupage Paper Retailer Here