
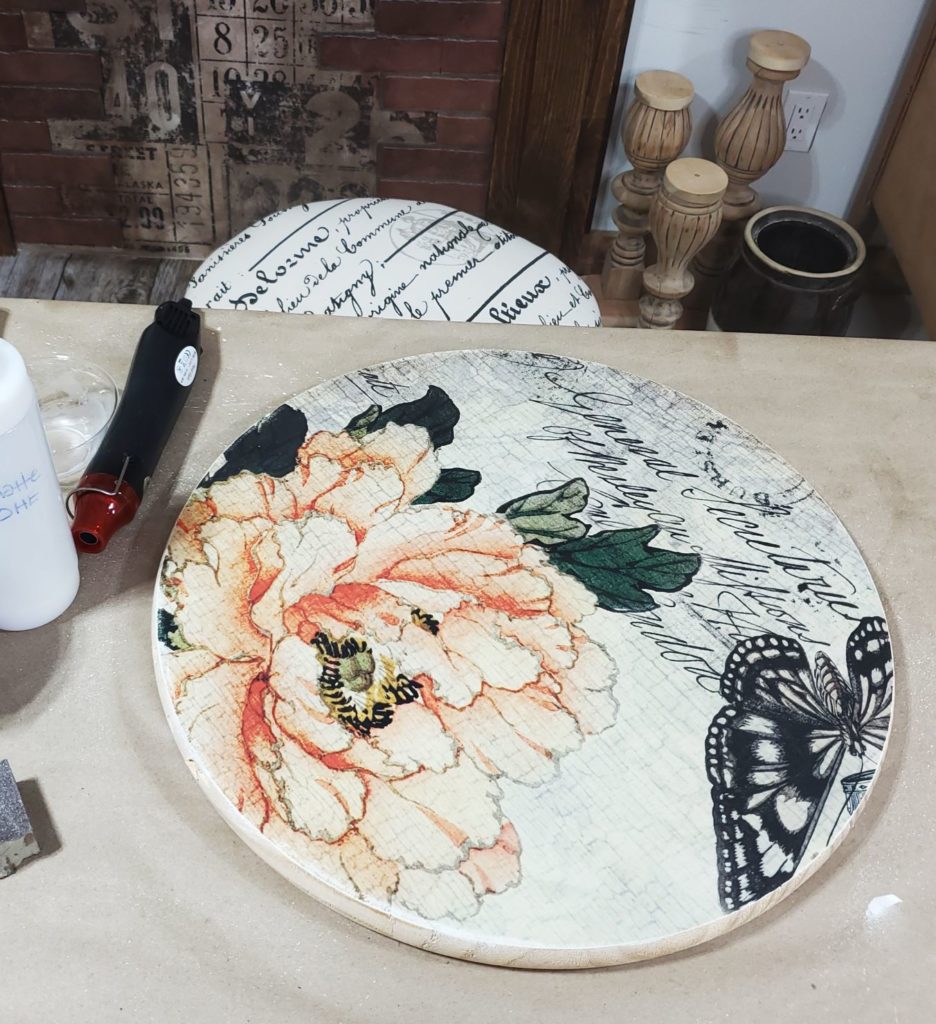
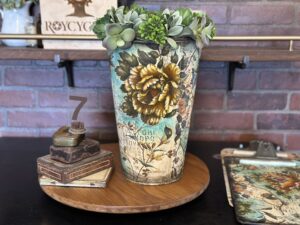
I just love the transformative power of decoupage. You can take the plain surface of any project, and make it something special. I’m working on creating a few small gifts for donors of my favorite non-profit. I think these small rounds will make perfect trays. They can even be used to create a lazy Susan for your kitchen counter or add bun feet for a cute riser.
Subscribe to my YouTube ChannelFollow these three easy steps to create the base for a beautiful project.
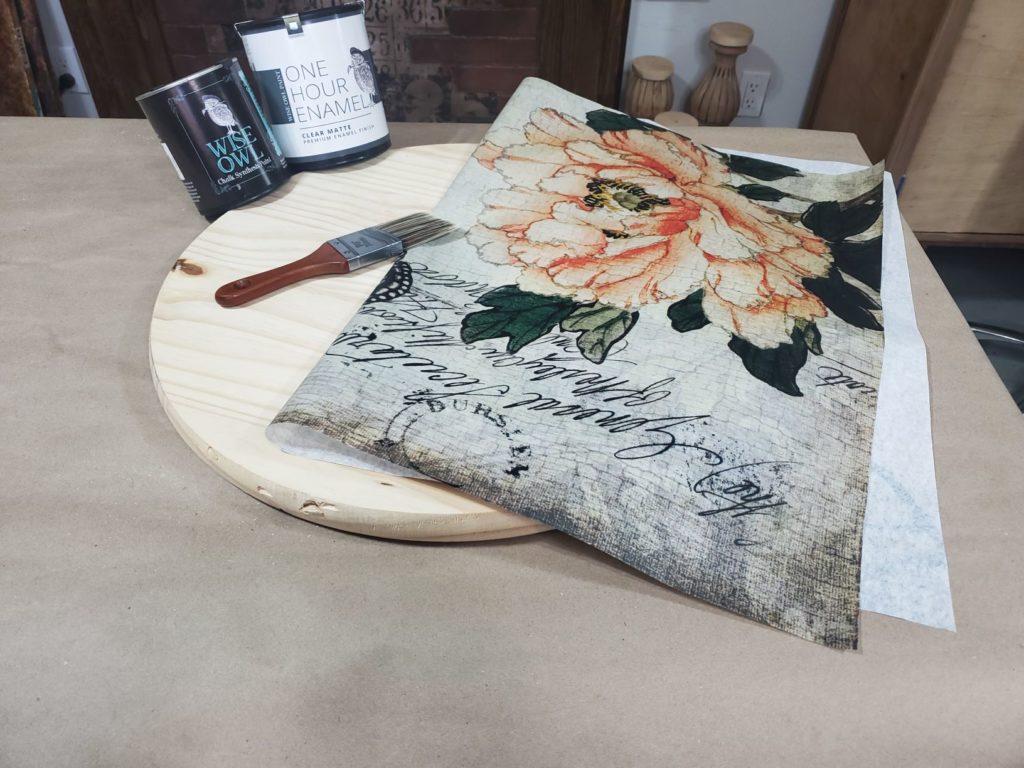
Products I used to complete my project. Wise Owl paint in Antique Villa provided the perfect base color. I used Wise One Hour Enamel to both adhere and seal my decoupage. Wise Owl’s Angled Micro brush is my favorite for decoupage.
Supply List
Wood Round (I found this one at Lowes)
Wise Owl Chalk Synthesis Paint in Antique Villa
Wise Owl Matte Varnish
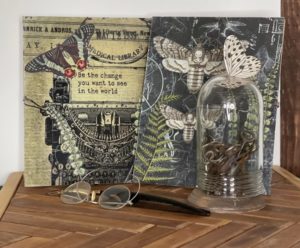
Roycycled Butterfly Floral Decoupage Paper
Wise Owls Angled Micro Edge Paint Brush
Find Your Roycycled Decoupage Paper Retailer Here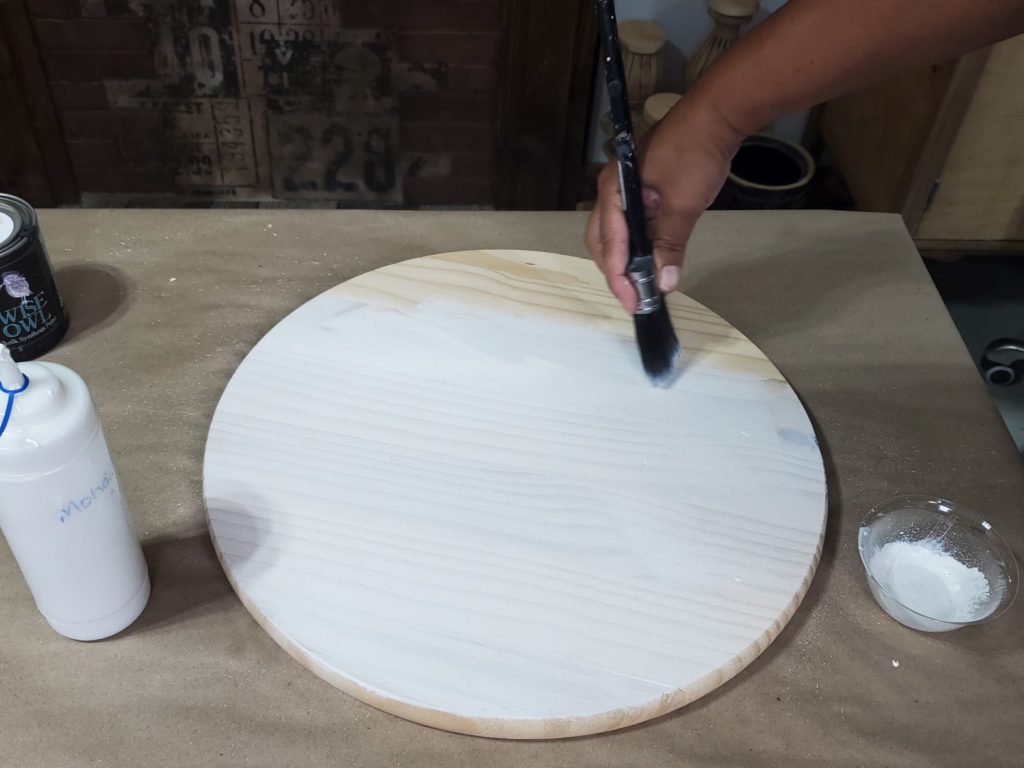
I began by applying one coat of white paint or primer. You don’t have to do this step, but creating a light base will help the artwork of the tissue paper be the star of the show. You can decoupage over a dark surface, just know that your image won’t be as prevalent in your final finish.
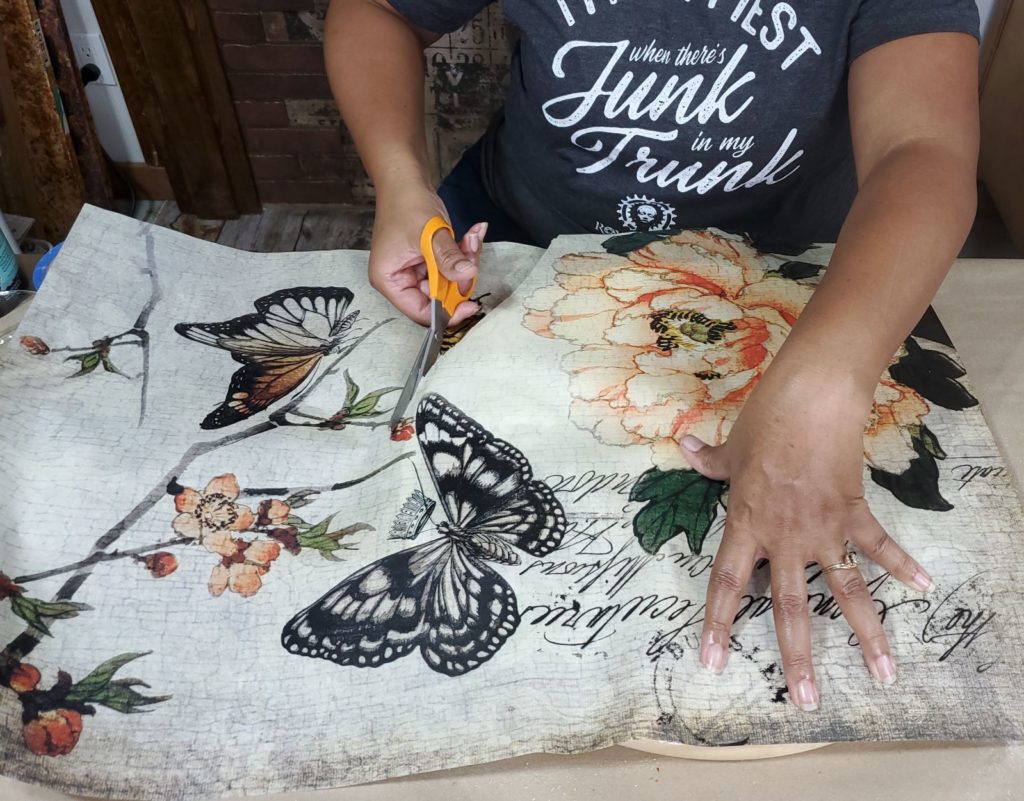
Once the initial coat of paint or primer dries, you can move on to the decoupage. Roycycled Decoupage Papers come in 20” x 30” sheets. This is larger than the wood circle. The first step is deciding which portion of the design you would like to be decoupaged on your piece. Once you decide, trim any excess leaving about an inch overage on all sides. Don’t worry about trimming perfectly, we’ll address that later. Once you’ve decided how you want your paper positioned, hold it in place.
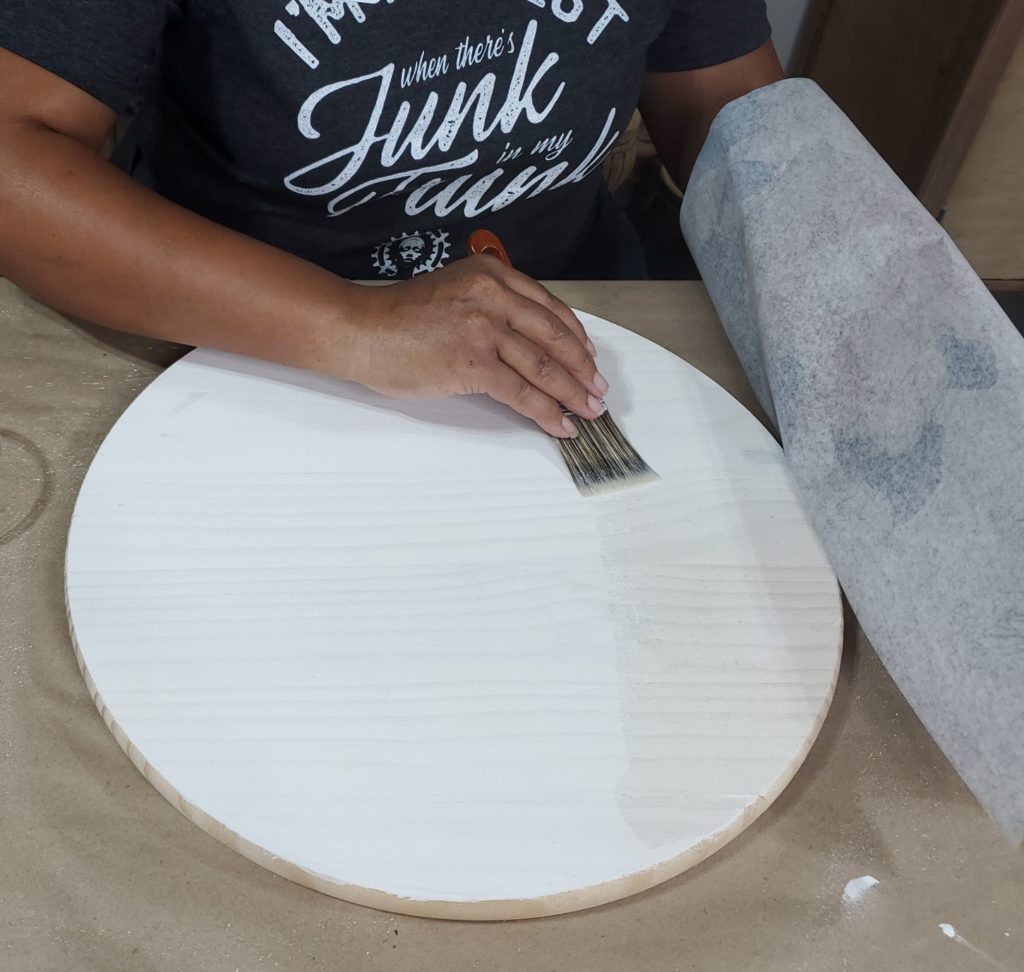
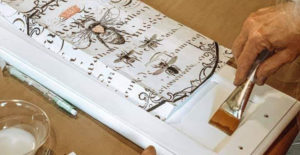
The best way to approach large-scaled decoupage projects is to do it in sections. I begin on the side of my non-dominant hand. Holding the paper in place, I fold the paper over on itself, and begin applying Wise Owl Varnish to the surface using a Wise Owl Micro Angle Paint Brush. Make sure you cover the entire surface with an even coast of One Hour Enamel. Any dry spots or unevenly applied areas will cause bubbles later. You may have small wrinkles, but don’t worry. Most of them will disappear as the paper dries and shrinks. Be careful not to puddle the product. Too much moisture can cause your Roycycled Decoupage Paper to tear during the decoupage process.
Once you’ve applied the Wise Owl One Hour Enamel, about 1/3rd of the way across the circle, apply the paper. Rubbing gently from the inside out to push out any bubbles.
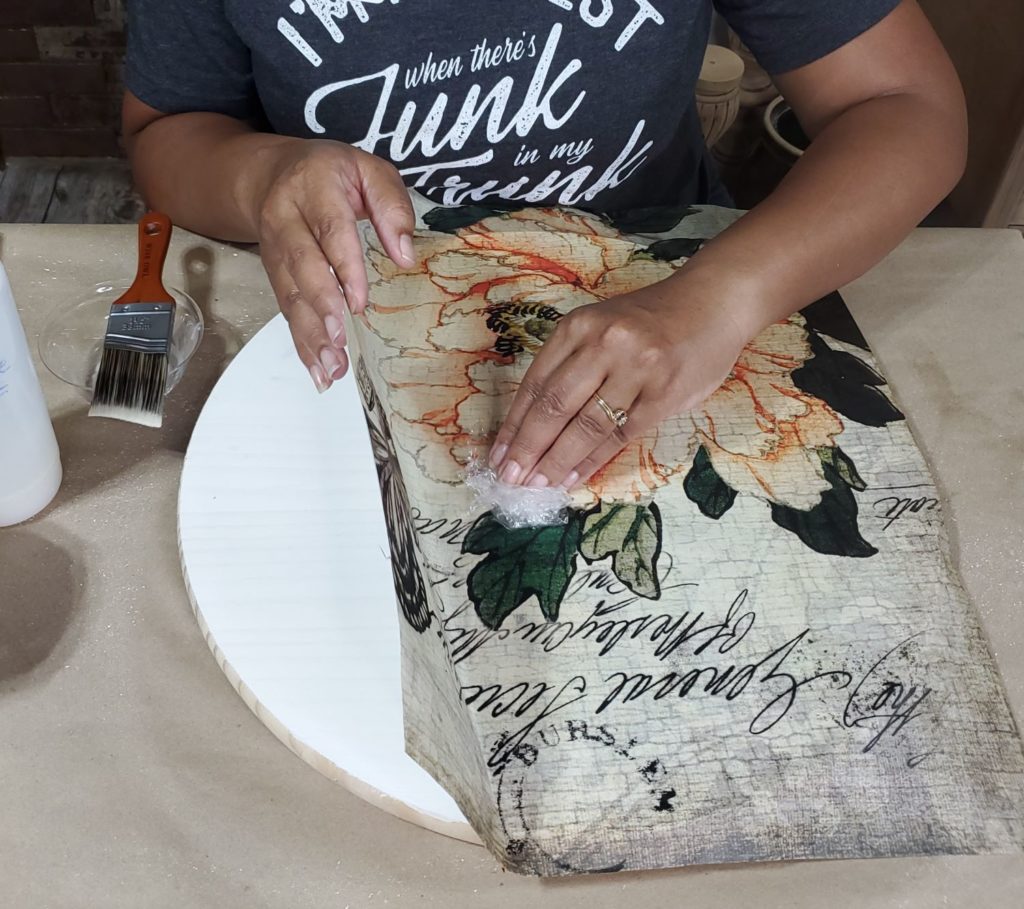
Once this section is anchored, you can fold the paper back over the attached area, and continue applying One Hour Enamel, and adhering the paper one section at a time until you’re done. If you use a piece of plastic or plastic wrap, you can manipulate the paper a little more without the risk of tearing your paper.
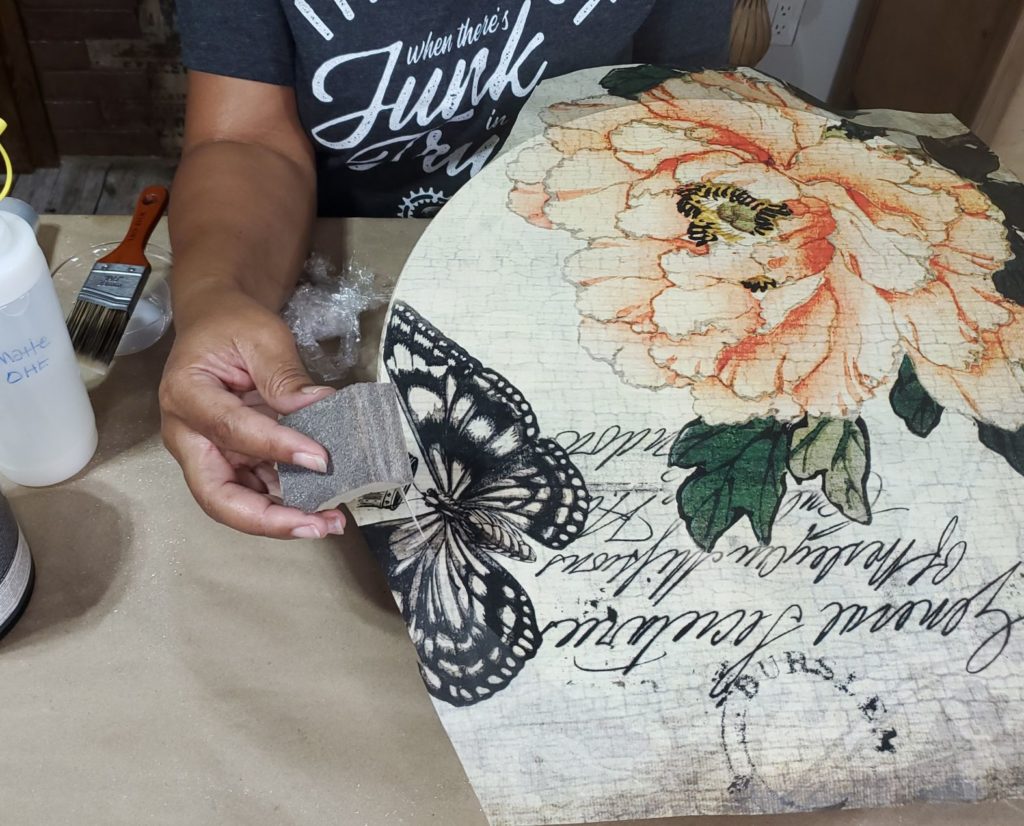
Once your paper is dry, it’s time to trim. The easiest way to trim this decoupage project is using a 220 grit sanding block.
Sand the edges of your circle in a downward motion until the paper begins to “cut”. Continue this process all the way around the circle until it is completely trimmed.
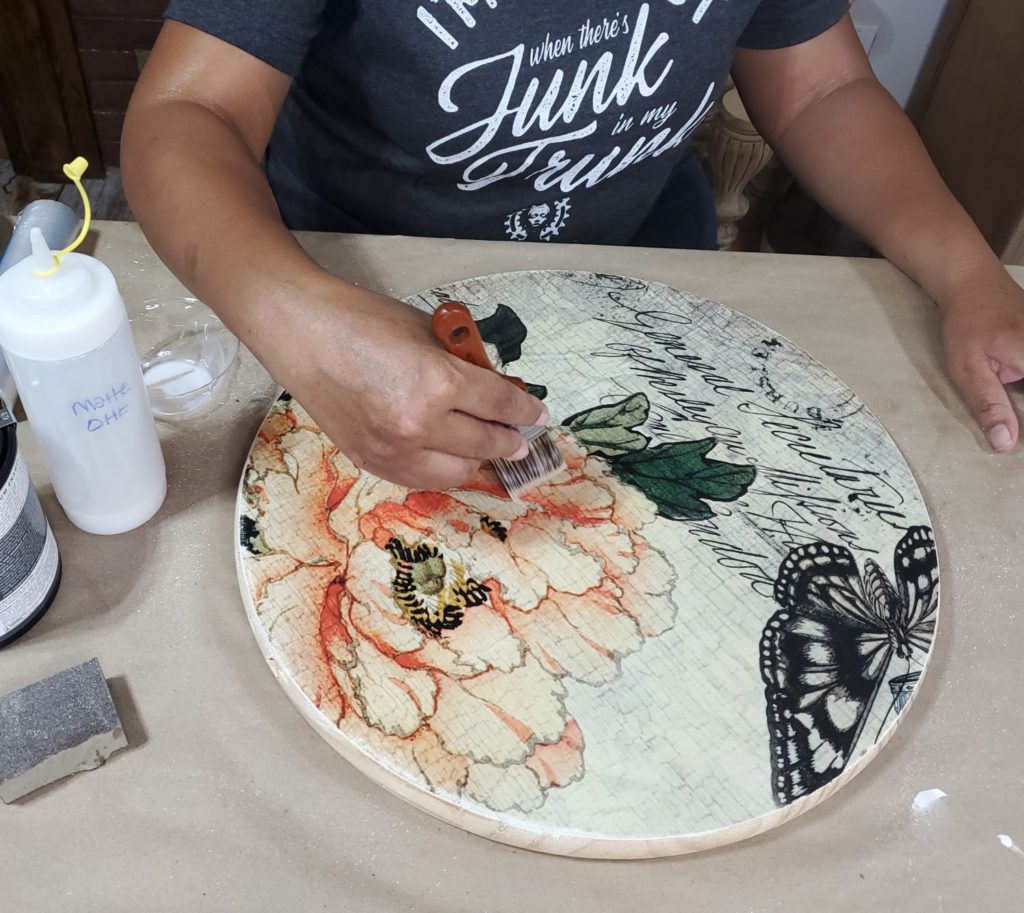
Follow up with a final coat of sealer to protect the surface. If your project is going to be used a lot, you may want to apply two coats. When you apply the sealer, bubbles and buckles will appear. Don’t panic. Walk away and let the project dry completely. The paper will shrink when it dries, and the wrinkles will disappear like magic!
 YES! Sign Me Up !