Subscribe To My YouTube Channel
Supplies
Roycycled Ephemera Collage Decoupage Paper
Wise Owl Chalk Synthesis paint
Wise Owl Matte Varnish
Wise Owl Glaze

Glaze to Create Dimension
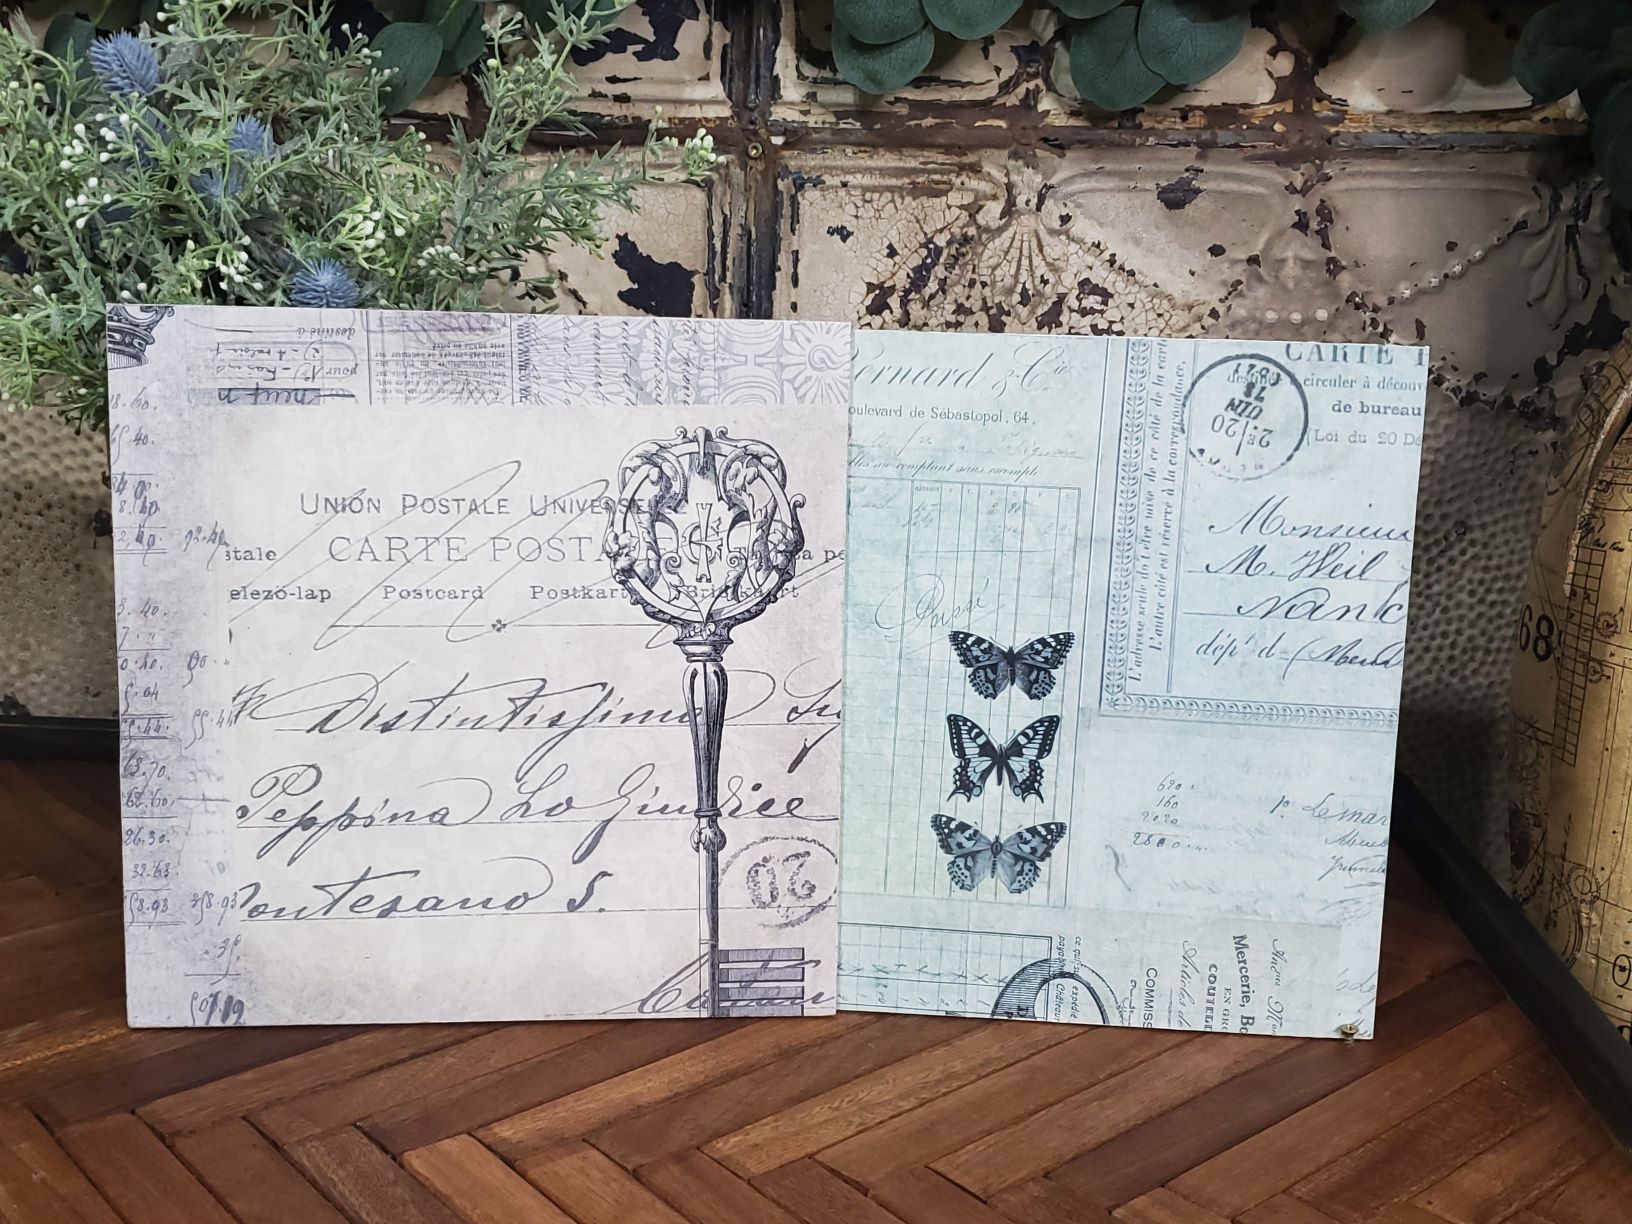
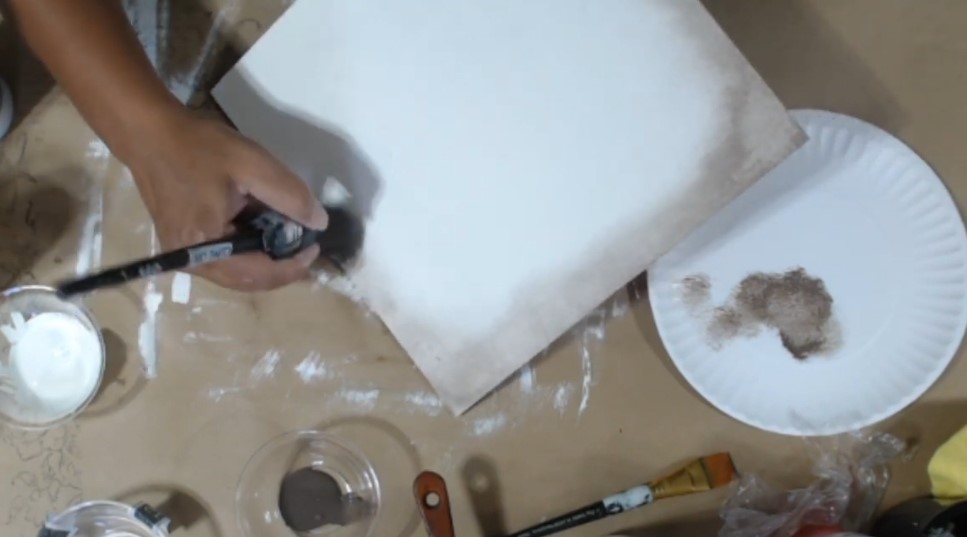
With the first board, we\’re going to talk about depth. One of the ways you can add depth to your decoupage is by glazing your edges to create a frame before even decoupaging your sheets. Light colors stand out and the dark colors recede. Visually we\’re creating dimension where there really isn\’t any by creating a “halo” with the glaze. This can be really effective on furniture panels, or drawer fronts. visually it creates depth in your piece and this is a really nice way to add extra interest to your work.
Before glazing your piece, make sure you seal it. If you glaze directly over porous chalk synthesis paint your paint will absorb a lot of glaze and it will get dark really quickly. You won\’t have control over how dark your project gets.
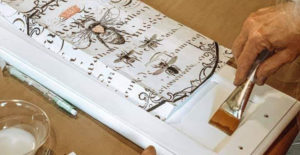
After you’ve allowed your sealer to dry, apply the Wise Owl Glaze mixture. Create a bit of a halo effect. Use a dry paper plate to offload your brush. It’s easier to add more glaze later than to add too much. Apply the glaze around the edges. Use the tip of your brush to buff out any streaks. Spritz with a misting spray bottle if the glaze stops moving. Let your glaze dry for a couple of hours, or use a little heat from your craft dryer to ensure the glaze is set before decoupaging.
To decoupage lay a nice even layer of Wise Owl varnish on your surface. Lay your paper down on one side of your panel. Rub from one side to the other rubbing out any air bubbles that may have gotten caught under the paper.
When laying down your decoupage product, be really cautious to make sure and get a nice even coverage especially in the middle. Look from the side to make sure you have an even amount of coverage over the entire surface. If an area in the middle doesn’t get coverage, you can end up with air bubbles.
TIP: Unload your brush away from your paper. If you unload your brush right under the paper, you\’ll be able to see it on the top of the paper. Always unload your brush away from your paper and then you go back to apply product under the edge of your paper once there is less on your brush.
Your paper will wrinkle some. When you manipulate the paper, you are actually stretching it which causes wrinkles. As the paper dries most of those wrinkles will disappear. Use a piece of plastic to manipulate your paper. Plastic is super smooth so it causes less friction than your hands. Using the plastic allows you to manipulate your paper a lot more than you would be able to if you used your hands alone. You can also use a brayer to roll out your wrinkles.
Use a sanding block to trim your edges. I preferer 220 grit. You can also use an emery board. Only sand in one direction (down). If you sand in both directions, you risk pulling up the paper. If you sand side to side, your risk tearing your paper.
This effect is not super obvious. but you really don’t want it to be. It\’s kind of like when a makeup artist does contouring. You don’t want to see the actual makeup; you just want to see the illusion the makeup creates.

Underpainting with Color
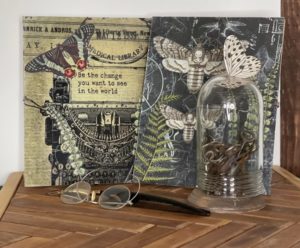
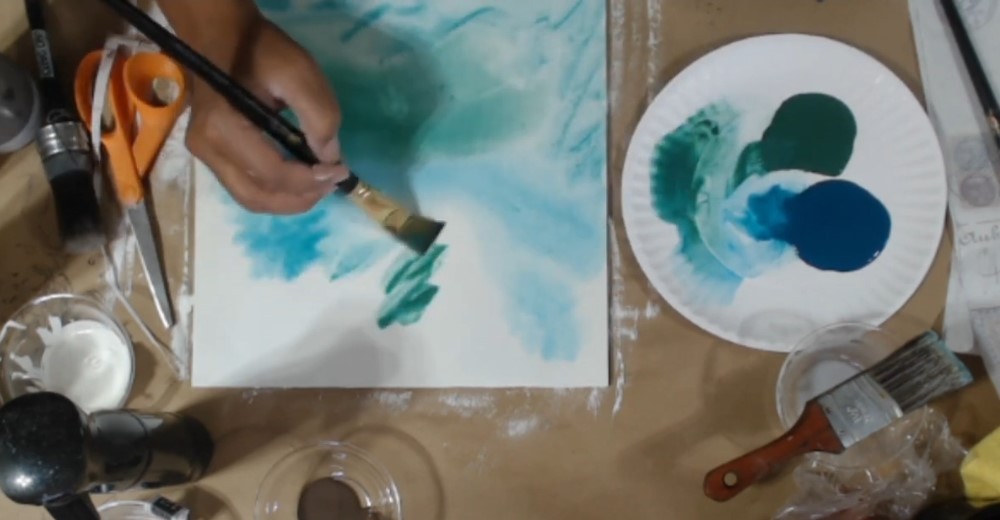
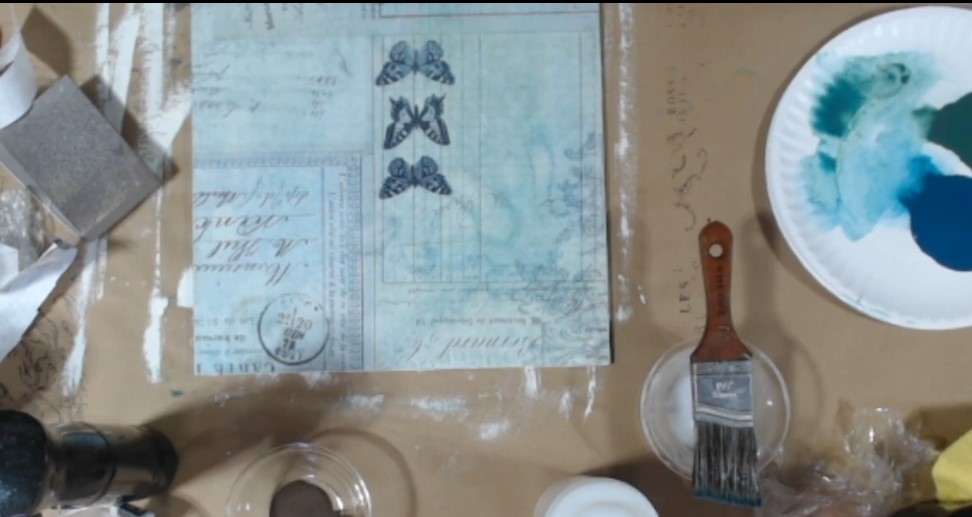
With the next panel, we\’re actually going to use color. As the paper becomes transparent during the decoupage process, you’ll be able to see the colors underneath show through. if you\’re working with decoupage and you want to bring another color into your home decor, underpainting is a way to do that.
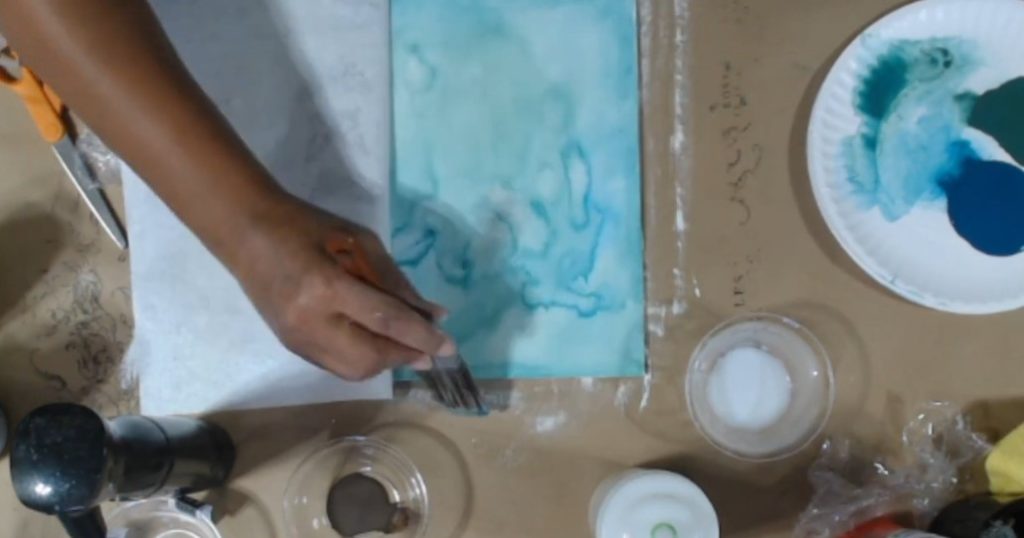
Wet your board before painting. Create kind of a watercolor effect. The paint is going to be really watered down. The beautiful thing about Wise Owl Paint is there\’s so much pigment that even watered down it\’s still going to be beautiful. Put some water on your plate so you have more control over your paint. Depositing water and let it do whatever it does because this is a really organic process. You want really soft shapes because this paper is really romantic. Spritz your surface to get rid of any brush strokes. Allow your paint to dry before applying your decoupage.
Find Your Roycycled Decoupage Paper Retailer Here


