Imagine painting a buffet and the doors are inset. You want to use your stamps but you can’t get your stamp all the way to the edge. Today I’m going to show you a super-easy way to have your stamp design go all the way to the edge of your projects with insets.
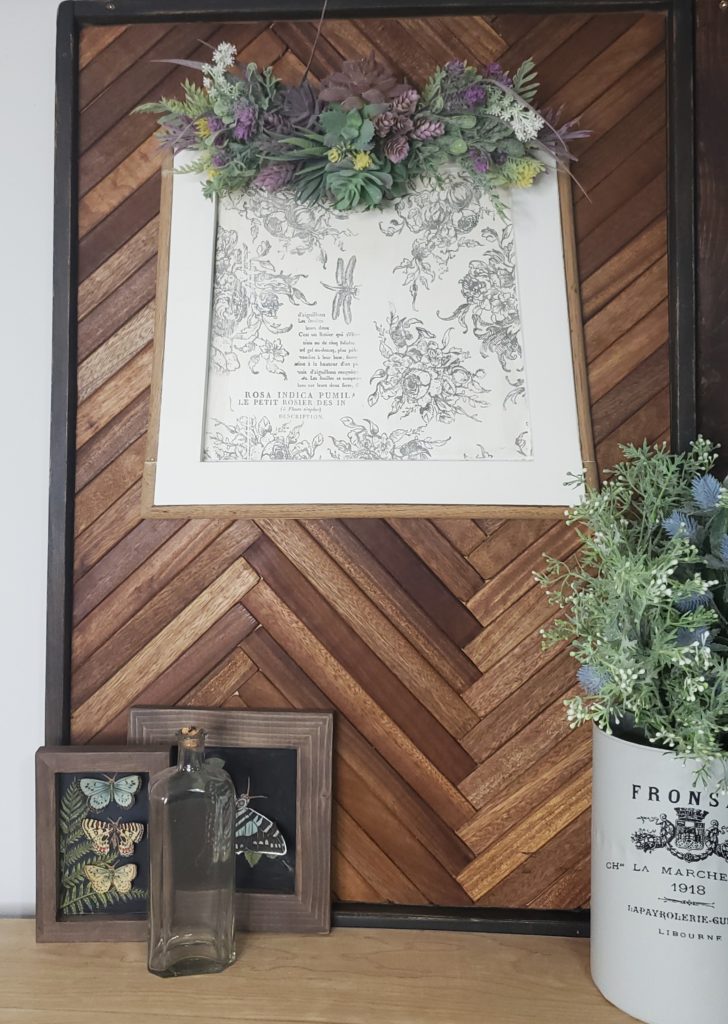
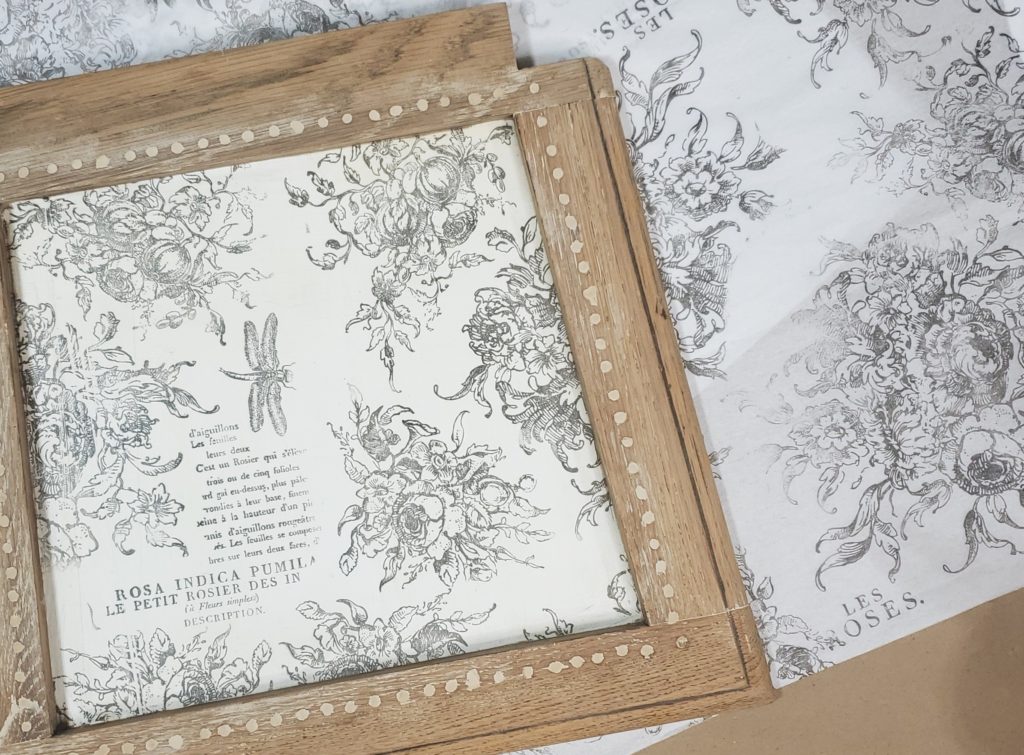
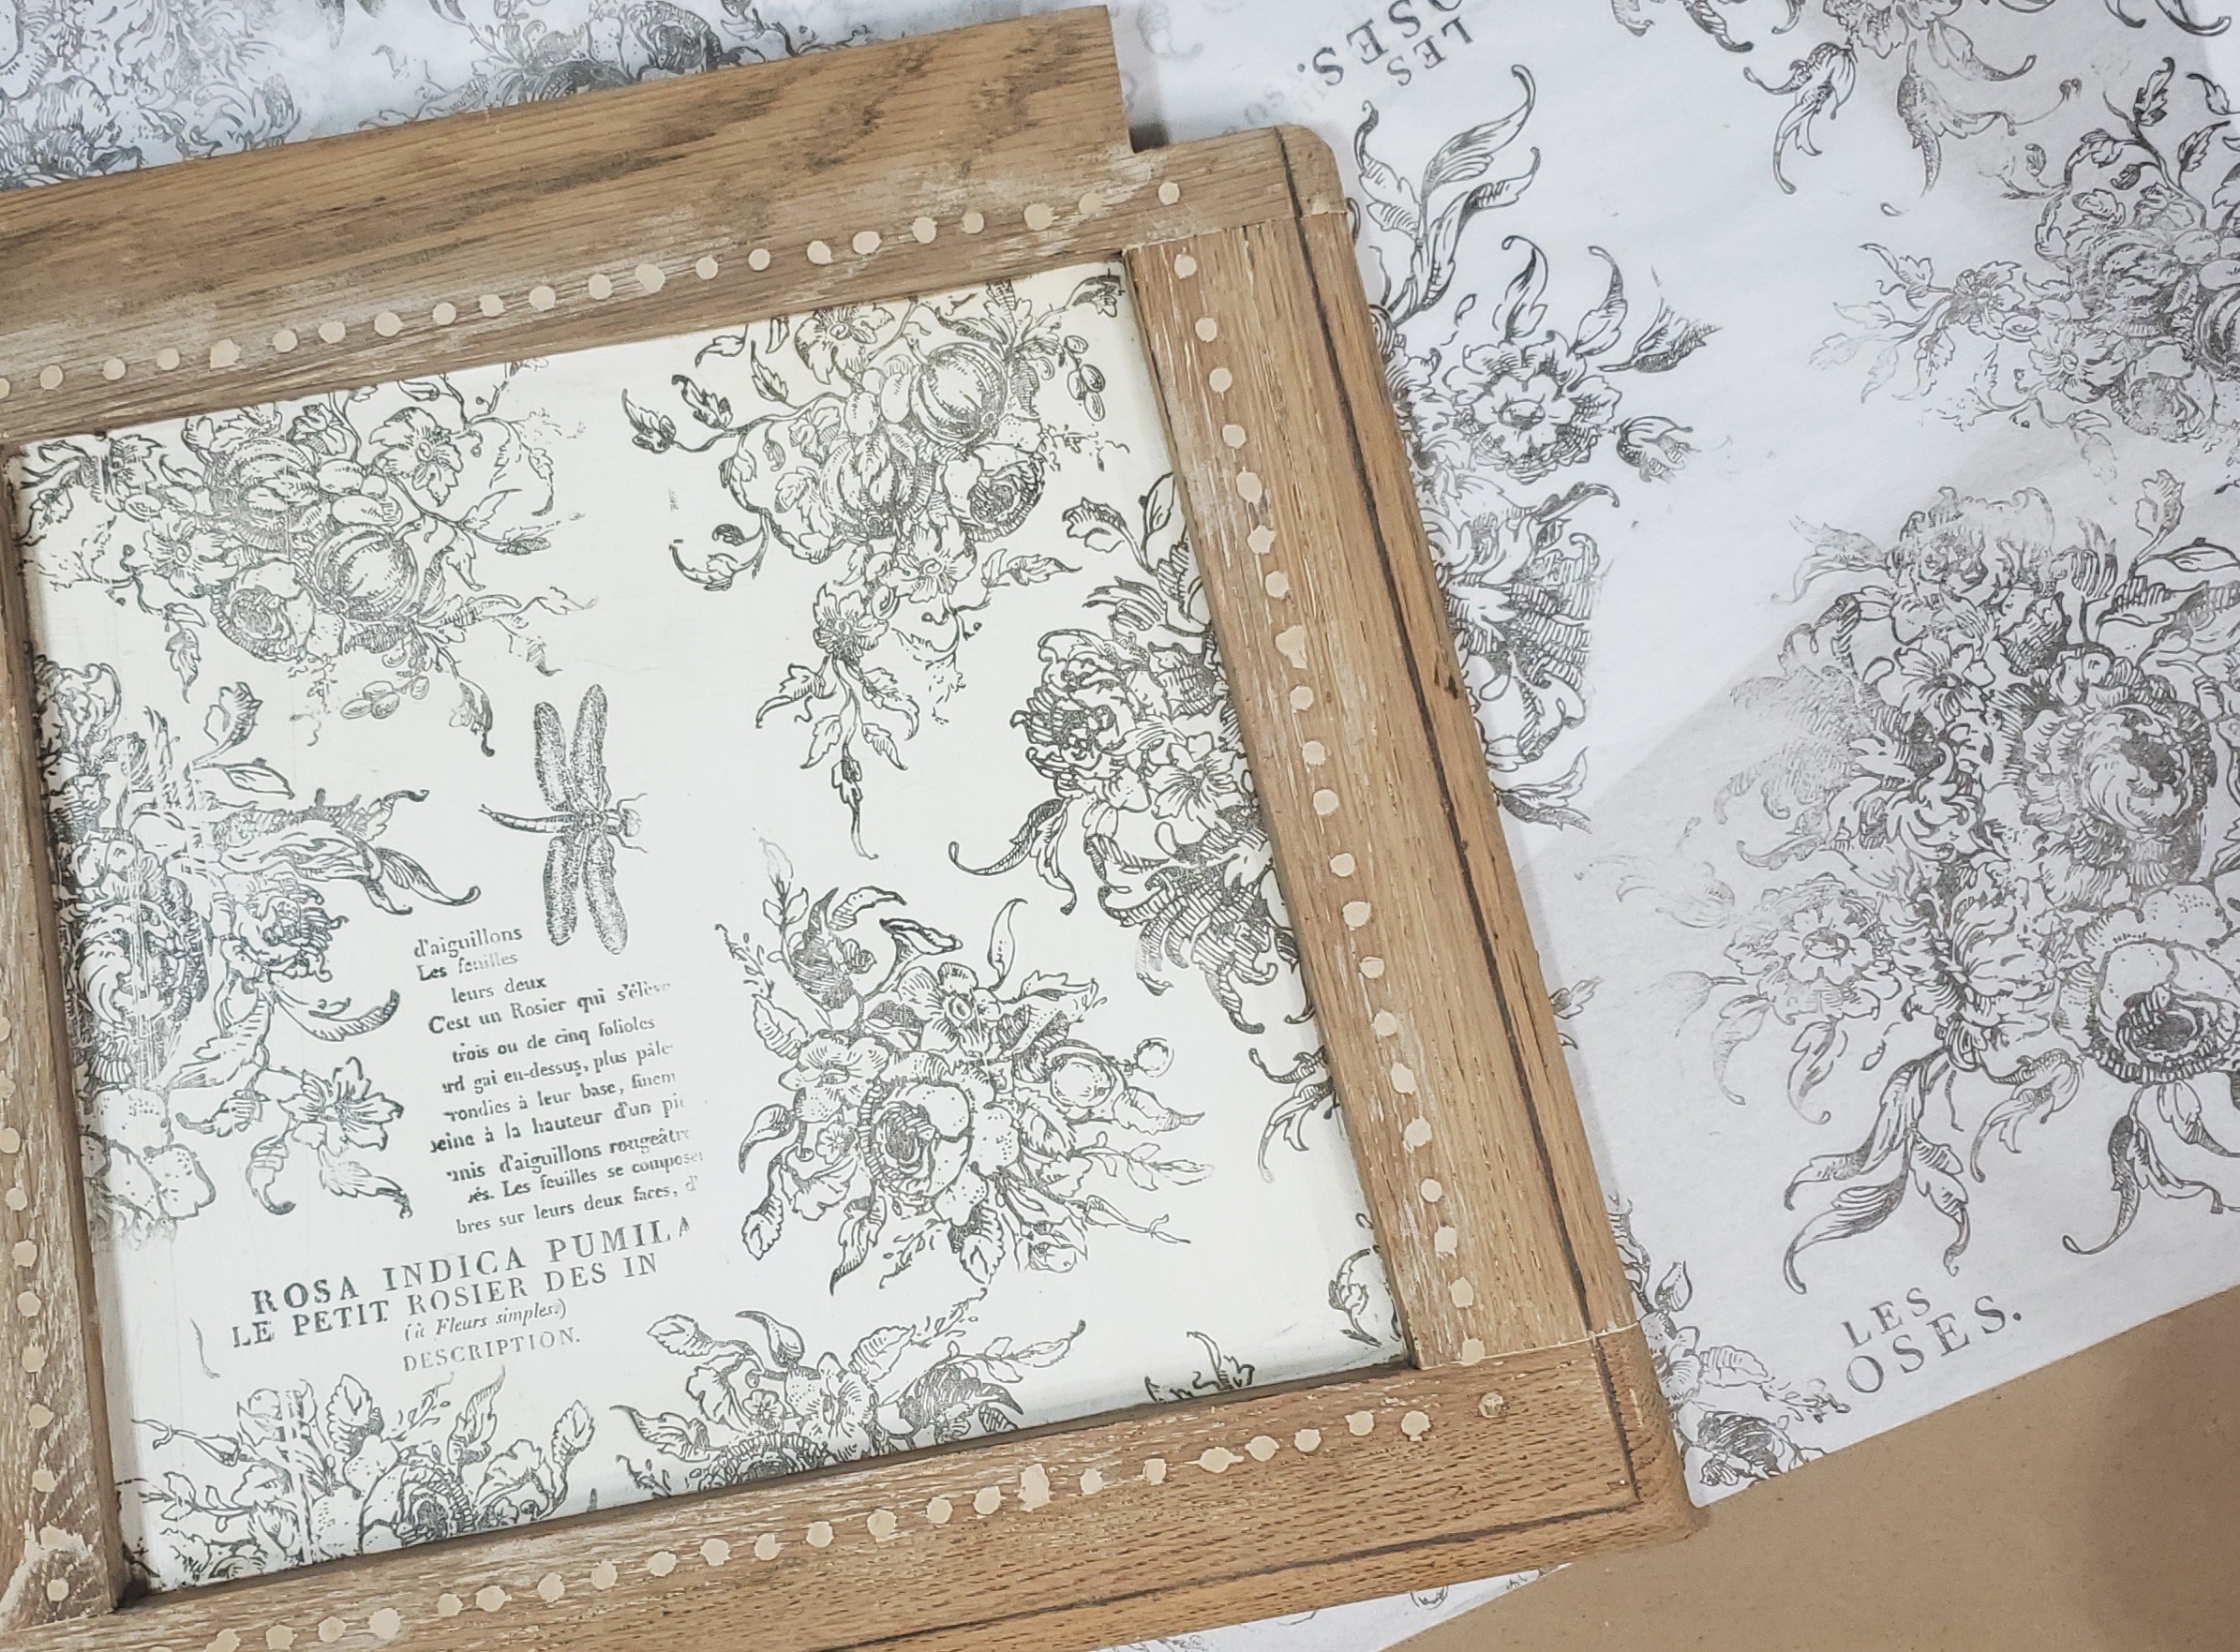
We bought a group of chairs to upcycled and we were able to save three of them and make a bench. We upcycled the rest of the pieces. This is a seat from one of those chairs and we’ve just put a piece of really thin plywood on the back. Now it’s a blank to create a super cute sign to use anywhere in our home. As you can see there’s an inset. I’m going to show you how I stamped Dollar Tree tissue paper to use for this project.
Supplies
IOD Rose Toile Stamp
IOD Black Ink
IOD Ink Pad
Wise Owl Chalk Synthesis Paint in Antique Villa
Wise Owl Matte Varnish
Tissue Paper
IOD Brayer
Wise Owl Angled Micro Edge Paint Brush
Subscribe To Our Newsletter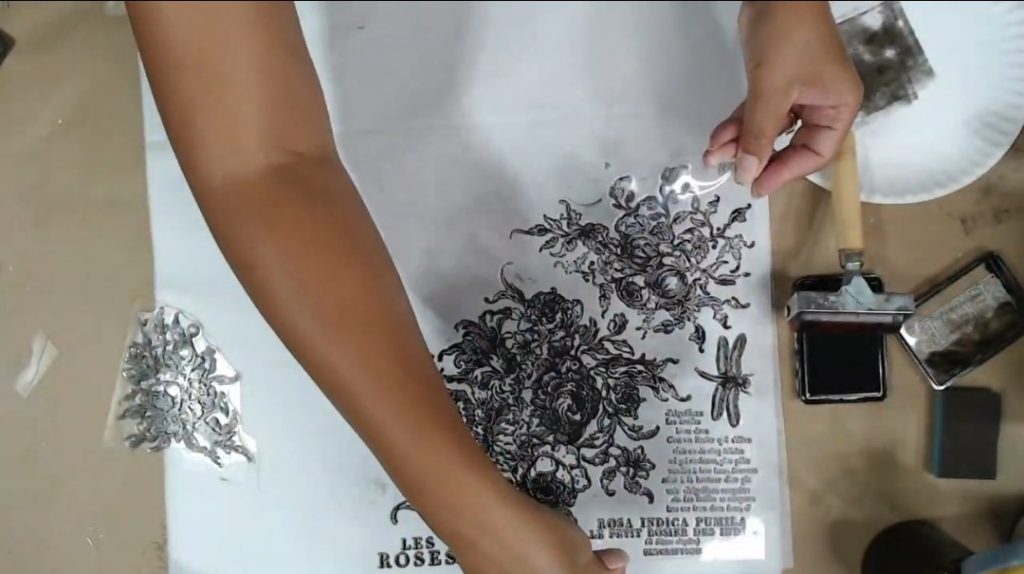
This paper has a shiny side and a matte side. Make sure to stamp on the matte side to increase the odds of getting a really clean stamp. This is 10lb tissue papers, they’re super thin. So, stack about five sheets together to stamp these sheets. When you open your stamps for the first time you want to make sure to condition them. To condition your stamp, sand it lightly in both directions before using it the first time. This gives your stamp “tooth” to really hold on to the ink and or paint that you use on your stamp. Use 220 grit sandpaper. You don’t want to score your stamps so don’t sand too hard. You can use acrylic mounts if you have them but you don’t have to. Generally, for stamps this size, most people don’t have them.
Load your brayer by rolling over your loaded ink pad. Use a paper plate to help offload some of the ink. This helps control how much ink actually goes on the stamp. For this project you are stamping a 10lb sheet of tissue paper, so be really conservative. You want just enough
ink to make an impression but not enough to soak through the tissue.
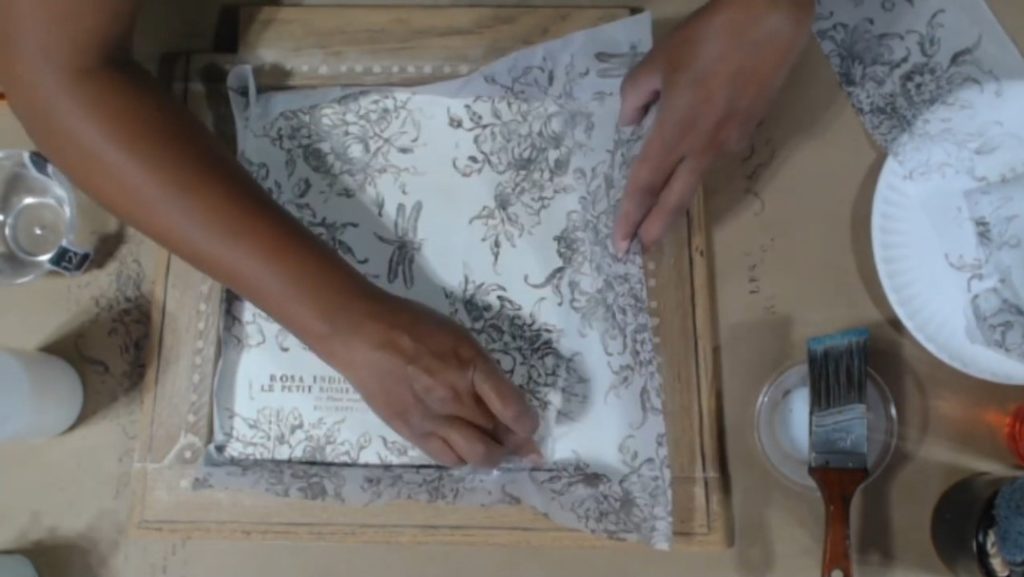
When stamping, sit your stamp straight down onto my paper. Once you touch your surface don’t shift your stamps. Run your fingers over the top of your stamp making sure not to shift it. Make sure there’s good contact between the paper and each of the areas of the stamps. There are a lot of details in these stamps and you want to catch all of them. Let it sit for a bit, and pick it straight up. Repeat until your whole sheet is covered.
Setting Your Ink
Before you can decoupage make sure the ink is set. What I like to do is use an iron. Make sure your iron is dry. You don’t want to
use steam because you risk smearing your ink. Make sure the paper that’s facing down on your project is matte and not shiny. The shiny side gets tacky when it’s heated, and will stick it to your piece. Make sure the side of the paper you’re ironing on is also matte. Set your iron to cotton. Run your iron over the entire sheet to set your ink. Iron in a grid to avoid missing any spots and having it smear when you decoupage. Run your hand over the paper to make sure it’s warm. If it is, you know your ink is set. Now you have a beautiful piece of decoupage paper that you created yourself!
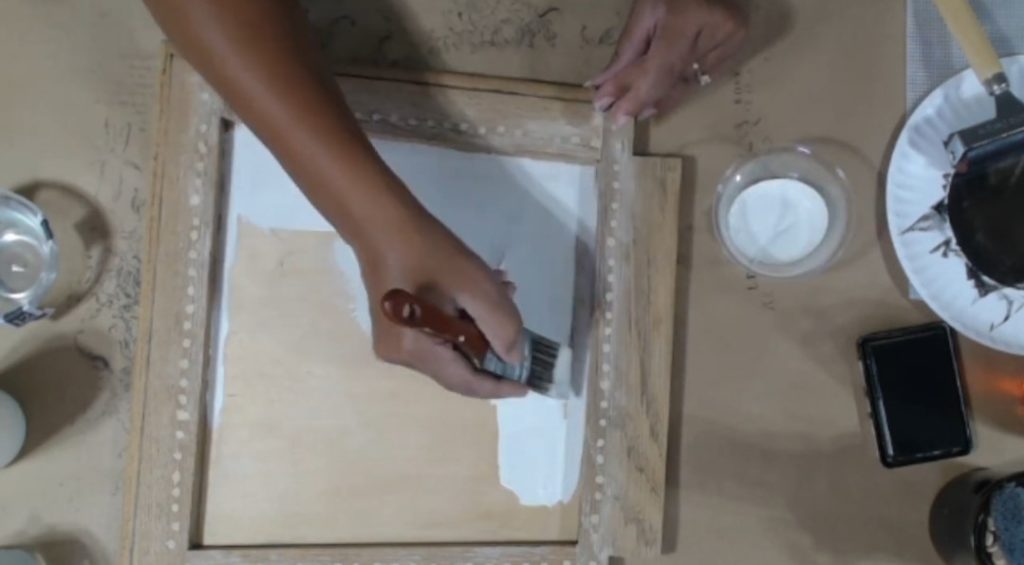
I always paint the surface I’m going to decoupage white. A light background helps highlight the decoupage paper design.